How To Add A Wishlist Item
A wishlist lets you display items that you would like to own. It is publicly visible, so your more generous fans will be able to buy and send you items from it.
This article will guide you through the process of adding a Wishlist Item on your ModelX website in six simple steps.
Step 1
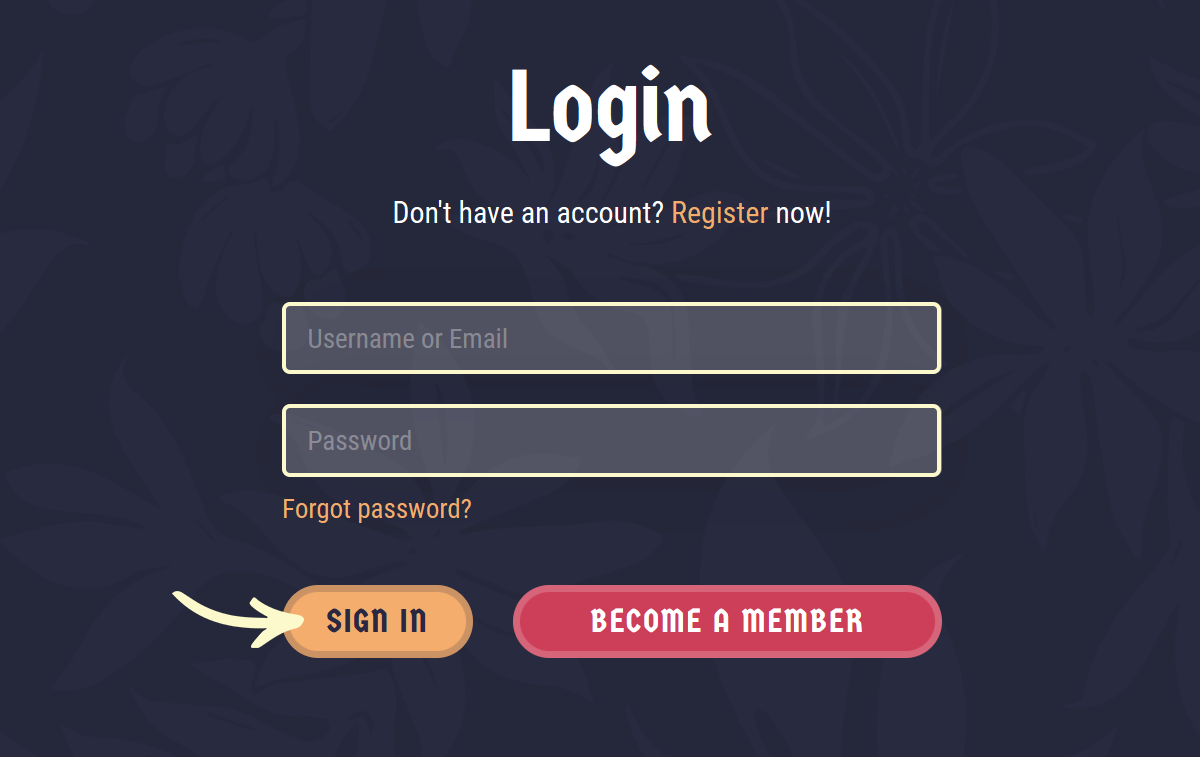
Navigate to your website and log in with your admin account. Click the member icon in the top right corner of your website to access the login area.

After clicking the icon, you will find yourself on the Login page. Enter your username or email into the Username or email field, your password into the Password field, and press Sign in.
Note: You can find your admin login details in one of the support tickets in the Vicetemple client area. If you’re not sure where to find them, feel free to send us a message over live chat.
Step 2
Once you’re logged in, click on the website name in the admin toolbar at the top.

Step 3
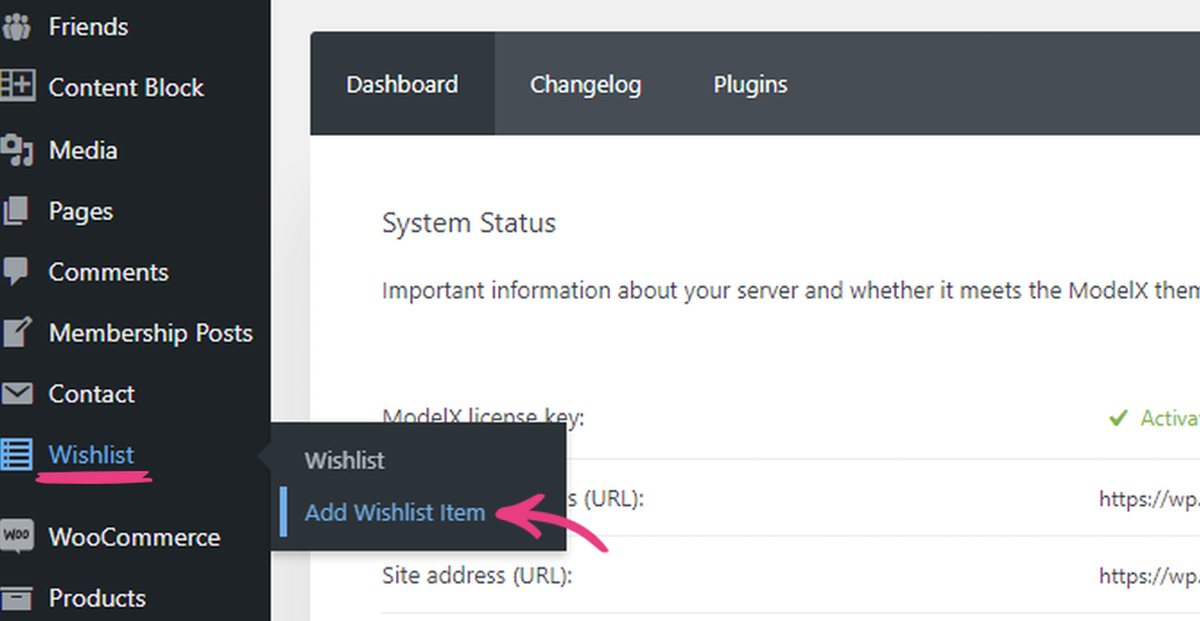
Hover the Wishlist tab on the Theme Dashboard page and click on the Add Wishlist Item option in the drop-down menu.
Step 4
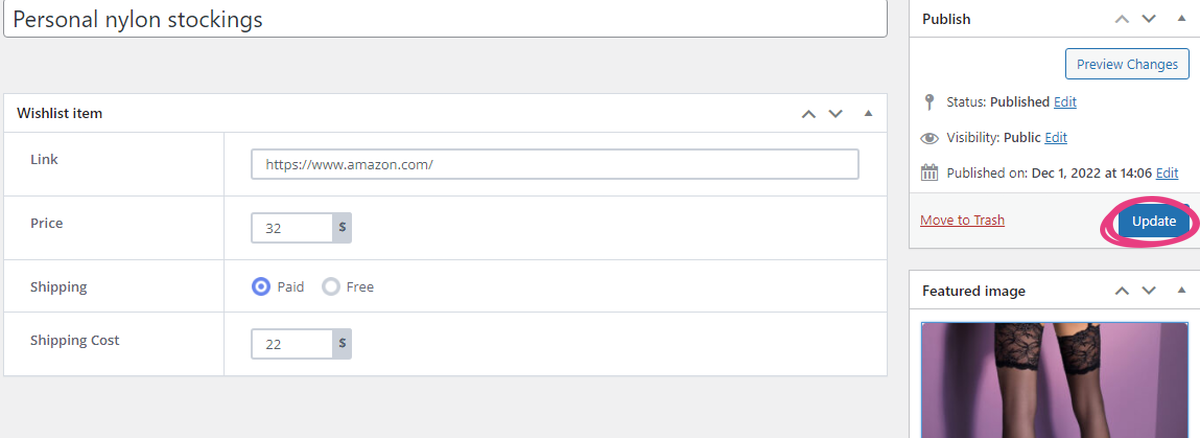
Then, add the name of the new wishlist item into the Add title field.

Further below, you can add a direct link to your new wishlist item. When visitors click the item, they will be taken to the product page whose link you insert.
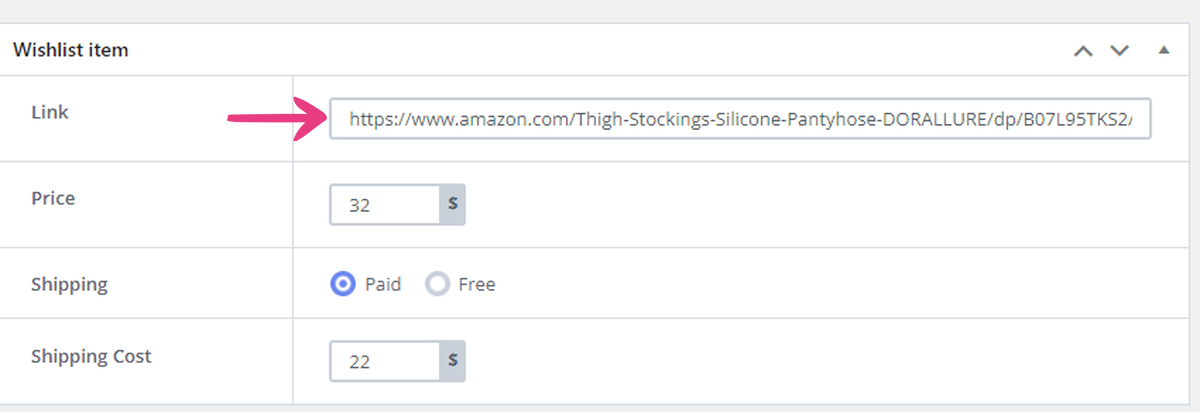
Next, you can manually write down the item’s price or set it via the arrows that will appear when you hover over the Price field.

You can also choose if the item’s shipping will be Paid or Free.

If you choose the Paid option, you will need to enter the item’s Shipping Cost. Like with the price, you can do it manually or via arrows.

Step 5
Locate the Featured image section on the right and click the Set featured image link to add a cover image for the new wishlist item.

Then, swap to the Upload files tab and click on the Select Files button to upload the image from your device.
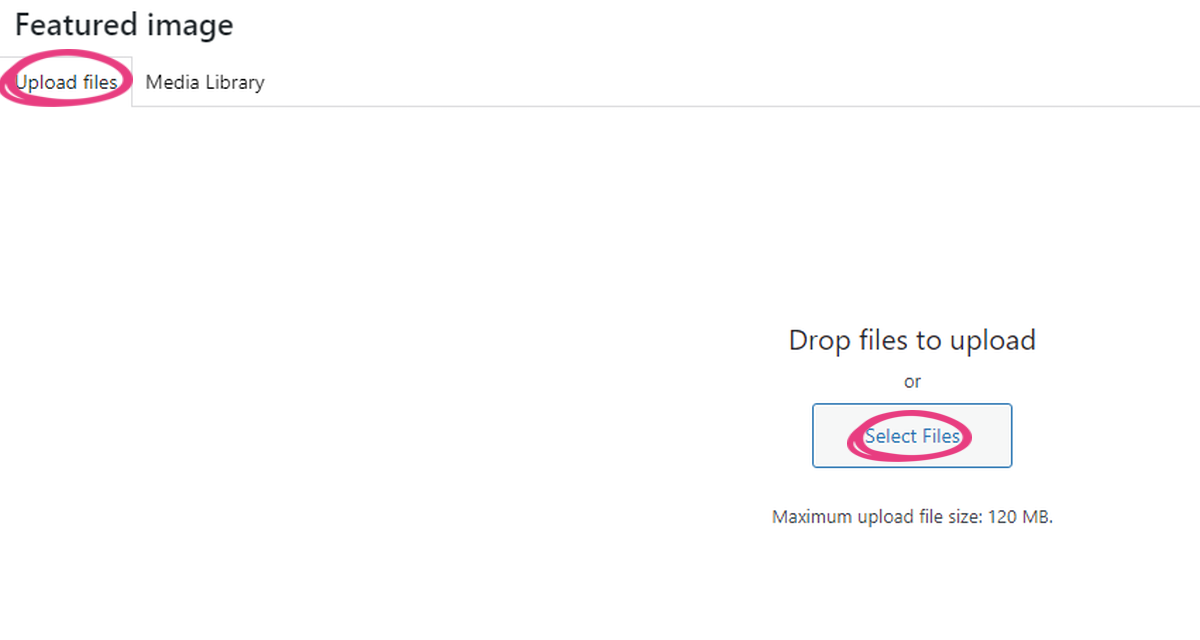
Note: To avoid potential errors, image file names should contain only alphanumeric symbols (A to Z and 0 to 9), hyphens (-), and underscores (_).
Once the image is uploaded, select it in the Media Library tab by clicking on its thumbnail, then click Select featured image in the bottom right corner. The image you pick will have a check mark in its top right corner (✓). Please note that the library will only display the supported formats (.jpg, .jpeg, .png, .webp, .gif).
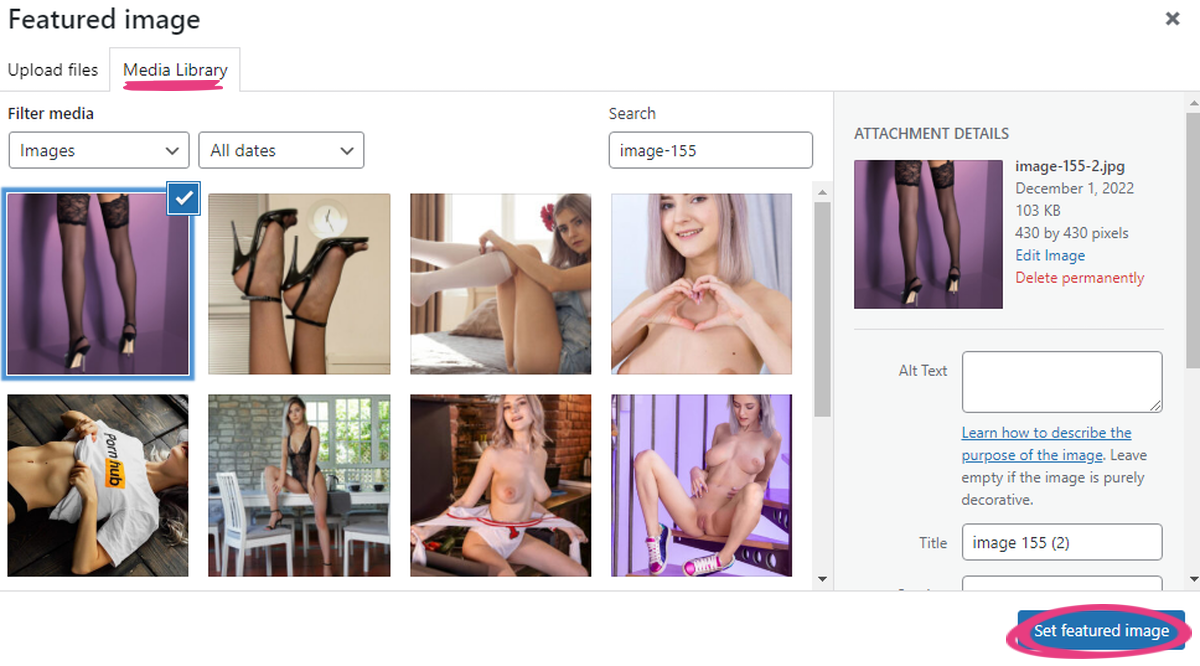
The minimum dimensions for the featured image are 400 x 270 pixels, while the recommended dimensions are 800 x 540 or larger. However, the longest side should not be larger than 1060 pixels.
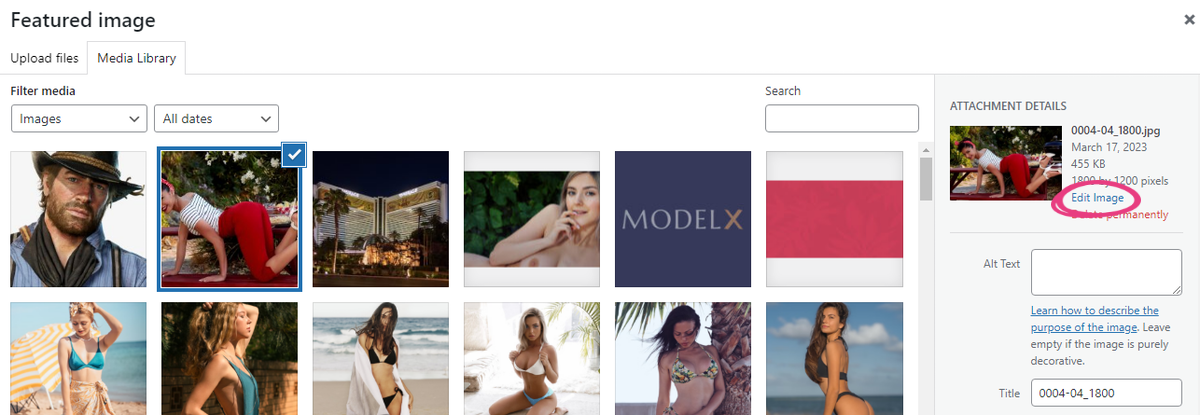
You can resize an image by clicking on Edit Image on the right.
Step 6
With everything done, all that’s left is to press the Publish or Update button in the top right corner.
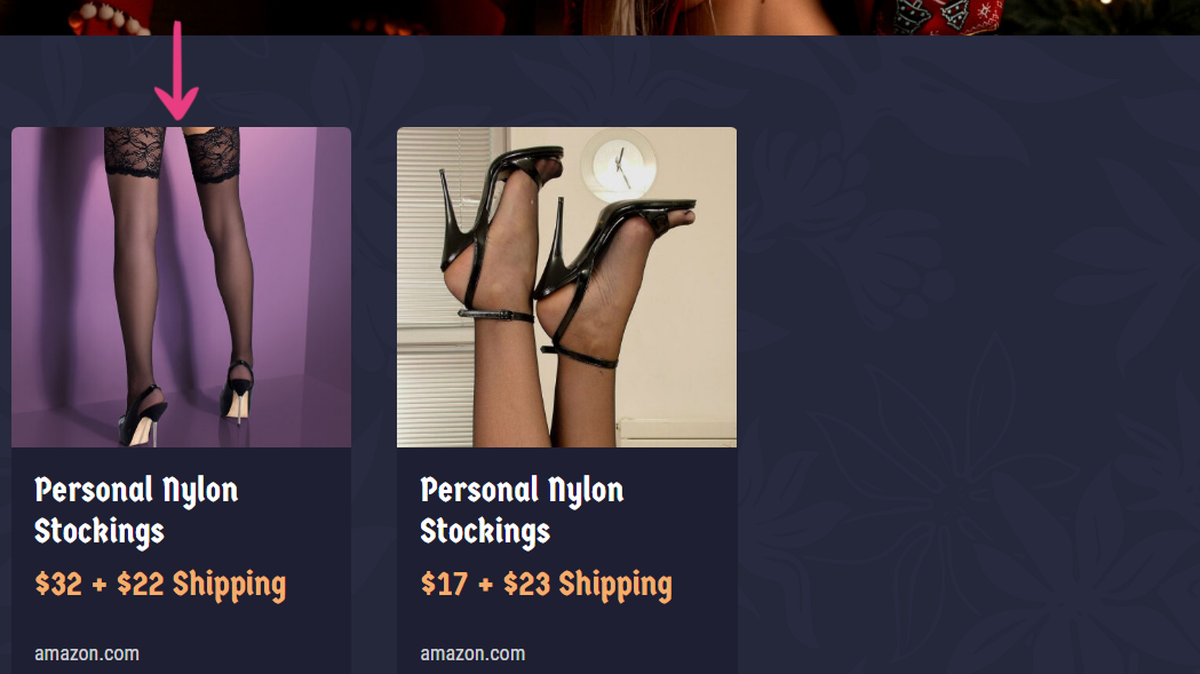
With all that done, a new wishlist item will appear on your website’s Wishlist page, as shown below.
