How To Add Social Icons On ModelX
On ModelX, social icons can be added to two different sections: the Mobile menu and the Footer. This guide will help you add social icons to your website in four simple steps.
Keep reading to learn more.
Step 1
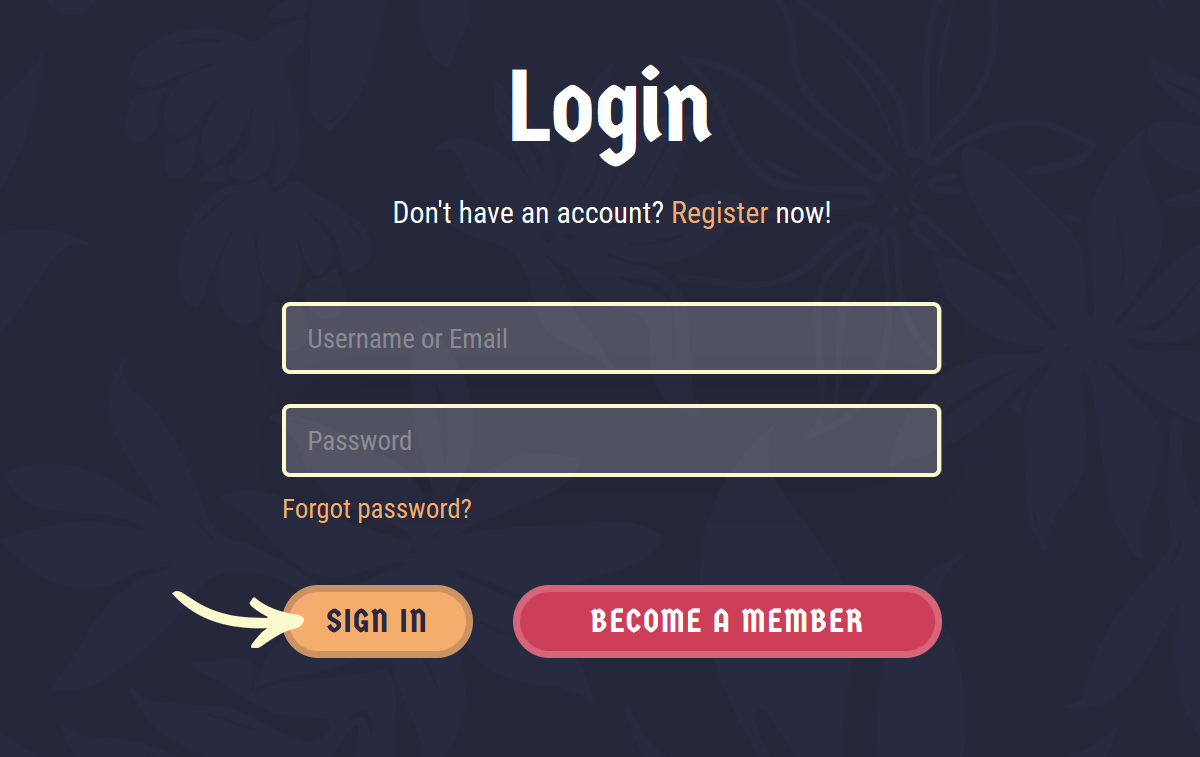
Navigate to your website and log in with your admin account. Click the member icon in the top right corner of your website to access the login area.

After clicking the icon, you will find yourself on the Login screen. Enter your username or email into the Username or email field, your password into the Password field, and press Sign in.

Note: You can find your admin login details in one of the support tickets in the Vicetemple client area. If you’re not sure where to find them, feel free to send us a message over live chat.
Step 2
Once you’re logged in, hover over the website name in the admin toolbar at the top, and click Theme Options in the drop-down menu.

Mobile Menu
The mobile menu supports up to 12 social icons, arranged in a 2 by 6 grid.

Step 1
Select the Header tab on the Theme Options page.

Step 2
Navigate to the Social (Mobile Menu) section and click the Add Social Link button to add a new social link in the form of an icon.

Step 3
Replace Social network # with a custom name for your social icon. The name will be displayed to your visitors when they hover the icon.
![]()
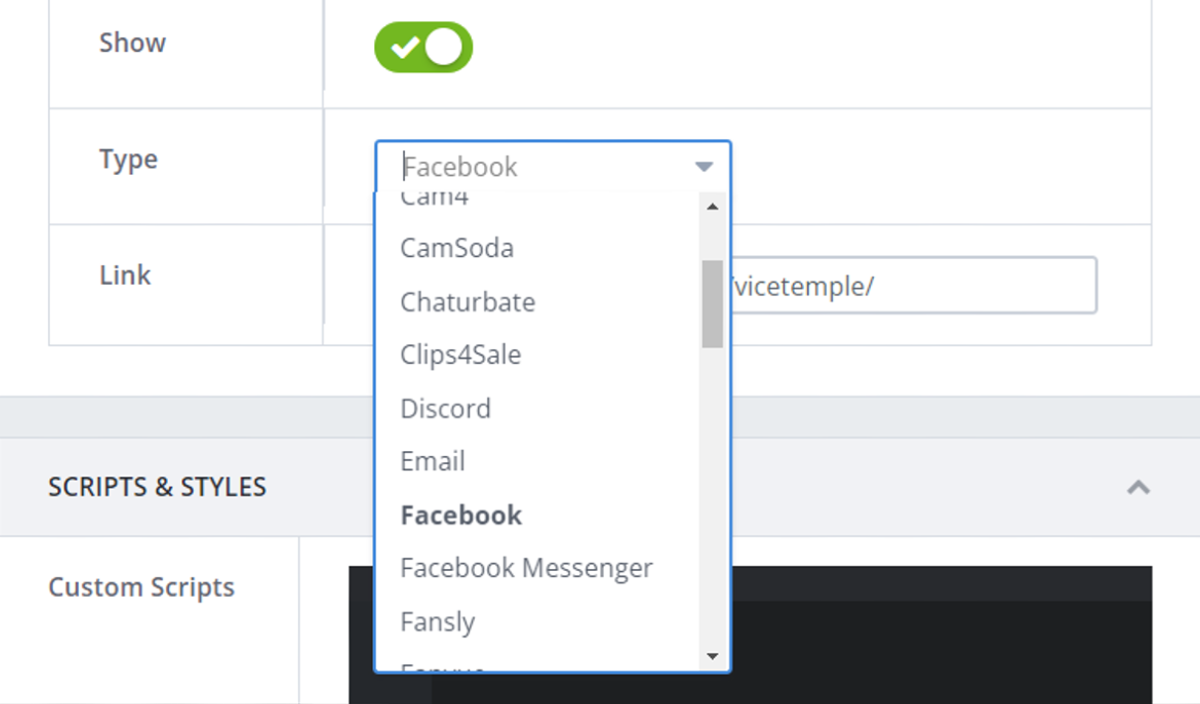
Then, skip the Show option — used to display or hide the icon on your website — and select which platform’s icon you want to display in the Type field.

Note: The ModelX theme includes over 40 vector icons in its kit. These represent the most popular adult, social, and membership platforms on the internet.
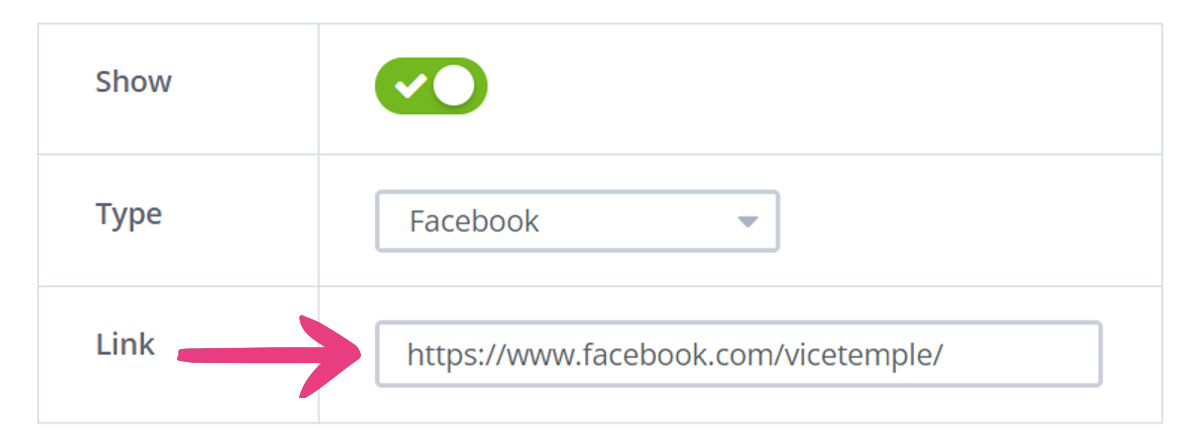
Finally, enter the URL for the social media page that the icon will link to.

Repeat the process to add more social icons.
Step 4
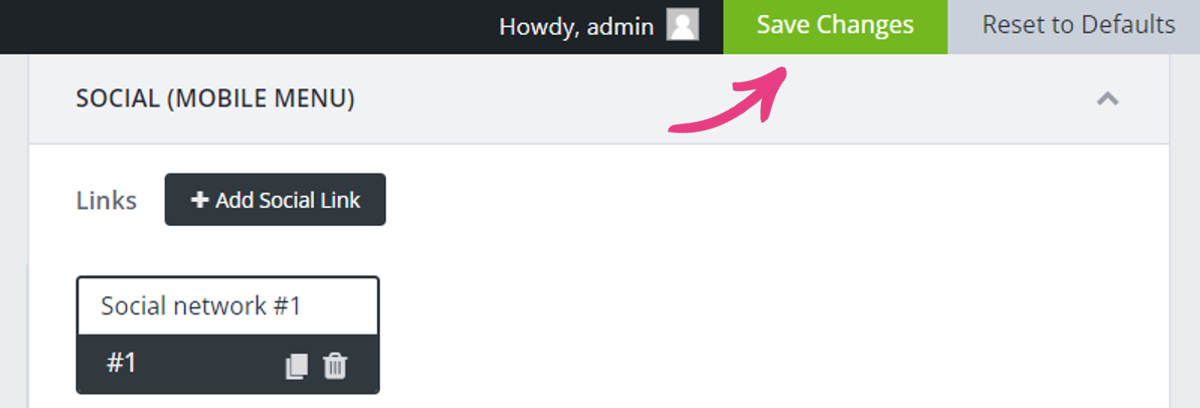
After adding your links, click the Save Changes button at the top to publish them on the website.

Footer
The footer supports up to 16 social icons (arranged in a 2 by 8 grid) and a caption text above them.

To start editing the footer’s social section, select the Footer tab on the Theme Options page.

Caption Text
The caption text is enabled by default. To hide it from the footer, navigate to the Social section and switch off the Show toggle under Caption.

If you wish to change the caption, enter a new text in the Text field, which is also located under Caption.

With that done, click Save Changes at the top to apply your changes.
Social Icons
Navigate to the Social section and follow the steps described under Mobile Menu to add new icons to the footer.


