How To Enable Or Disable Video Card Trailers
Video trailers are short preview clips of a video that play when a user hovers their mouse pointer over a video card. They are intended to give users a quick glimpse of what a video contains.
This article will show you how to enable or disable video card trailers on your ModelX website and how to add them to your videos.

Before you begin, you will need to navigate to your website and log in with your admin account. Click the member icon in the top right corner of your website to access the login area.

After clicking the icon, you will find yourself on the Login page. Enter your Username or email into the Username or email field, your password into the Password field, and press Sign in.

Note: You can find your admin login details in one of the support tickets in the Vicetemple client area. If you’re not sure where to find them, feel free to send us a message over live chat.
Toggle the Trailer Feature
Once you’re logged in, hover over the website name in the admin toolbar at the top, and click Theme Options when the menu appears.

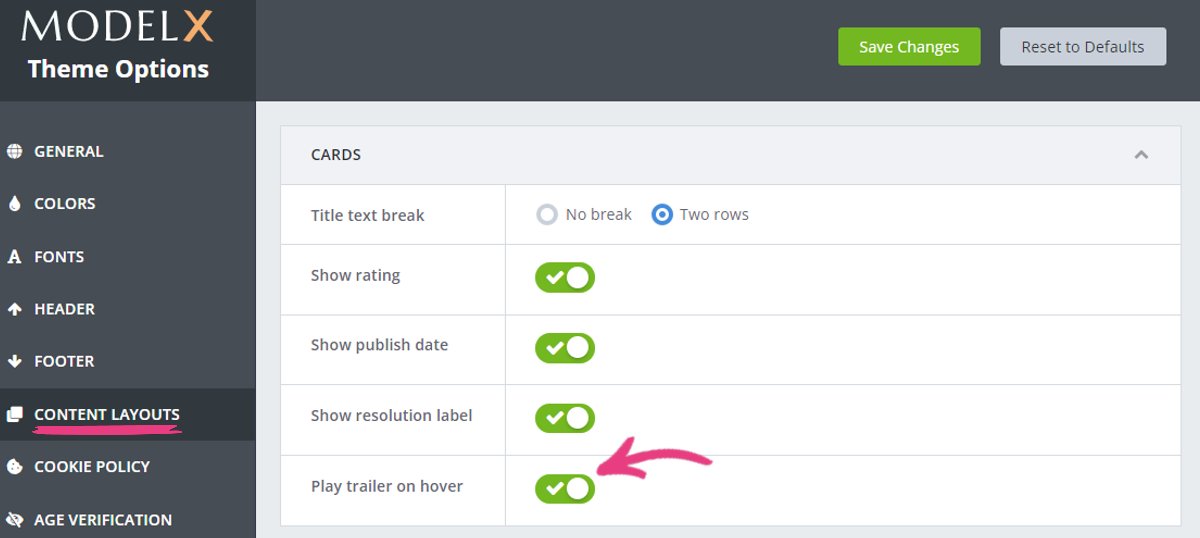
Then, select the Content Layouts tab on the Theme Options page.
The Play trailer on hover switch allows you to toggle trailers on and off with ease. This option is enabled by default, as shown below.
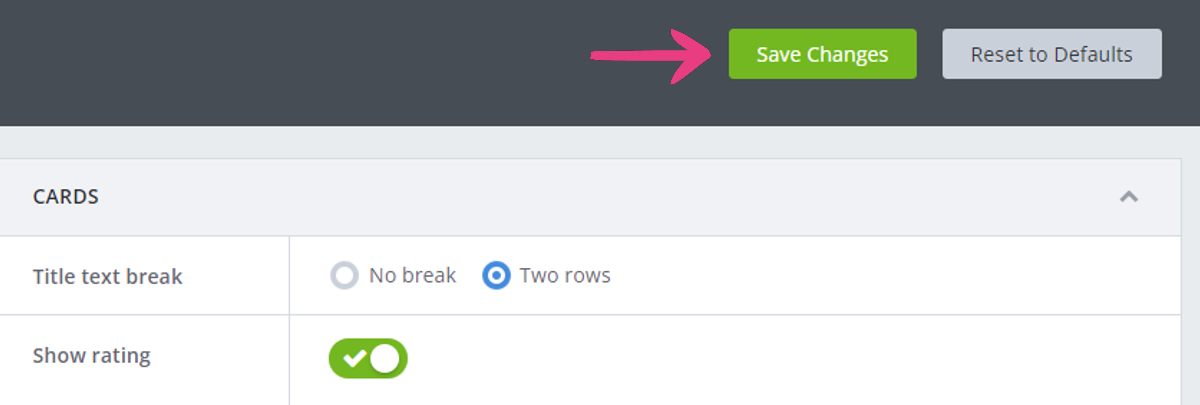
After you enable or disable trailers, click the Save Changes button.
Add a Video Trailer
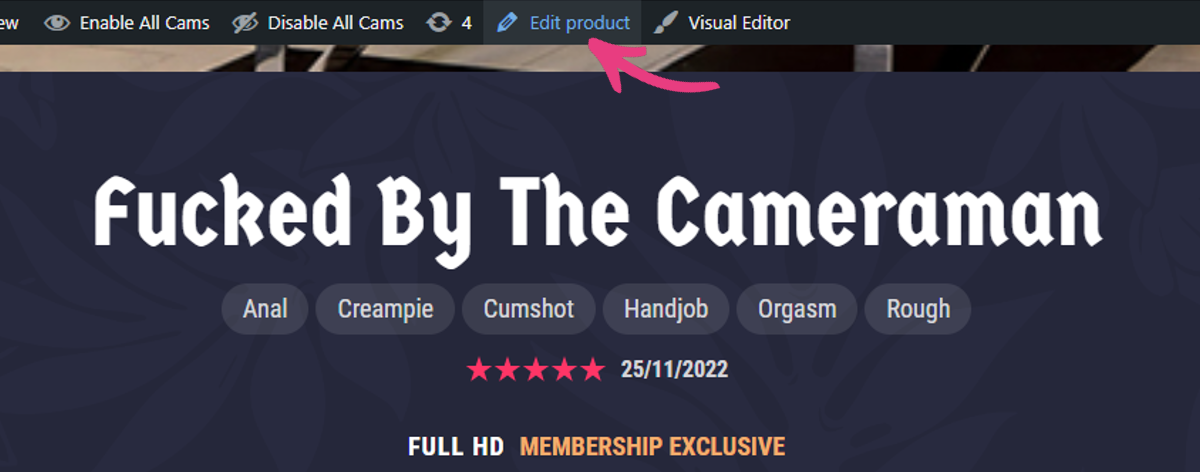
To add a trailer for a video, navigate to the video you want to edit and click Edit product.
On the Edit Product page, locate the Video Preview field and add the video you want to use as a trailer.
You can add the video using one of the following methods: direct video link or direct upload.
Direct Video Link
Paste a direct link to the video into the Video Preview field. The preview video can be hosted on any website as long as the URL is publicly accessible and ends with one of the supported video extensions (mp4, webm, m4v, or mov).

Direct Upload
Click the Upload file button at the end of the Video Preview field.

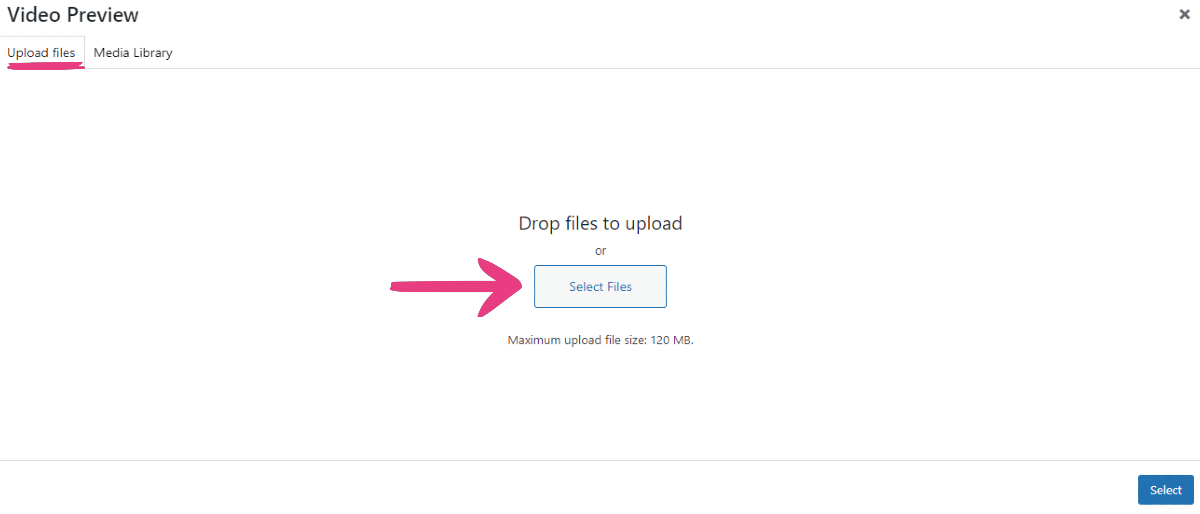
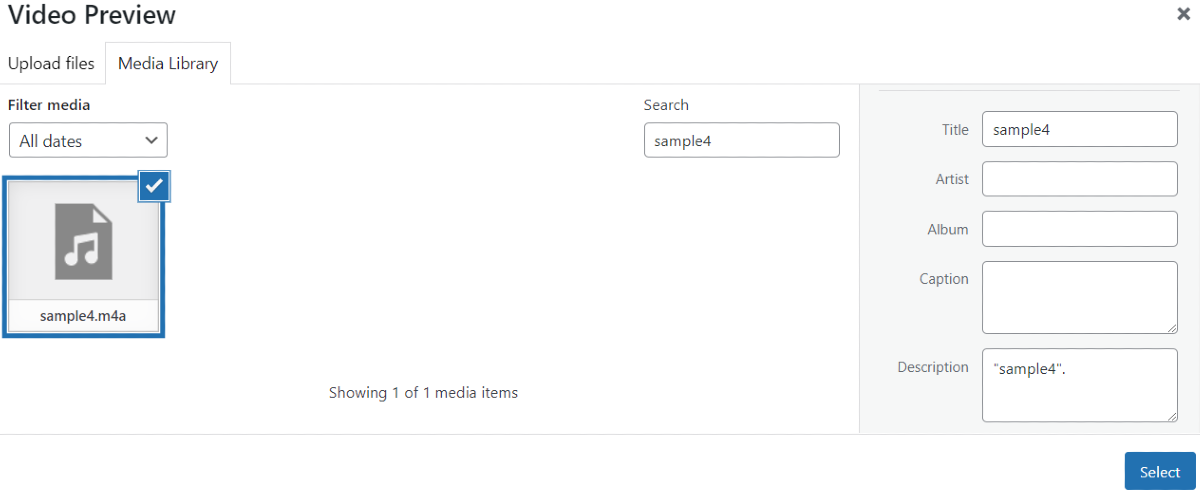
Once the Video Preview popup opens, select the Upload files tab and click on the Select Files button to upload a video from your device.
Note: The video file should contain only alphanumeric symbols (A to Z and 0 to 9), hyphens (-), and underscores (_) to avoid potential errors.
In the Media Library, your selected video preview will be highlighted with a blue frame and a check mark. Click Select to confirm your choice.
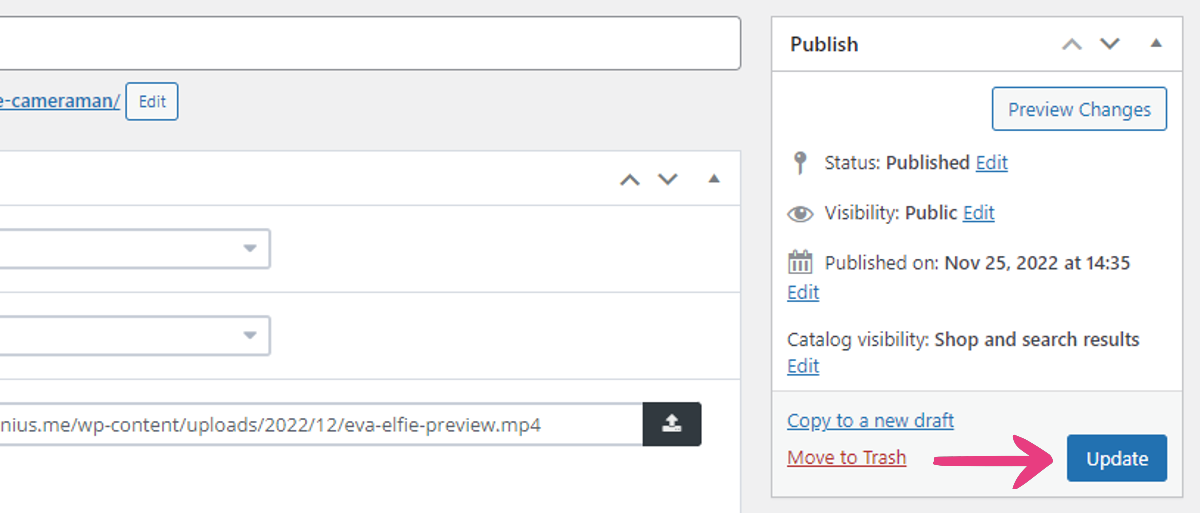
After making the desired changes, save them by clicking on the Update button.
From then on, the trailer will be shown when your visitors hover the video product.
Important: Once the trailer option is enabled, the Video Preview field is shared between two features — the video player on video pages (preview) and video cards (trailer).


