How To Change Fonts
This article will guide you through the process of changing fonts on your ModelX website in a few simple steps.
Keep reading to get started.
Step 1
Navigate to your website and log in with your admin account. Click the member icon in the top right corner of your website to access the login area.

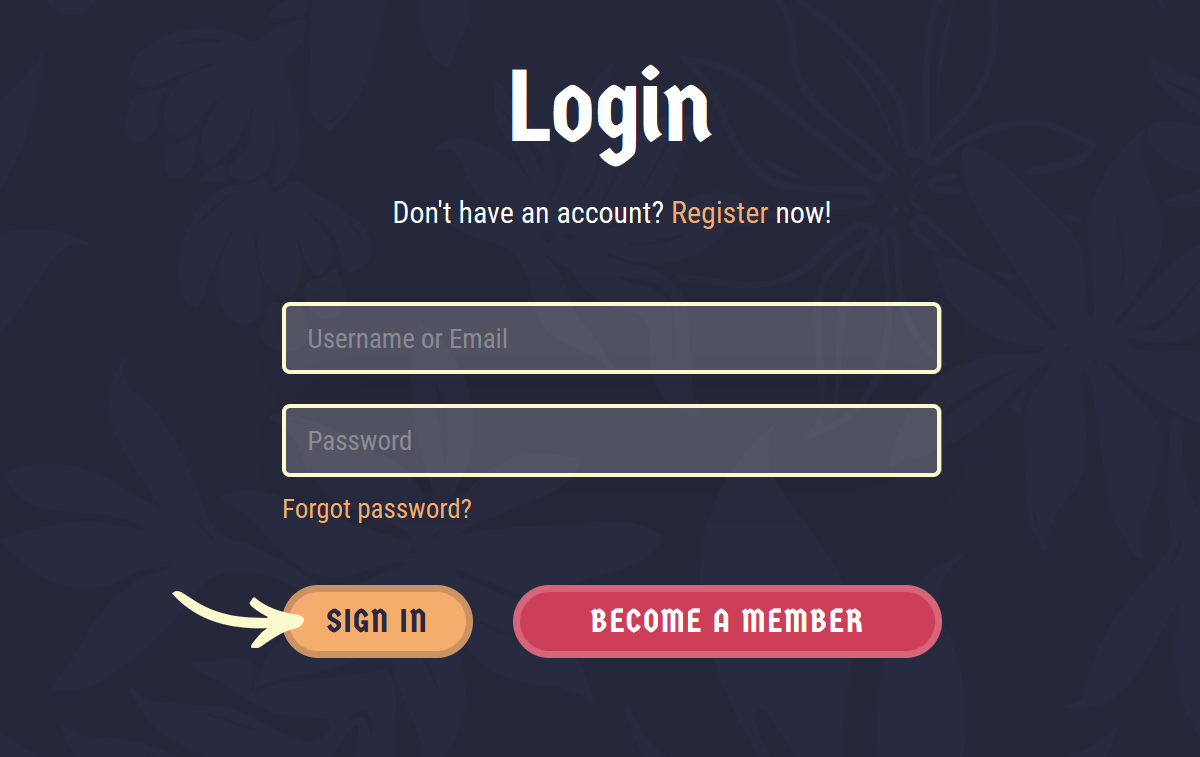
After clicking the icon, you will find yourself on the Login page. Enter your Username or email into the Username or email field, your password into the Password field, and click on Sign in.

Note: You can find your admin login details in one of the support tickets in the Vicetemple client area. If you’re not sure where to find them, feel free to send us a message over live chat.
Step 2
Once you’re logged in, hover over the website name in the admin toolbar at the top, and select Theme Options when the menu appears.

Then, find and select the Fonts tab on the Theme Options page.

Step 3
The theme’s font properties are separated into seven groups: Main, Header Menu, Footer Menu, Headings, Links, Primary Buttons, and Secondary Buttons, each affecting a specific set of elements, as explained further below.
Tip: Visit Google Fonts to preview the available fonts.
Main
The Main group consists of three options: Font family, Font size, and Line height.
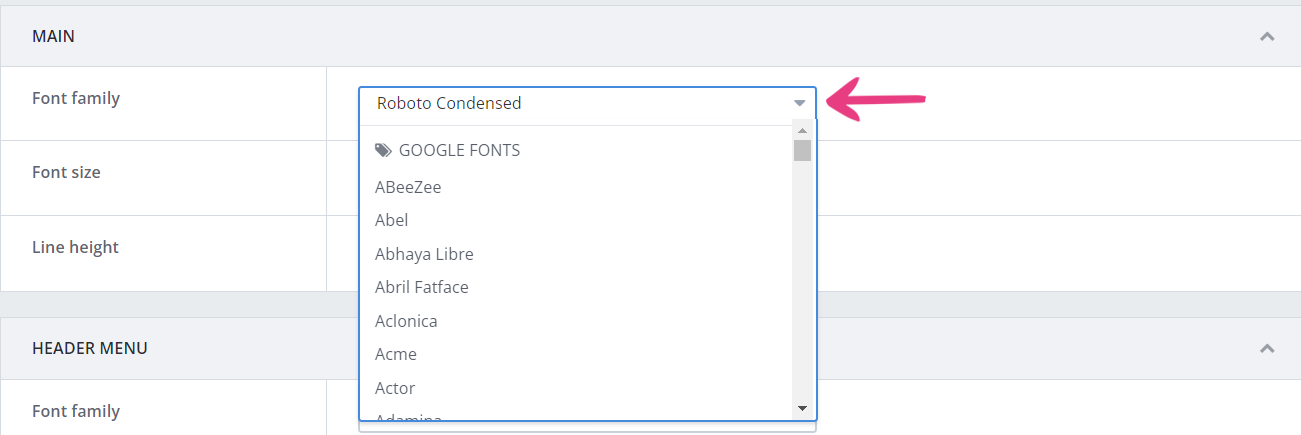
Font family
The first option — Font family — lets you select the font family that will be used for most texts on your site, excluding buttons, headings, and links, which have their own options.

Font size
The next option — Font size — lets you adjust the size of most texts on your site in pixels, excluding buttons, headings, and links.

Here’s a side by side comparison of the default font size (18px) and a new value (20px).

Line height
The Line height option lets you change the height of all text lines on your website, including buttons, headings, and links.

This option is configured in percentages and supports values above 100%.
For example, 200% line height will double the vertical space occupied by each text row compared to its default height of 100%. See the example below.

Header Menu
The Header Menu group consists of two options with identical purpose and functionality as their Main counterparts. Those options are Font family and Font size, affecting the font and font size of the header menu’s links, respectively.
The header menu is often referred to as the navbar or main menu.

Follow the instructions described under Main to change these options.
Footer Menu
The Footer Menu group consists of the same two options as Header Menu: Font family and Font size. These options affect the font and font size of the footer menus’ links.

Headings
The Headings group lets you change heading properties the same way you edited them for the previous text elements. The Font family option lets you change the font of all headings across the website.

In addition, each heading level, ranging from h1 to h6, has two options — Font size (desktop) and Font size (mobile) — that will let you set the headings’ font size on desktop and mobile devices, respectively.

For example, adjusting the H1 headings options will change the size of your page titles.

Links
Similar to previous groups, the Links group’s options — Font family and Font size — let you change the font and font size of all links on the website, except for those in the header and footer menus.

Buttons
The Primary Buttons group’s options — Font family and Font size — lets you change the font and font size of all primary buttons’ texts, while the Secondary Buttons group’s options (also Font family and Font size) let you do the same for secondary buttons.

Note: The primary button is depicted on the right, while the left one is a secondary button.
Step 4
When you’re done customizing your fonts, click the Save Changes button at the top to apply your choices.


