How To Customize The Cookie Policy Prompt
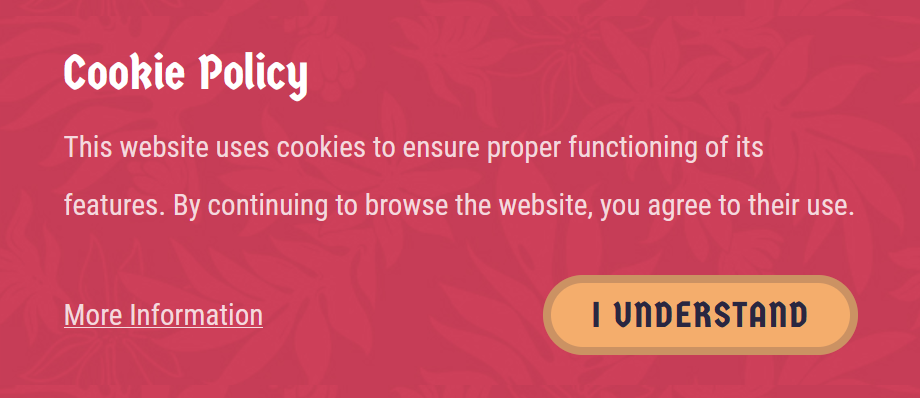
The ModelX theme is a premium product that allows you to easily customize every section of your website. That includes tweaking your cookie policy prompt, which will be covered in this guide.
Step 1
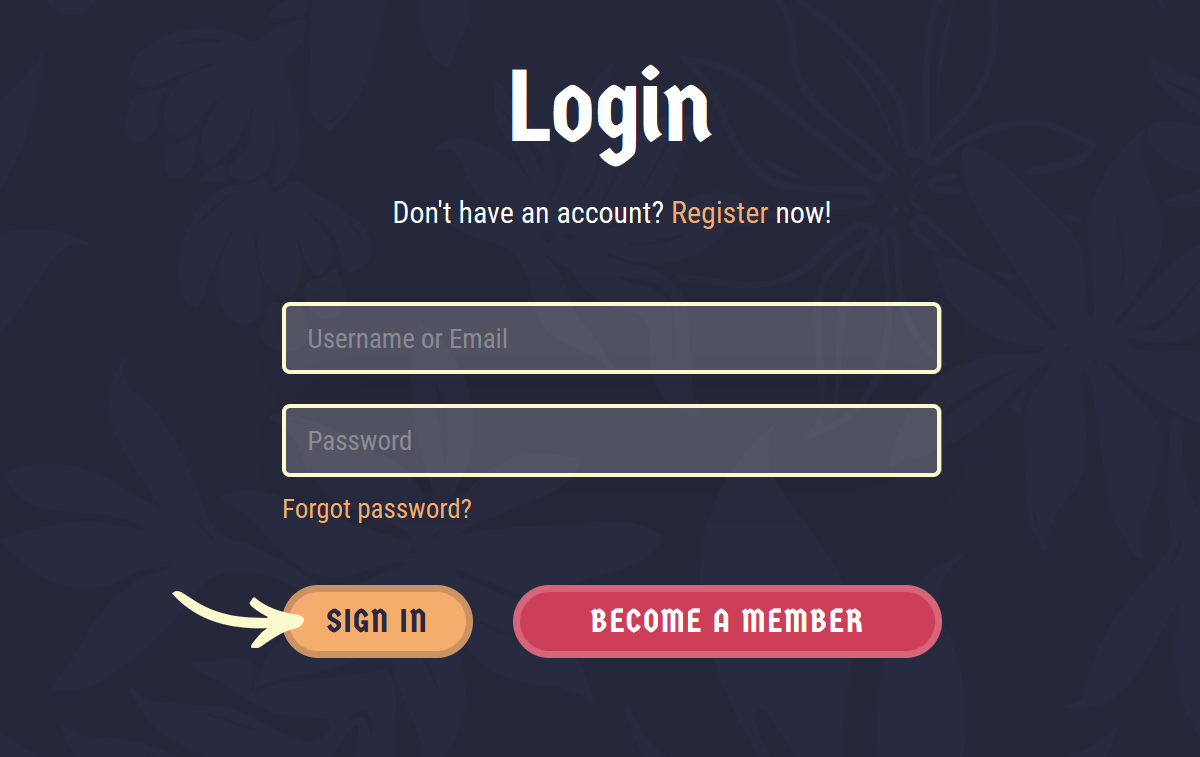
Navigate to your website and log in with your admin account. The Login page can be accessed by clicking the member icon in the top right corner of your website.

After clicking the icon, you will find yourself on the login screen. There, enter your username or email into the Username or email field, your password into the Password field, and press Sign in.
Note: You can find your admin login details in one of the support tickets in the Vicetemple client area. If you’re not sure where to find them, feel free to send us a message over live chat.
Step 2
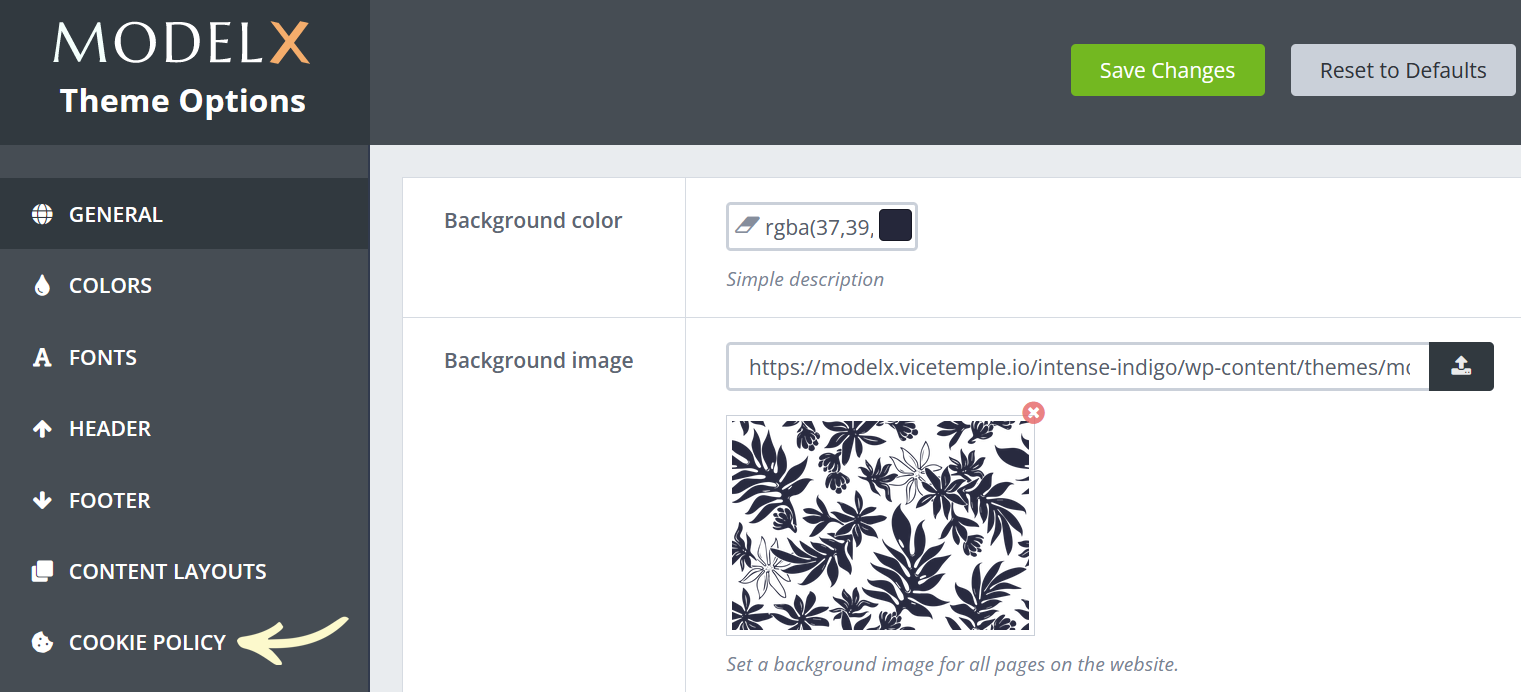
After logging in, hover over the website name in the admin toolbar at the top, and click on Theme Options in the drop-down menu.

On the Theme Options page, select the Cookie Policy tab from the sidebar.
Step 3
The Cookie Policy page comes with eight pre-built customization options, which will allow you to cover every aspect of the cookie prompt.
Read on to find out how to use each of those options.
Enable
The Enable switch allows you to easily enable or disable the cookie prompt for first-time visitors. By default, the cookie prompt is enabled, as shown below.

If you wish to disable the cookie prompt, simply toggle the switch off and press Save Changes.

When you toggle the switch off and save the changes, the cookie prompt will be disabled and it will not be shown to anyone on your site.

Please note that you can personalize the cookie prompt only if the toggle is set to Enabled. Disabling the prompt will disable all customization settings.
Title
You can edit the text displayed at the top of the cookie prompt by entering your preferred text into the Title input field.

Content
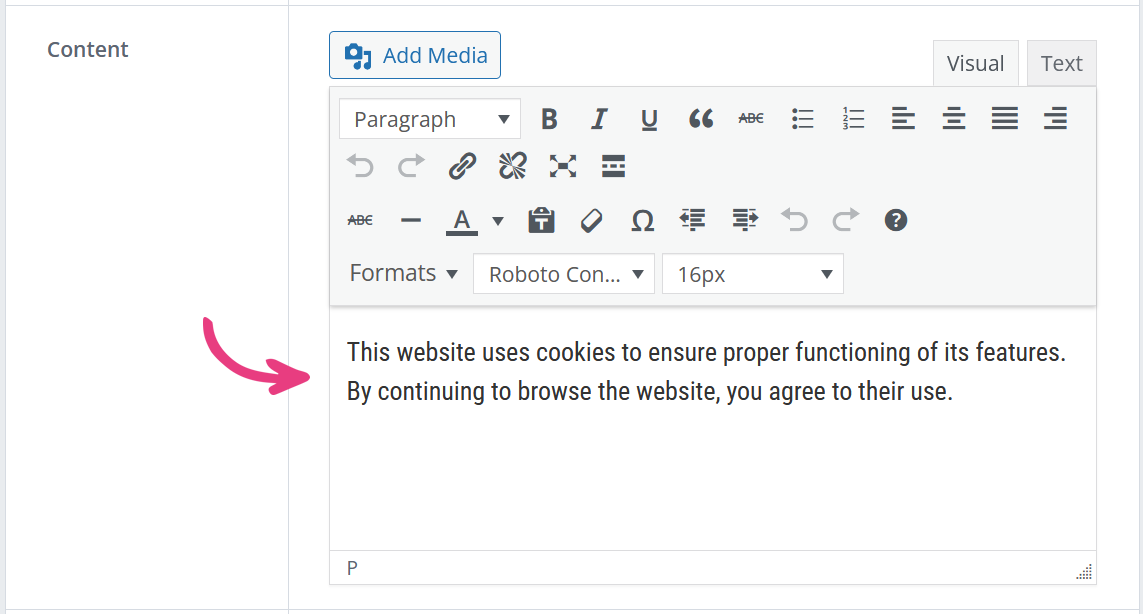
Next, you can edit the cookie prompt’s content using the Content section on the Cookie Policy page. This section uses a standard text editor that supports numerous features, including, but not limited to, text formatting, media files, and links.
Button Text
You can edit the name of the button that’s displayed within the cookie prompt using the Button Text section.

Link Text
The Link Text section allows you to rename the link that will lead your visitors from the cookie prompt to the Cookie Policy page.

Link URL
The Link URL field lets you specify which page your visitors will be sent to when they click on the link text defined in the previous section.

Background Color
To recolor the background of your cookie prompt, you can use the Background Color section. Simply enter the hex, RGB, or RGBA code of your preferred color or click on the colored square to pick a hue from the color wheel.

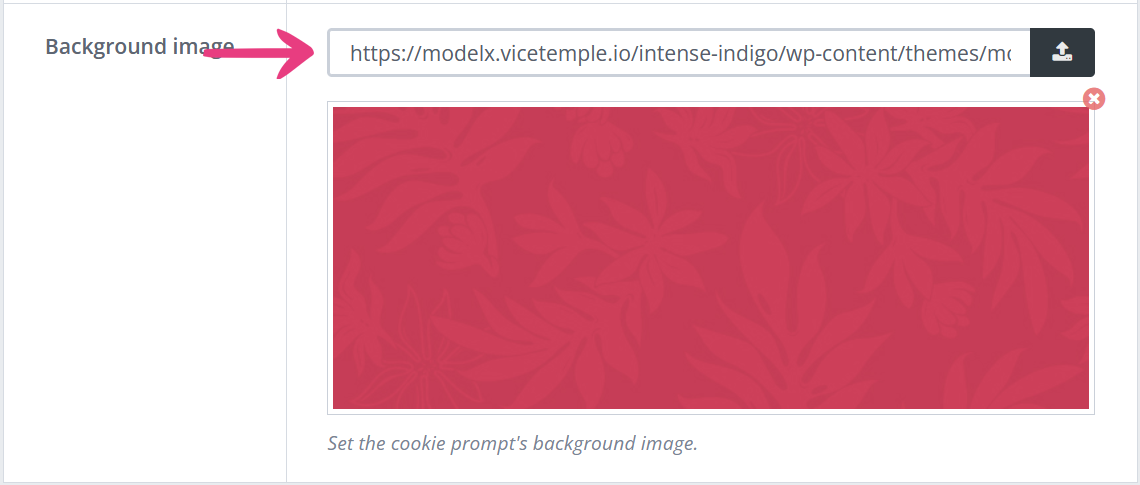
Background Image
You can also configure an image to be shown as the background of the cookie prompt. To do so, just click on the Upload Image button.
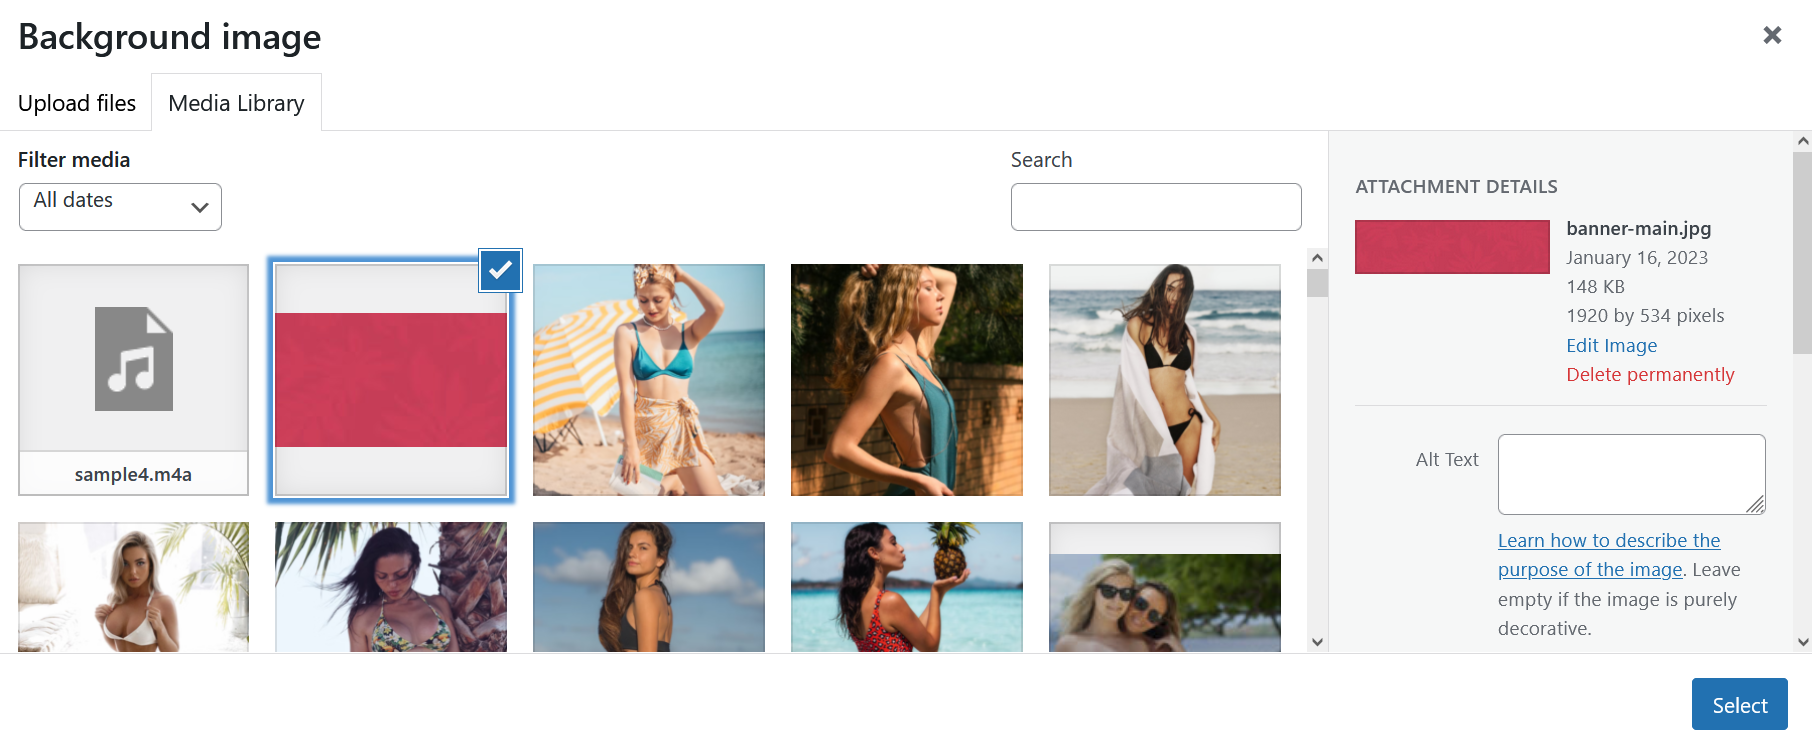
You can drag and drop an image from your device to upload it to the Media Library, or click an existing image from the library to select it. Your selected image will be highlighted with a blue frame and a check mark.
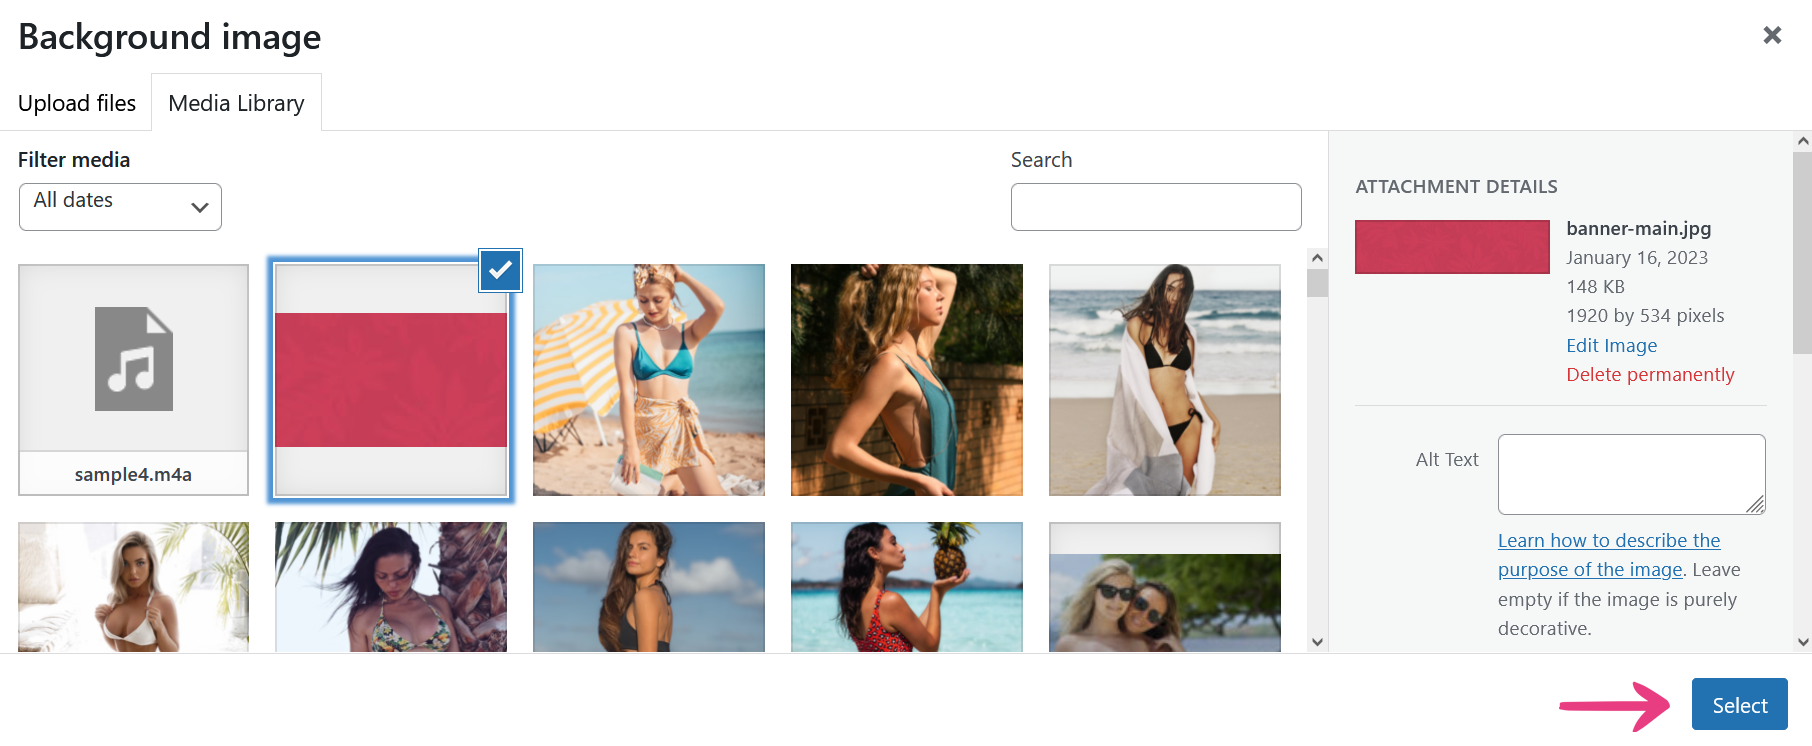
Press Select to confirm the selection.
Step 4
Once you finish customizing all the settings, press the Save Changes button at the top.

Your cookie policy prompt will instantly be updated.


