How To Edit The ModelX Main Menu
ModelX is the first — and most advanced — WordPress theme designed for adult models and content creators. Among its many features, the theme lets you easily customize your main menu by:
- Adding new links
- Editing existing links
- Removing links
- Creating nested menus
Read on and learn how to edit your main menu and start customizing your ModelX website.
Step 1
Navigate to your website and log in with your admin account. The Login page can be accessed by clicking the member icon in the top right corner of your website.

After clicking the icon, you will find yourself on the login screen. There, enter your username or email into the Username or email field, your password into the Password field, and press Sign in.
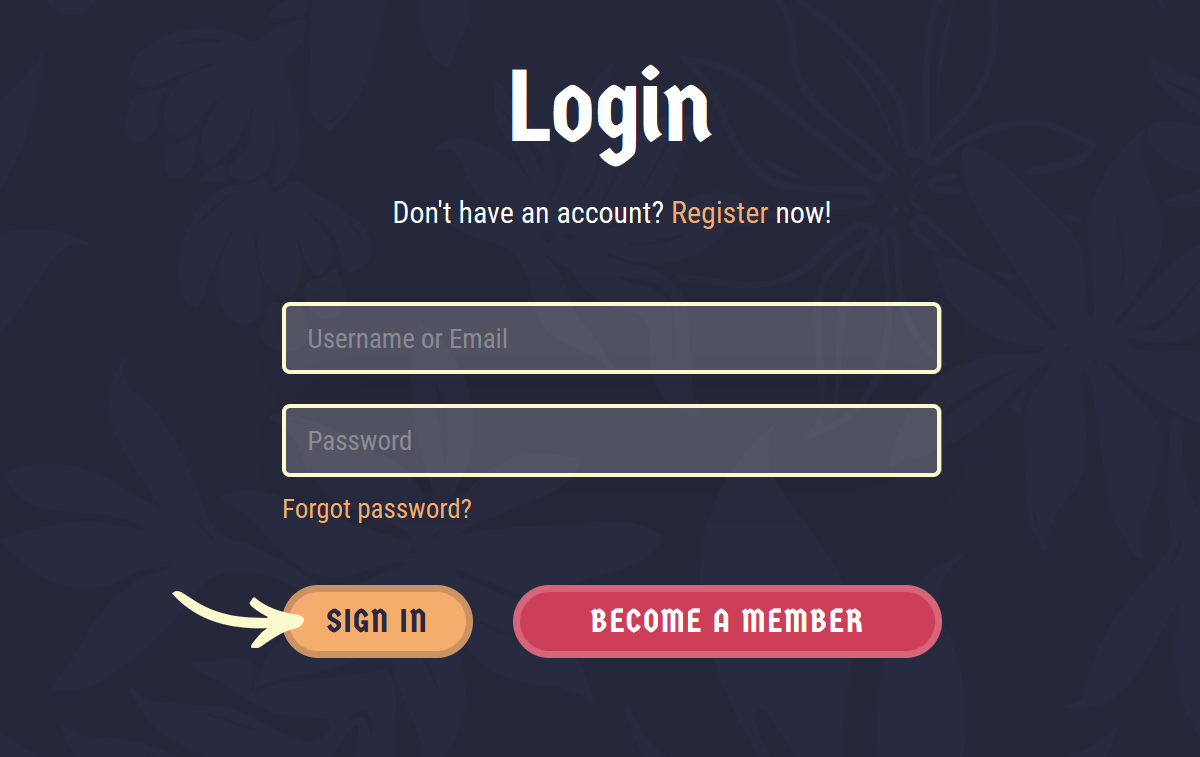
Note: You can find your admin login details in one of the support tickets in the Vicetemple client area. If you’re not sure where to find them, feel free to send us a message over live chat.
After logging in, hover over your website’s name in the admin toolbar at the top, and click WordPress Dashboard once the menu appears.

Step 2
Scroll down the page and locate the Appearance option in the sidebar on the left, hover over it, and select Menus when the menu expands.

After the page loads, make sure that you have Main Menu (Main Menu) selected under the Select a menu to edit option. If it’s not displaying, choose it from the drop-down list and click Select.

Step 3
Below the select option, there are two sections: Add menu items and Menu structure, in which you can add new links to the main menu and edit the existing ones, respectively.

Add New Links
The Add menu items section will let you link to any existing page, product, or post from the main menu, as well as add custom links.
Link Page, Product, or Post
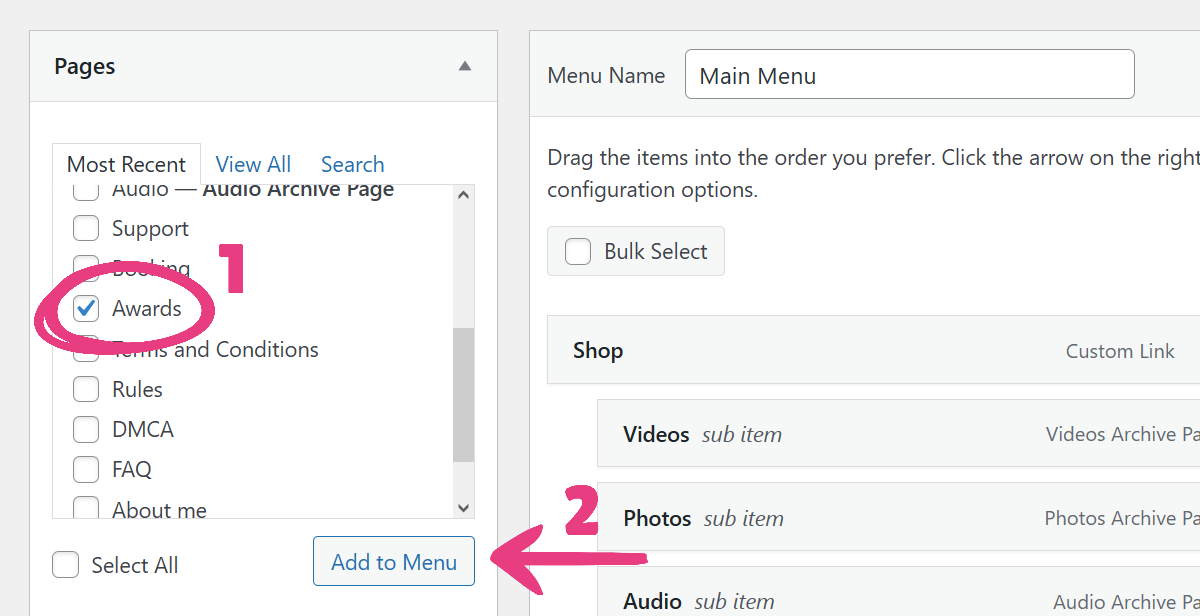
To add a page, product, or post, expand its corresponding group by clicking on the arrow.

Then, tick the checkbox next to that page, product, or post, and click on the Add to Menu button.
Add Custom Link
To add a custom link, locate and expand the Custom Links group.

Then, enter the custom link and the link text that will be shown in the menu into the URL and Link Text fields, respectively. With that done, click on the Add to Menu button.

Edit Existing Links
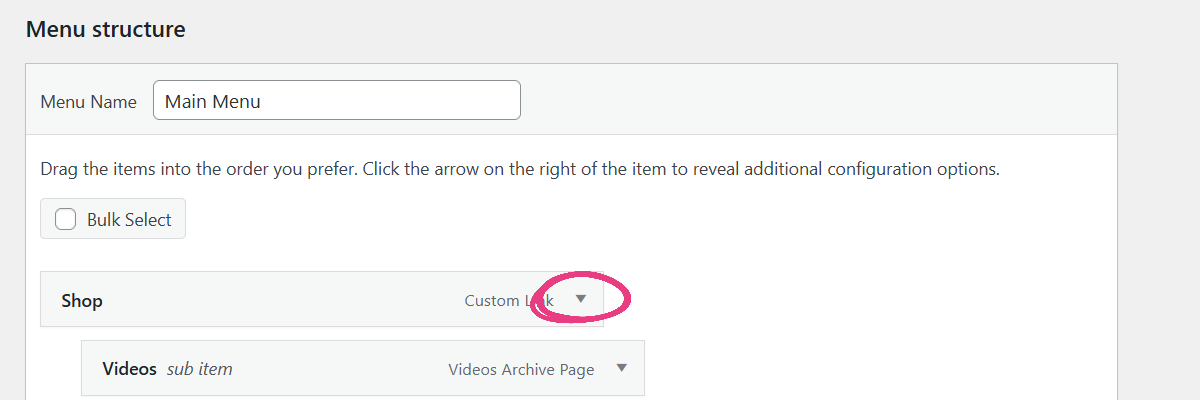
You can rearrange the existing main menu links by dragging them in the Menu structure section. In addition, you can change a link’s properties by clicking on the arrow icon.
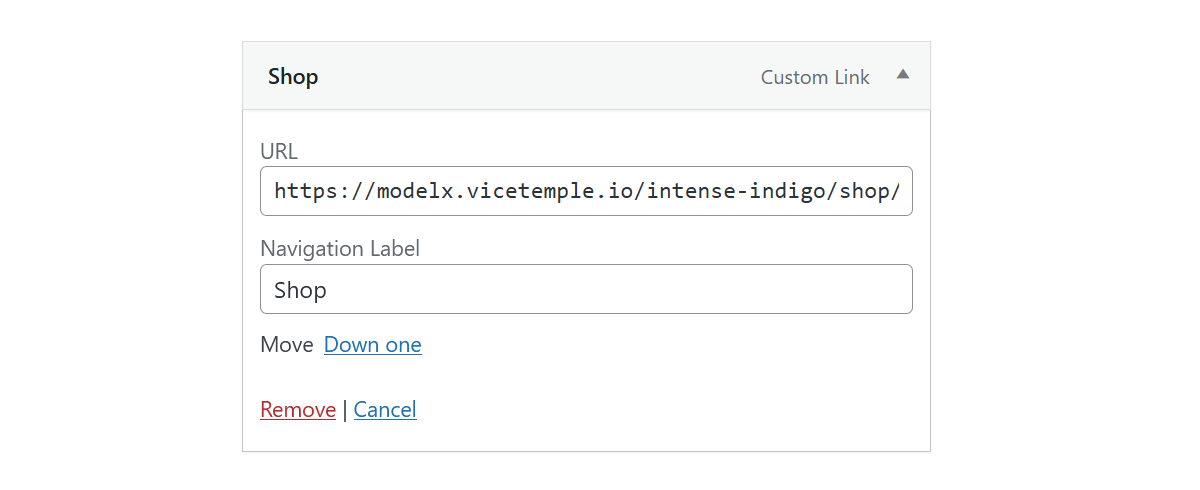
You can change a custom link’s URL and displayed text in the URL and Navigation Label fields, respectively. For a linked page, or product, or post, though, you can only change the text.
Remove A Link
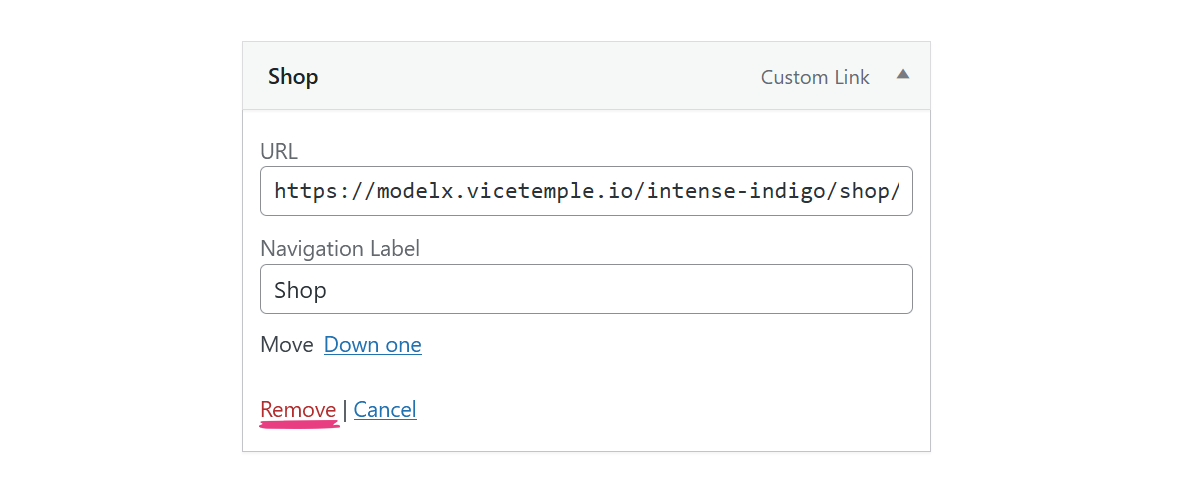
To remove an existing link from the main menu, click the arrow icon to expand it — as described above — and click the Remove link.
Create Nested Menus
To create a nested drop-down menu that will appear to your visitors when they hover its name, add a custom link — as described under Add Custom Link — and enter only the hashtag symbol (#) into the URL field.

Then, follow the instructions under Link Page, Product, or Post and Add Custom Link to include the links you want in the drop-down menu.
Once you’ve added all your links, locate them in the Menu structure section and expand the first one.

Locate and click the Under <nested menu name> link below the Navigation Label field, which will nest it under the link above.
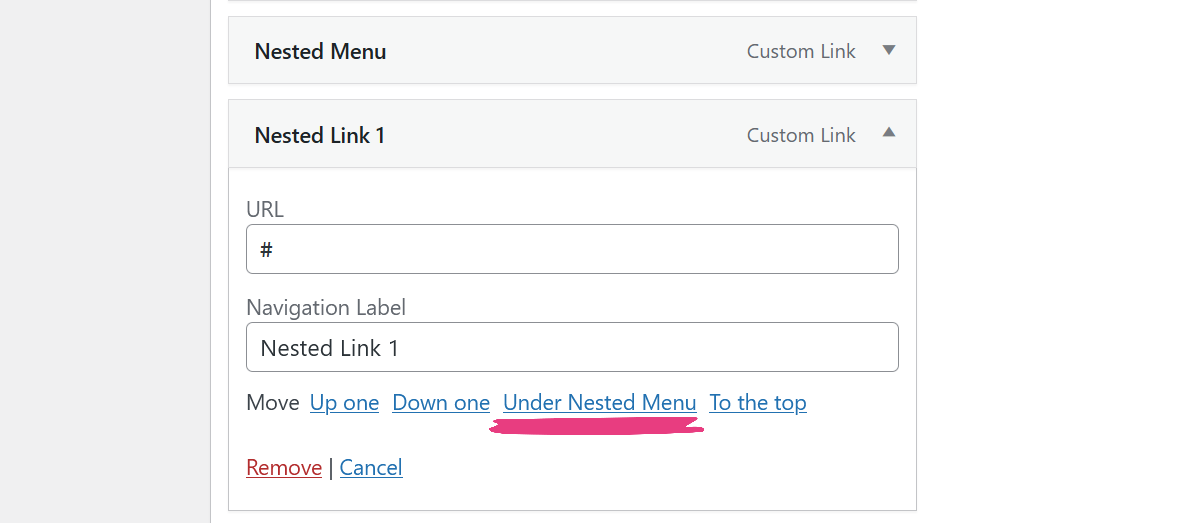
Repeat the process for all subsequent links until they are all nested.

Step 4
After applying all the desired changes, click Save Menu to confirm the changes and display them on your website.


