How To Install ModelX Plugins
Every version of the ModelX theme comes with the following 15 exclusive plugins:
- Age Verification — Adds a customizable age gate for websites that feature explicit content.
- Audio — Extends WooCommerce’s functionality to add audio products with various access possibilities and customizable audio sections.
- Events — Add the Events page and functionalities to your website.
- Filters — Expand WooCommerce’s functionality by adding custom filters to your shop pages.
- Subscription Posts — Adds a private feed to the member area and the ability to share exclusive posts with your subscribed members.
- Photos — Extends WooCommerce’s functionality to add album (photo set) products with various access possibilities and customizable album sections.
- Preloader — Adds a responsive loading screen to your website.
- Videos — Extends WooCommerce’s functionality to add video products with various access possibilities and customizable video sections.
- Product History — Adds a watchlist feature to your site, letting members review the items they recently viewed in the shop.
- Wishlist — Adds a customizable wishlist to your website, letting fans treat you with gifts.
- Friends — Create and expand a network of friends and feature them on your website — complete with links to their social media.
- ModelX Slider — Create fully customizable and responsive sliders using several distinctive layouts.
- Links — Adds link functionalities to your website, allowing you to create a dedicated link page, display the links in a pop-up, or add them as a section on any page.
- Tips — Adds tipping features to your website that will allow your visitors to support you with donations.
- CCBill Payment Gateway — Integrates CCBill’s payment solutions on your website.
Each plugin can be disabled (or even deleted) at any time, and if you’ve done just that and wish to enable it again, this guide will help you reinstall it in a few simple steps.
Read on to get started.
Step 1
Navigate to your website and log in with your admin account. Click the member icon in the top right corner of your website to access the login area.

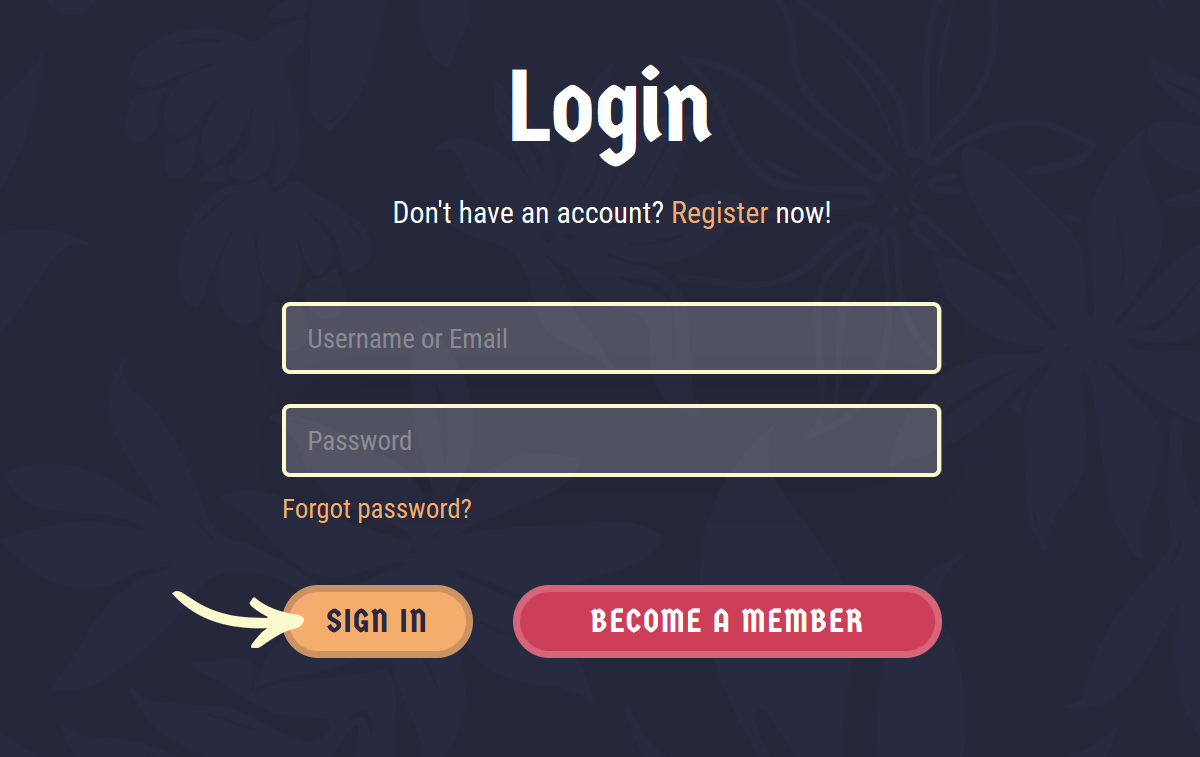
After clicking the icon, you will find yourself on the Login page. Enter your username or email into the Username or Email field, your password into the Password field, and click Sign In.

Note: You can find your admin credentials in one of the support tickets in the Vicetemple client area. If you’re not sure where to find them, feel free to send us a message over live chat.
Step 2
Once you’re logged in, hover over the website name in the admin toolbar at the top, and click Theme Dashboard when the menu appears.

Then, select the Plugins tab and find the desired plugin — in our example, we’ll go with ModelX Age Verification. If the plugin was removed entirely from your site, click the Install button to add it again.

You will be directed to the Install Required Plugins page, where you should click the Install option again, located below the plugin’s name.

The plugin will begin installing automatically, and once that process is completed, a message saying All plugins installed and activated successfully will be shown.

Your plugin is now installed and ready to use.


