How To Upload Media Files To WordPress Via FTP
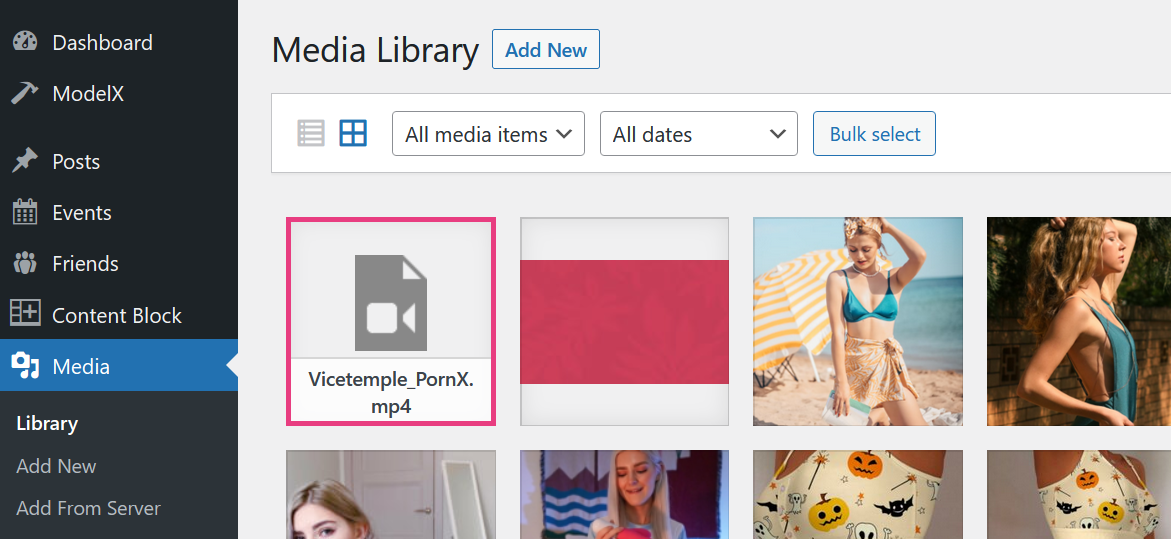
If you upload files to your server via FTP, you’ll notice that they’re not showing in your website’s Media Library. To make that happen, you’ll need to register those media files with WordPress.
While there are many methods to register your files, this article will cover the quickest way to do it using the Add From Server plugin.
Follow the steps below to begin.
Step 1
Navigate to your website and log in with your admin account. If you’re using Vicetemple’s themes but are not sure how to log in, please check one of the following articles:
- How To Log Into Your ModelX Website
- How To Log Into Your TeaseX Website
- How To Log Into Your PornX Website
Once you are logged in, navigate to the dashboard by hovering over your website’s name in the top left corner and clicking any available dashboard option from the drop-down menu.

Step 2
Locate and hover over the Plugins option in the sidebar on the left and click on Add New when the menu appears.

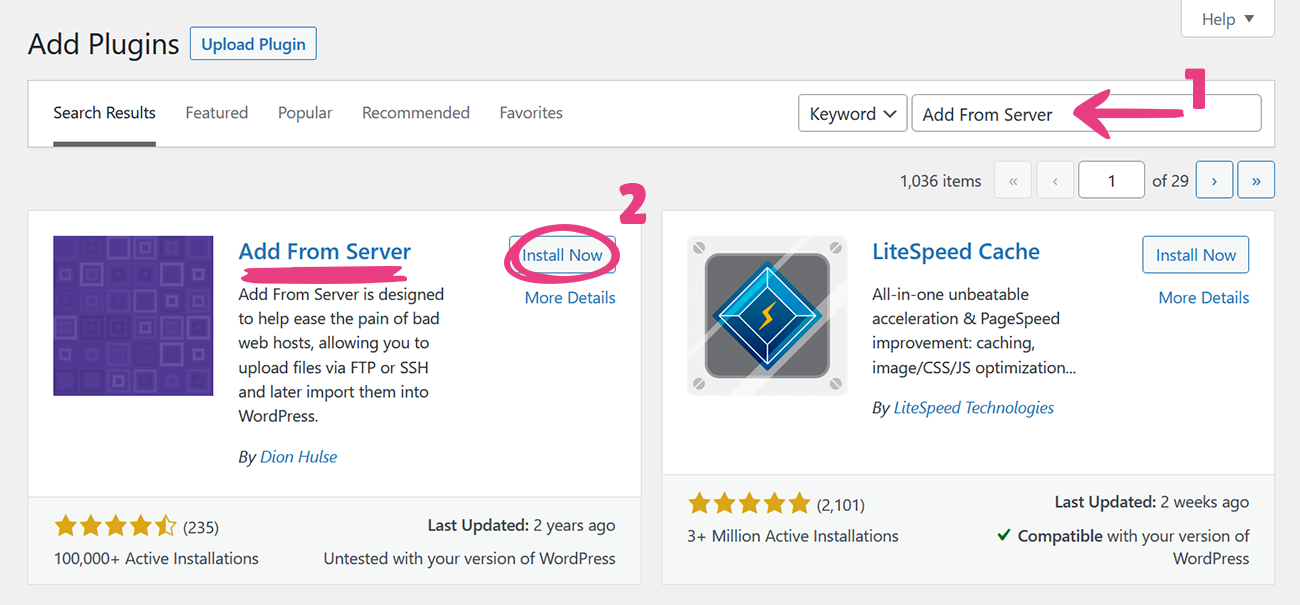
After the Add Plugins page loads, type Add From Server into the search box on the right, find the Add From Server plugin in the results, and click Install Now.
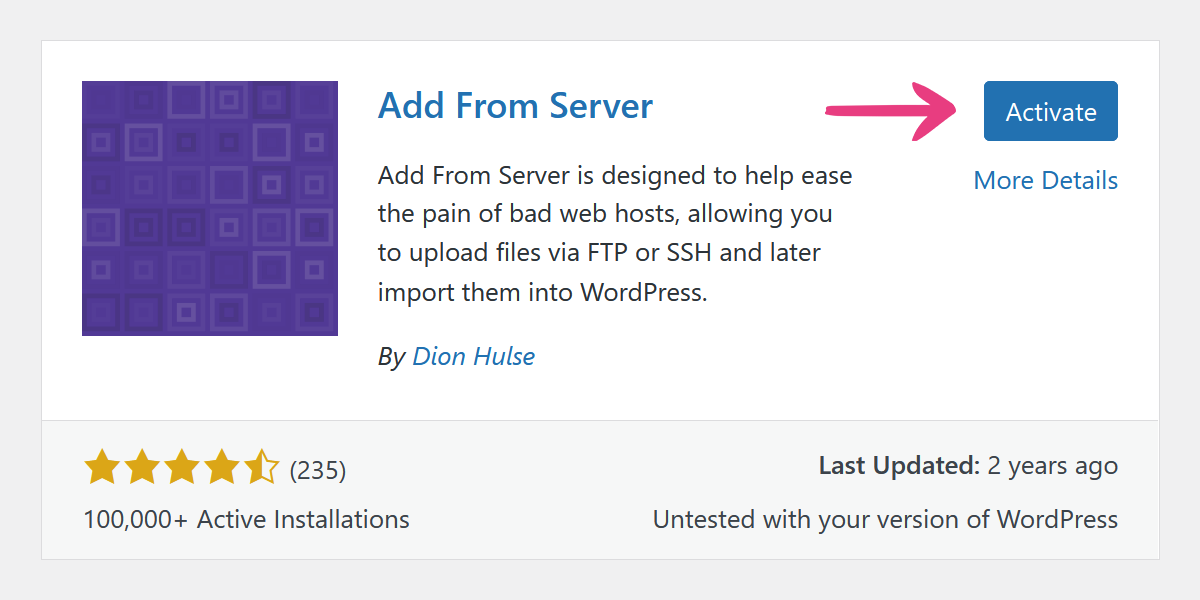
When the installation completes, click the Activate button.
Step 3
Log into your server using an FTP client — our go-to choice is FileZilla. You can do this by entering your address, username, and password into the Host, Username, and Password fields, respectively, and clicking Quickconnect.
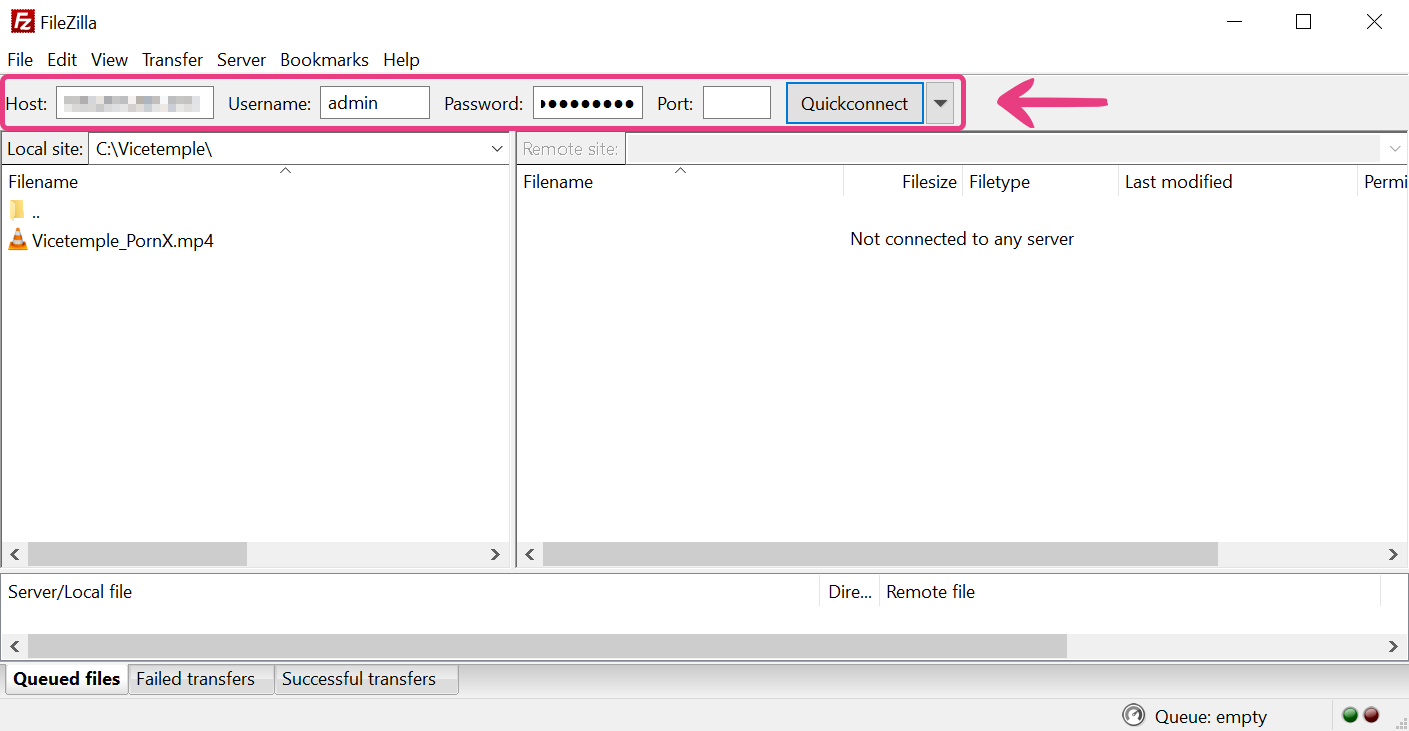
Note: If you’re not sure where to find your FTP login details, feel free to send us a message over live chat or submit a ticket.
Once you are logged in, navigate through your server in the Remote site section on the right and locate the /wp-content/uploads folder.

Note: The wp-content folder is most commonly located within public_html. The complete path to the folder might look like the following example:
…web/your-website.com/public_html/wp-content/uploads
If you can’t find the /wp-content/uploads folder, feel free to open a support ticket.
After that, locate the media files you want to upload from your device in the Local site section on the left, and drag them into the uploads folder to copy them to your server. You can add as many files as you wish.
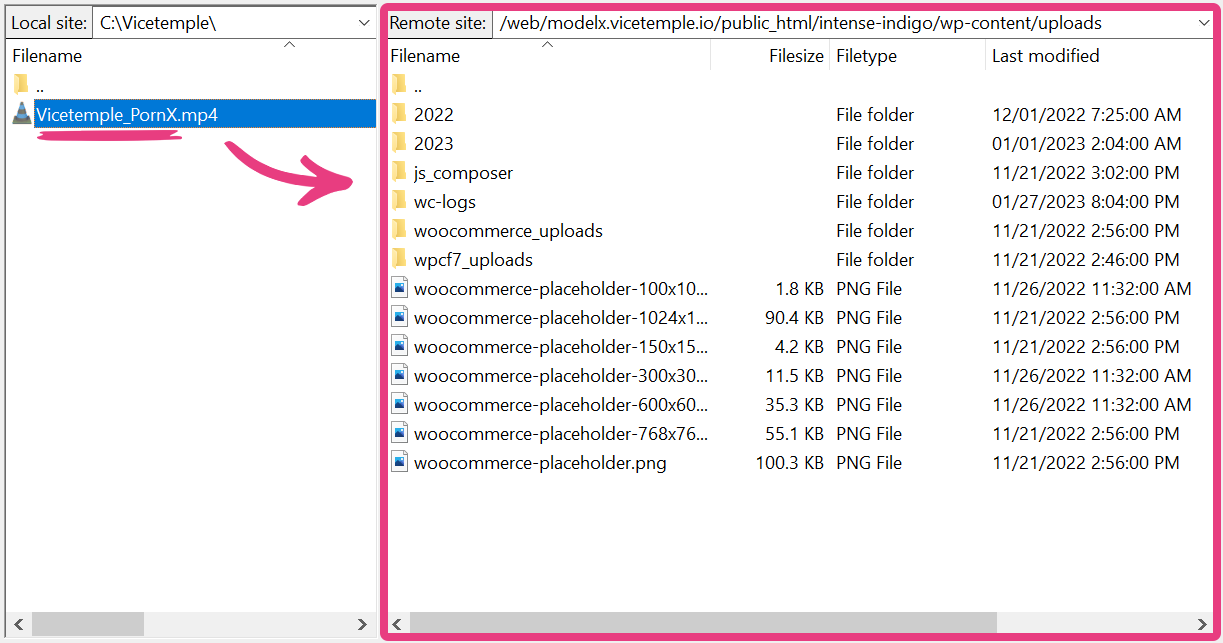
Note: The files should contain only alphanumeric symbols (A to Z and 0 to 9), hyphens (-), and underscores (_) to avoid potential errors.
Optional
If you wish to keep your uploads organized, you can create additional folders within the uploads folder by right-clicking anywhere in the right section and selecting Create directory. Any files you place into those directories will be uploaded and fully usable — as if you placed them in the main folder.

Finally, wait for the transfer to finish. Depending on the size of your upload(s), the process may take some time to complete.

Step 4
Go back to your website’s admin area, hover over the Media option, and select Add From Server when the menu appears.

Once the page loads, select the uploads/ folder.

Within the folder, you’ll see a list of your uploaded files. Tick the checkboxes next to the files you want to register, and click on the Import button.

Important: To avoid potential errors, select no more than 100 files to import at a time. For security reasons, all servers have time limits on executing actions, and selecting too many files may lead to failed imports.
Once the plugin finishes importing your files, you’ll see a success message at the top. The time required to import the selected files will depend on their number.

Your media files are now accessible through the Media Library and ready to use.
