Mass Embedder: How To Configure Auto-Import Feeds
In addition to manually embedding videos using PornX‘s Mass Embedder plugin, you can also configure auto-import feeds on your website and automatically embed videos from some of the most prominent tube sites.
Auto-import feeds are the only reliable way to avoid embedding the same content more than once. This guide will show you how to manage them.
Read on to get started.
Note: For more information on manually embedding videos using the Mass Embedder plugin, check this article.
Step 1: Login
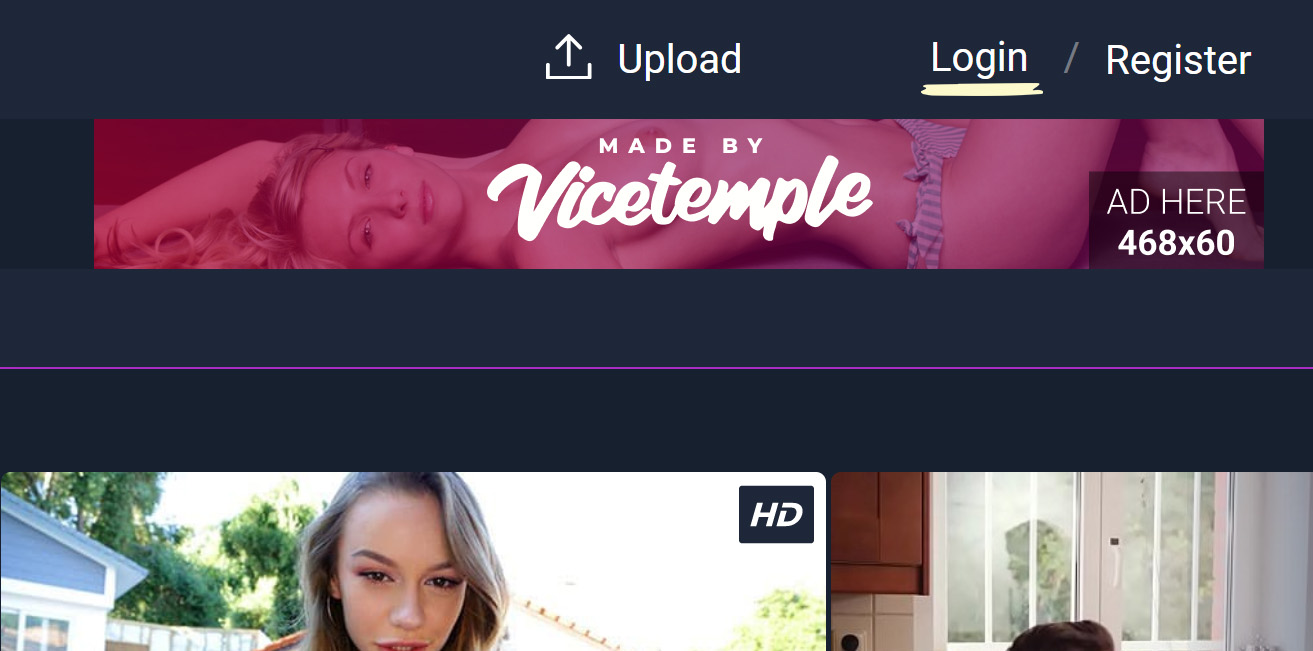
Navigate to your website and log in with your admin account. The Login option is located in the top right corner of your website.

Note: You can find your admin login details in one of the support tickets in the Vicetemple client area. If you’re not sure where to find them, feel free to send us a message over live chat.
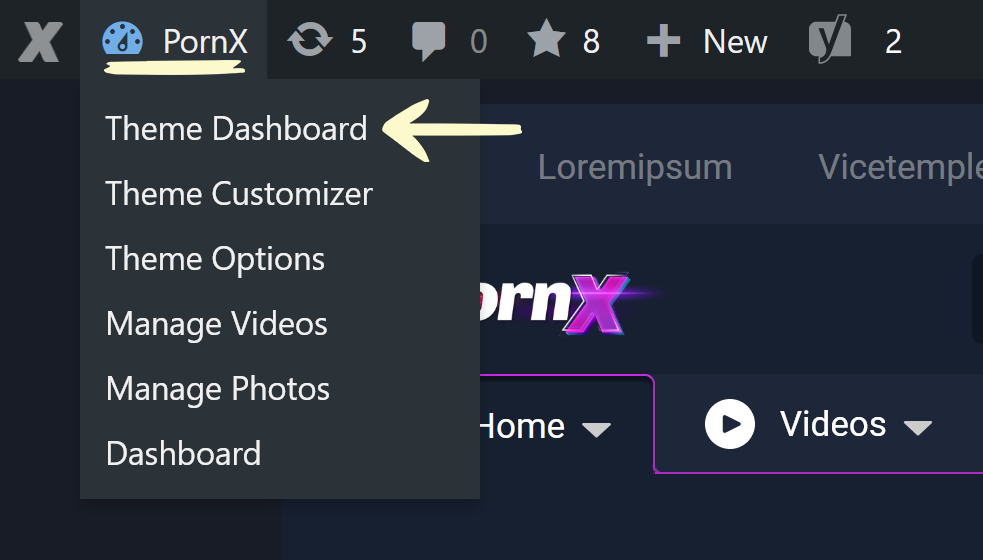
When you log in, hover over your website’s name in the top left corner of the admin toolbar and click Theme Dashboard when the menu appears.

Then, click on Mass Embedder in the sidebar on the left.

Note: If you don’t see the Mass Embedder option, the following article will guide you through installing and activating the plugin: How To Embed Videos.
Step 2: Saved Feeds
The Mass Embedder plugin saves a new import feed for each category selected from the target website. To create a saved feed for auto-importing, you must perform a manual search for the desired category and import at least one video to your site. To learn how to embed videos manually, check this guide.

A saved feed will display the following information:
- Number of imported videos
- Your website’s category to which it’s adding the videos
- The last time it embedded videos

Finally, each feed will have the following four options:
- Post status
- Auto import status
- Video search
- Delete feed
Let’s take a look at them.
Post Status
The first drop-down option lets you switch between two available post statuses: Publish and Draft. Selecting Publish will make the videos immediately available to your visitors on import, while Draft will hide them, allowing you to review them before publishing.

Auto Import Status
The second drop-down option lets you enable or disable auto-importing for the given feed by selecting Enable Auto import or Disable Auto import, respectively.

Video Search
The Search videos button will let you perform a search for the selected website and category, allowing you to embed new videos sooner and choose the videos you want to add to the site from the results feed.

Delete Feed
You can also delete a saved feed by clicking on the red X icon, which will prompt a confirmation window.

In the Delete feed confirmation window, click Delete this feed to confirm your choice and delete the feed or Cancel to keep the saved feed.

Step 3: Configuration
In addition to configuring saved feeds as described in the previous step, the Mass Embedder plugin also lets you configure its global settings, which will affect the general behavior of embeds as well as the auto-importing process. Click the Options button in the top right corner to open a new page with the plugin’s settings.

Once you’re on the Mass Embedder Options page, the plugin’s settings will be available through four groups (tabs): General, Import Settings, Theme Compatibility, and Block iFrame Redirections. Each group will be addressed below.

General
The first group of settings — General — lets you configure auto-importing and add a proxy connection.

Auto-Import
There are five auto-import options, as described below.
Auto-import default status
This option will let you set the default post status for new saved feeds as you embed videos on the website. If you want to review imported videos before making them visible to everyone, select Draft. Otherwise, select Publish to publish them immediately.

Auto-importing
The Auto-importing option toggles the default auto-importing status for new saved feeds. Select Enable if you want your newly added feeds to start importing automatically. Otherwise, select Disable to keep their video embedding manual.

Number of auto-imported videos
This option affects the number of auto-imported videos for the existing and upcoming saved feeds, letting you decide how many videos should be embedded at a time. To make use of it, enter a value between 1 and 50 into the Number of auto-imported videos field.

Auto-import frequency
The next option — Auto-import frequency — configures, as the name says, the saved feeds’ auto-importing frequency.

Here’s how many times the plugin can auto-import videos per day:
- Every 1 hour > Auto-import videos 24 times
- Every 6 hours > Auto-import videos 4 times
- Every 12 hours > Auto-import videos 2 times
- Every 24 hours > Auto-import videos 1 time
Server cron
Cron is a time-based scheduling system used by most server and website software. You can configure a cron task in your server’s control panel or by using WordPress’s WP-Cron functionality — explained in this guide.
Once you have a configured cron task, enter the appropriate URLs and commands into the Server cron field.

Important: Due to the technical requirements of this configuration, we advise against configuring cron tasks on your server or through WordPress if you don’t have any prior experience. In that case, feel free to open a support ticket for assistance from our developers.
Proxy
A proxy server is an intermediary server that retrieves data on your behalf, acting as an additional security layer. Proxy servers are most commonly used to facilitate anonymous browsing, bypass geo-blocking, and regulate web requests.
In the Mass Embedder plugin’s case, a proxy server will help you bypass a porn tube’s ban if your website was banned from fetching data. Alternatively, you can use it to circumvent geo-blocking if your server cannot access the target porn tube.
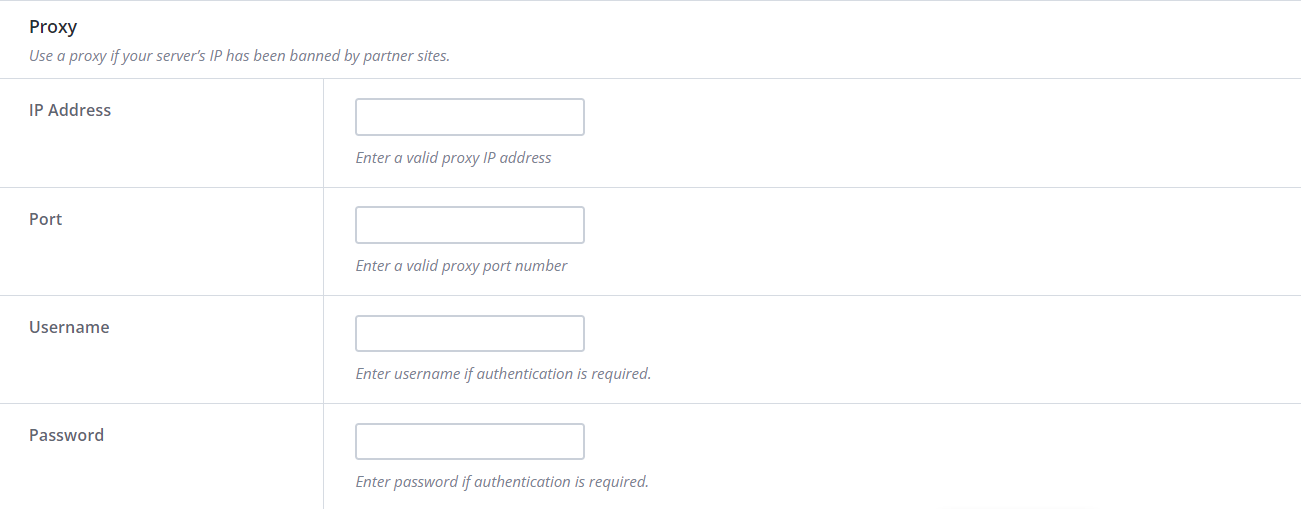
To connect the plugin to your proxy server, enter your login credentials into the Proxy section’s IP Address, Port, Username, and Password fields.

Note: If you do not have a proxy server or there is no need to use it, feel free to skip this segment.
Import Settings
The Import Settings group lets you manage which data is imported for each embedded video. Click on the Import Settings tab to view its settings.

There are five toggleable options: Title, Main thumbnail, Description, Tags, and Pornstars.
Title
The Title option lets you choose whether you want to import video titles.

Main thumbnail
The next option — Main thumbnail — lets you choose whether video thumbnails should be downloaded. Enabling the option will download thumbnails to your server, while disabling it will import only the URLs to those thumbnails but not download them, meaning they will be hosted on the source website.

Description
This option — Description — lets you choose whether to import video descriptions if they are available on and provided by the source website.

Tags
The Tags option lets you enable tag importing for the embedded videos if they are available on and provided by the source website.

Pornstars
The final option — Pornstars — lets you choose if pornstar names should be imported for the embedded videos if they are available on and provided by the source website.

Theme Compatibility
The Theme Compatibility group of options lets you configure the post taxonomy for your embedded videos by entering and selecting the necessary taxonomy values.

Note: These options let you reconfigure the theme’s video structure in case of any incompatibilities caused by custom development, third-party plugins, or other reasons.
You can enter your custom taxonomy values for video thumbnails, the embedded (source) players, video URLs, video durations, and tracking (source) URLs into the Thumbnail, Embed player, Video URL, Duration, and Tracking URL fields, respectively.

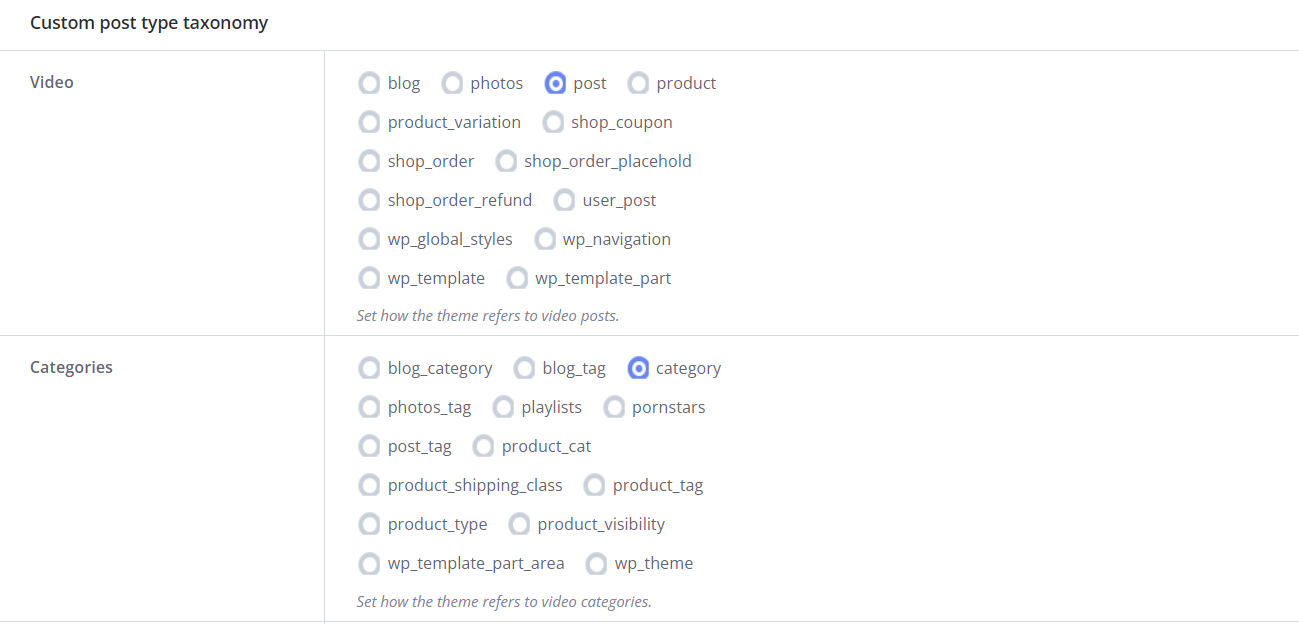
The next section — Custom post type taxonomy — lets you select how your site refers to videos, categories, pornstars, and tags from the default, preconfigured values.

Important: The custom taxonomy and custom post type taxonomy values come preconfigured with the PornX theme and require no further adjustments. We advise against changing any of these options if you don’t have prior experience.
Block iFrame Redirections
The last group of options — Block iFrame Redirections — lets you prevent embedded videos from redirecting visitors to the source websites. That is, they will not be taken to a different website if they click on any element within the video player.

Switch on the toggle for sites you don’t want the embedded videos to direct to. Switching off a toggle means visitors can be redirected to the site in question, such as when clicking on ads or recommended videos.

Finally, click Save changes at the top to apply all the changes made to the Mass Embedder plugin.

If you have any additional questions or need help with your PornX theme, please send us a message or open a support ticket by using one of the buttons below.


