How To Add Fonts To The Text Editor
The TeaseX theme lets you customize which fonts are available in the text editor when you’re customizing or adding new widgets in the page builder.
Only Google fonts are supported. However, you can add any number from their growing collection of 1,561 fonts.
Keep reading to get started.
Step 1
Log into your site by entering its domain into the browser’s address bar followed by /login and hitting enter.

On the Login page, enter your username or email into the Username or Email Address field, your password into the Password field, and click the Log In button.

Note: You can find your admin credentials in one of the support tickets in the Vicetemple client area. If you’re not sure where to find them, feel free to send us a message over live chat.
The page will reload and direct you to the admin dashboard.
Step 2
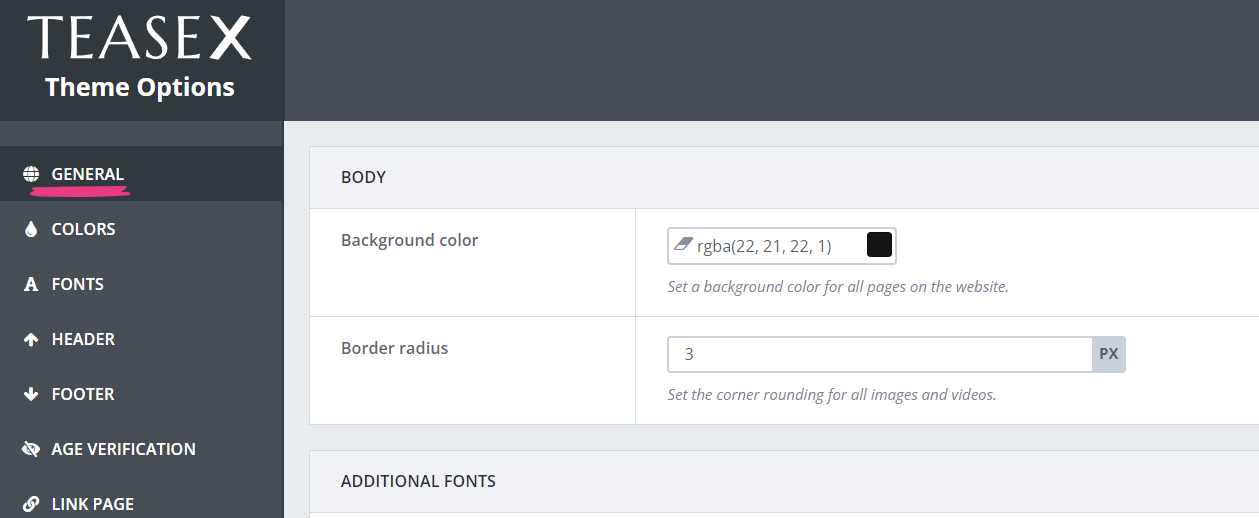
Click on Theme Options in the admin bar at the top.

Then, on the Theme Options page, make sure the General tab is selected.

Step 3
Find the Additional Fonts section at the bottom and click on the Add font button, which will create a new font widget below.

You can give the font widget a name (1) or delete it (2).

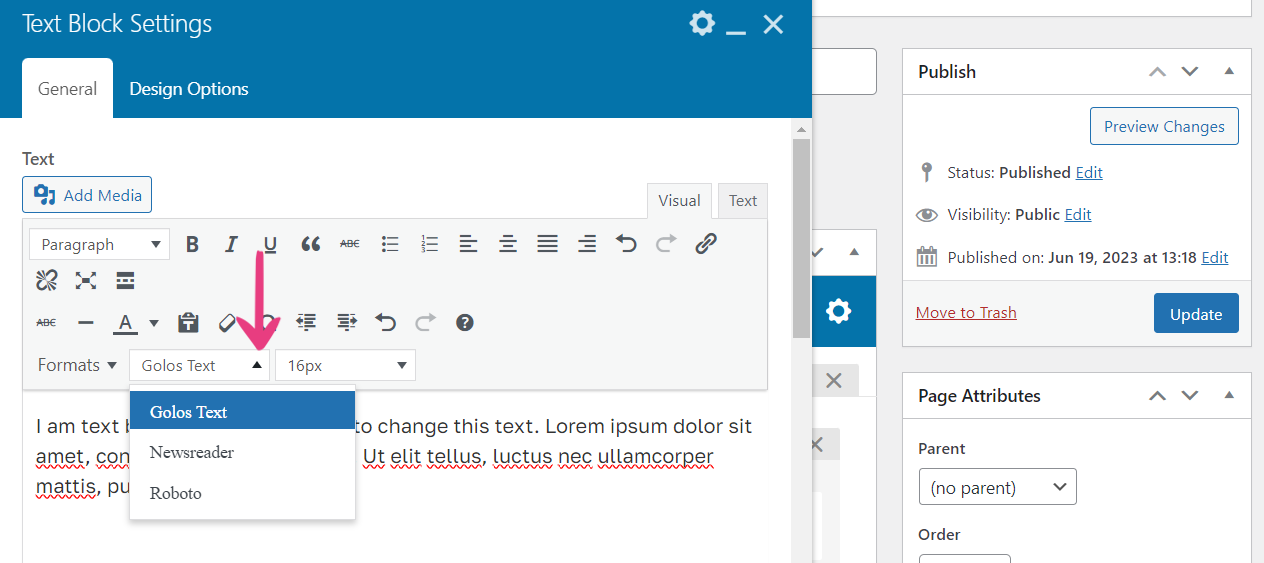
Each font widget will be added to the text editor and give you the Font family option to choose the desired font.

Step 4
Finally, click on the Save Changes button at the top to add the fonts.

Your newly-added fonts will now be available within all text editors that have font options — most notably, the page builder’s Text Block widget.


