How To Change The Header Logo & Site Icon
The TeaseX theme lets you manage your site’s logo and icon with as little effort as possible.
The header logo is an image representation of a brand typically placed at the top of a website and shown on all pages.
The site icon is a smaller image associated with a website. It appears in the browser’s address bar, next to the page title, bookmarks, and quick-select shortcuts, further reinforcing the site’s visual identity.
Continue reading to learn how to change the header logo and site icon.
Step 1
Log into your site by entering its domain into the browser’s address bar followed by /login and hitting enter.

Note: You can find your admin credentials in one of the support tickets in the Vicetemple client area. If you’re not sure where to find them, feel free to send us a message over live chat.
On the Login page, enter your username or email into the Username or Email Address field, your password into the Password field, and click the Log In button.

The page will reload and direct you to the admin dashboard.
Step 2
Click on Theme Options in the admin bar at the top.

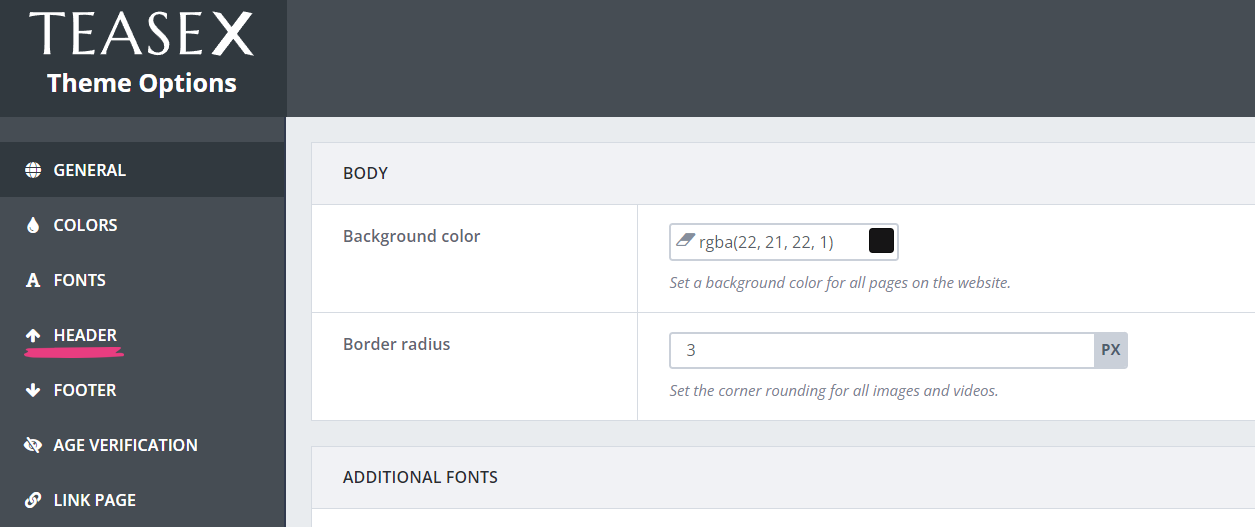
Then, find and select the Header tab.

Step 3
Change The Header Logo
To change the logo, scroll down the page and locate the Logo option under Logo & Favicon.
There are two ways to add your logo to the site: by pasting the image’s direct URL or by selecting a file from the media library.
To add an image by URL, copy its direct URL from the source website and paste it into the Logo field.

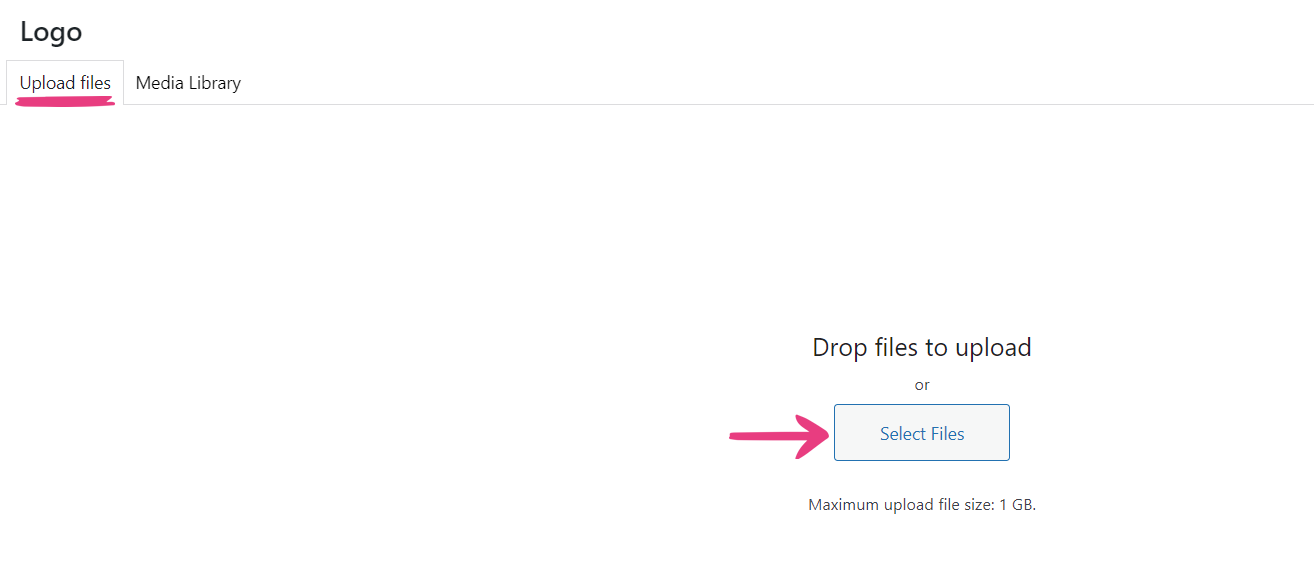
To upload an image directly to the site or select it from the media library, click the upload button next to the field, which will display the Logo window.

In the window, select the Upload files tab and click on the Select Files button to upload an image from your device.

Alternatively, to choose an existing image from the media library, select the Media Library tab at the top.

Your uploaded image will be immediately selected. Otherwise, click on the image you want to set as the logo. The selected image will have a blue frame and a check mark.

Click on Select in the bottom right corner to confirm your choice.

Note: For optimal results, make sure that the logo has a minimum width of 200 pixels and minimum height of 40 pixels.
To further adjust the logo’s size in the header (navbar) — such as making it larger or smaller — locate the Max logo height option and enter a new height for it. The logo’s width will be scaled accordingly with its height to preserve the aspect ratio.

Note: The Max logo height option doesn’t set fixed dimensions for the logo. Instead, it caps the maximum dimensions the logo can use, allowing it to be smaller in case higher dimensions are not available; thus ensuring it always uses its best possible quality.
Finally, click the Save Changes button at the top to apply your changes.

The logo will immediately be displayed in the top left corner of your website.

Change The Site Icon
To change the site icon (favicon), locate the Favicon option under Logo & Favicon and follow the instructions above.
![]()
Once you’ve saved the changes, the site icon will be immediately applied to your website.
![]()
If you’d like to change the footer logo instead, check this guide.


