How To Customize The Age Verification Gate (Wicked Witch)
The TeaseX theme lets you change anything on your website. That includes enabling and customizing an age verification gate — a page that asks first-time visitors to confirm that they are old enough to browse the site before exposing them to any explicit content.

Keep reading to get started.
Step 1
Log into your site by entering its domain into the browser’s address bar followed by /login and hitting enter.

Note: You can find your admin credentials in one of the support tickets in the Vicetemple client area. If you’re not sure where to find them, feel free to send us a message over live chat.
On the Login page, enter your username or email into the Username or Email Address field, your password into the Password field, and click the Log In button.

The page will reload and direct you to the admin dashboard.
Step 2
There, click on Theme Options at the top.

You will find yourself on the Theme Options page, where you should select the Age Verification tab.
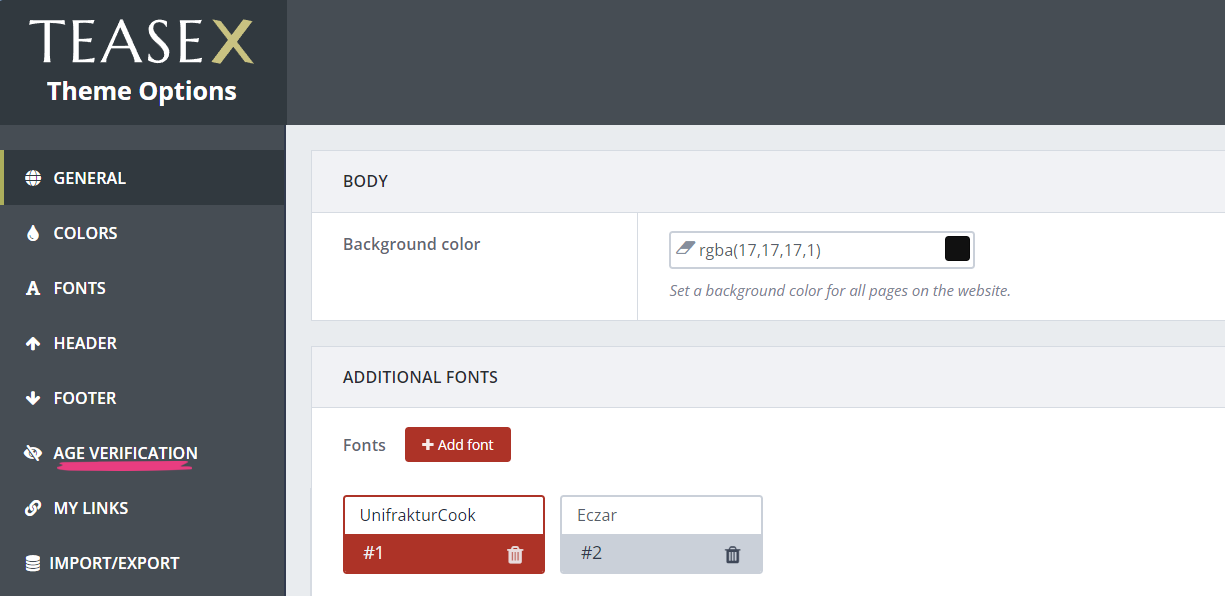
Note: If you don’t see the Age Verification tab, make sure that the Age Verification plugin is enabled by following this guide.
Step 3
When you first visit the Age Verification tab, the Enable Age Verification option will be disabled. To see the feature’s customization options, enable the age gate by toggling the switch. Doing so will display a check mark.

Once the feature is enabled, five new options will become available. Each one will be explained below.
Content
The Content option’s text editor lets you customize the text shown on the Age Verification page. In addition to text, it supports special characters, emojis, formatting like bold and italic, lists, colors, and more.

Enter Text
The Enter text option lets you set the text shown on the Enter now button, which confirms the visitor’s age and takes them to your homepage. To change it, enter your desired text into the field.

Leave Text
The Leave text option lets you set the text shown for the Exit link, which will direct your visitor to Google on click. To change it, enter your desired text into the field.

Leave URL
The next option — Leave URL — lets you set where the visitor will be taken after clicking the Exit link.

Image
The Image option lets you customize the image shown left of the content and buttons configured using the previous options.
You can replace the default image by pasting a direct URL into the Image field or by using the media library.

If you wish to use the media library, click the upload button next to the field, which will display the Image window.

When the new window opens, select the Upload files tab and click on Select Files to upload an image from your device.

Alternatively, if you’ve already uploaded the desired image to the site, select the Media Library tab to pick it.

In the Media Library tab, locate and click on the desired image, which will be highlighted with a blue frame and a check mark on selection.

Click on the Select button in the bottom right corner to confirm your choice.

Corner Rounding
Leave the Corner rounding option enabled if you want to keep the entry ticket style, as depicted in the beginning of this guide.

Disabling the option will remove the rounded style. Here’s an example.

Background Color
The last option — Background Color — lets you change the Age Verification page’s background color.
There are two ways of changing the background color: by pasting a color’s code into the field or by selecting it from the color picker.
To use the first method, paste the desired color’s hex, RGB, or RGBA code into the field.

The second method lets you select the color directly from the color picker. First, click the colored rectangle at the right end of the field.

Then, pick a hue from the color picker when it appears.

Step 4
After you’ve customized the age verification gate to your liking, click the Save Changes button at the top to apply the changes.

Your just-activated age verification gate will be shown to first-time visitors.


