How To Enable and Customize The Sticky Navbar
The TeaseX theme lets you customize every part of your website, including the navbar.
This article will guide you through the process of configuring a sticky navbar on your website, which will follow the visitor even when they scroll down the page.
Read on to learn how to do it.
Step 1
Log into your site by entering its domain into the browser’s address bar followed by /login and hitting enter.

Note: You can find your admin credentials in one of the support tickets in the Vicetemple client area. If you’re not sure where to find them, feel free to send us a message over live chat.
On the Login page, enter your username or email into the Username or Email Address field, your password into the Password field, and click the Log In button.

The page will reload and direct you to the admin dashboard.
Step 2
Locate the Theme Options link at the top, and click on it.

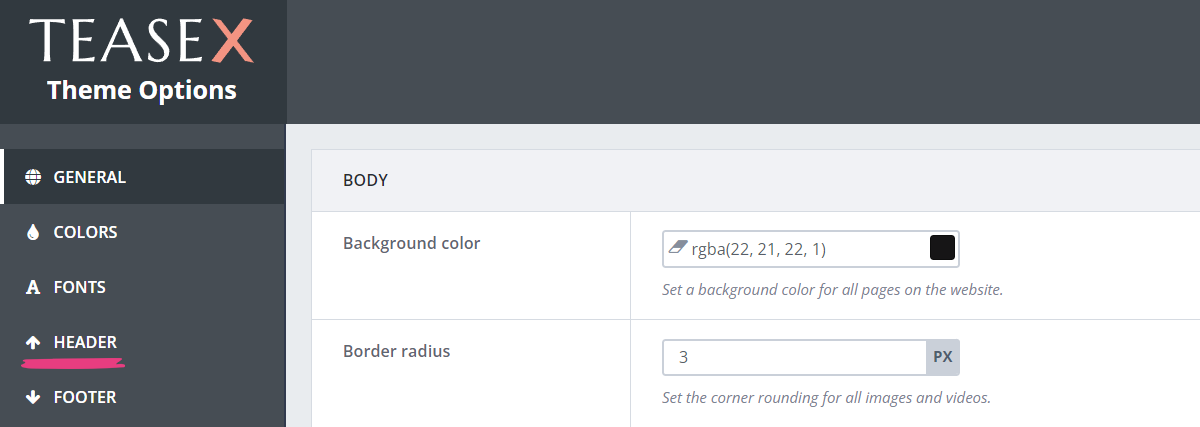
You will find yourself on the Theme Options page, where you should select the Header tab.

Step 3
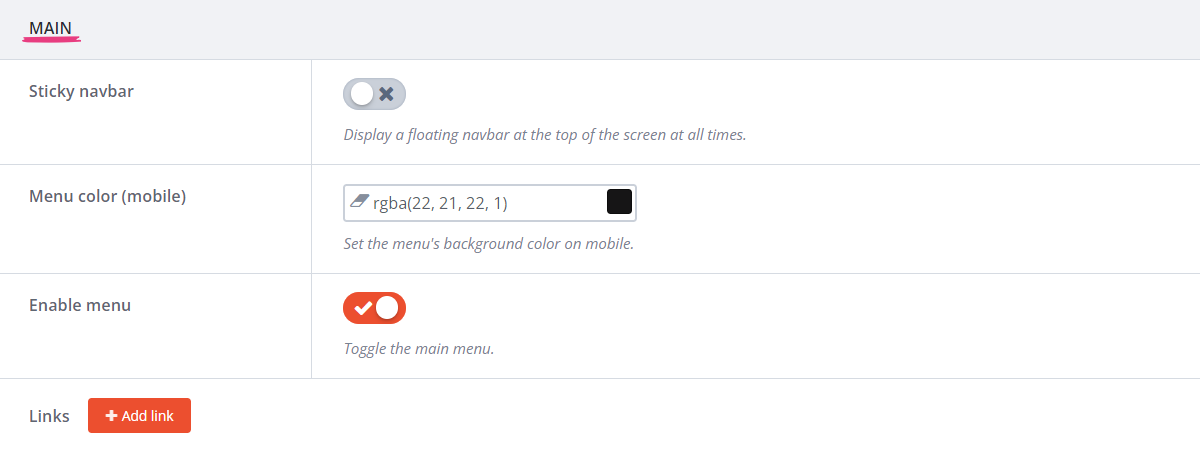
The first three options under Main affect the sticky navbar functionality. We’ll explain each one below.

Enable the Sticky Navbar
To make your navbar sticky, locate the Sticky navbar option and toggle the switch. It will display a check mark once enabled.

With that done, two more options will become available for further customization. Those are: Sticky navbar color and Sticky navbar blur.
Navbar Color
The next option — Sticky navbar color — lets you change the navbar’s background color and opacity. You can set the color by pasting the color’s code or by directly selecting it.
To use the first method, paste a color’s hex, RGB, or RGBA code into the Sticky navbar color field.

The second method lets you choose the color from the color picker. Click the colored rectangle at the right end of the field and pick a hue from the color picker when it appears.
The color picker also allows you to set the navbar’s opacity. To do so, slide the bar at the bottom until you are pleased with your choice.

Navbar Blur
The third option — Sticky navbar blur — lets you set the navbar’s background blur in pixels.
Higher values will make the blur effect stronger, while lower ones will make it less noticeable. This setting will not have any effect if the sticky navbar is fully opaque, and you can disable it altogether by entering 0 into the Sticky navbar blur field.

Step 4
After you’re done customizing your sticky navbar, click the Save Changes button at the top to apply all your changes.

Your new sticky navbar will be immediately visible on your site.


