How To Add Custom Buttons
The ModelX theme’s page builder lets you add as many ModelX-styled buttons to your pages as you wish, each with its own text and URL.
This article will explain that process and the available button styles using the homepage as an example. Continue reading to get started.
Step 1
Navigate to your website and log in with your admin account. Click the member icon in the top right corner of your website to access the login area.

After clicking the icon, you will find yourself on the Login page. Enter your username or email into the Username or email field, your password into the Password field, and click on Sign in.
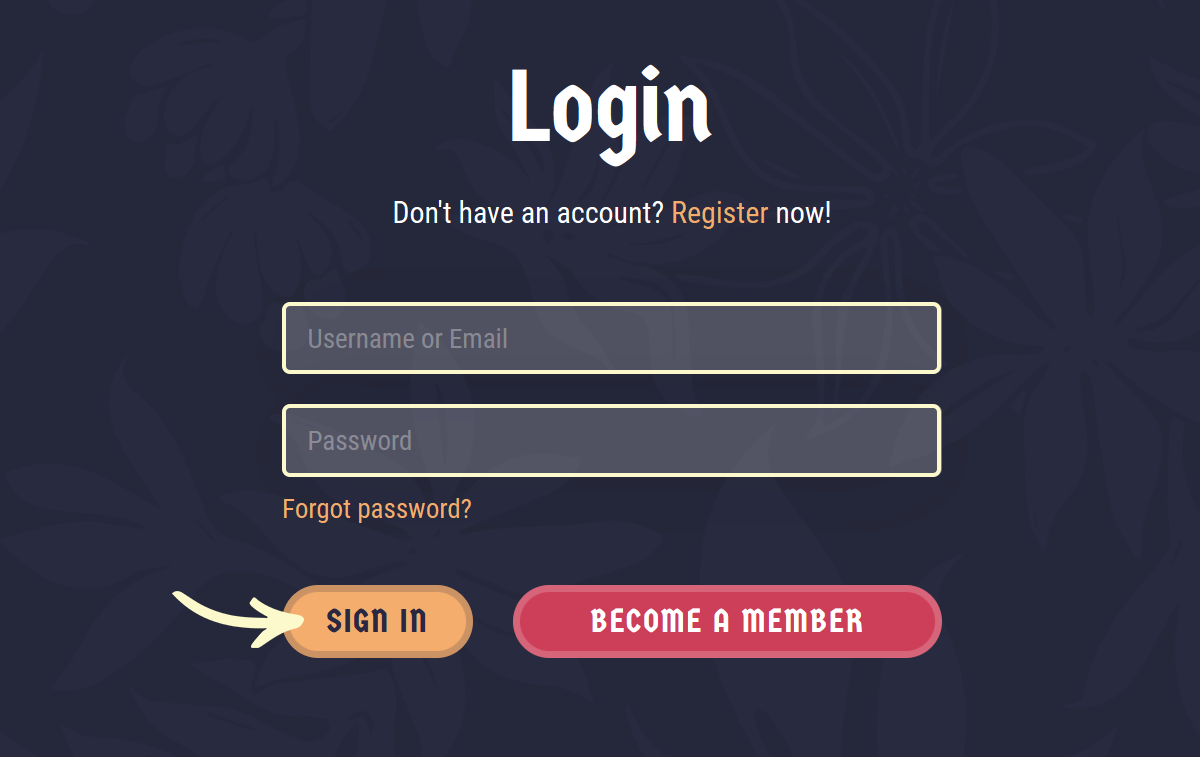
Note: You can find your admin login details in one of the support tickets in the Vicetemple client area. If you’re not sure where to find them, feel free to send us a message over live chat.
Step 2
Once you’re logged in, click on the website name in the admin toolbar at the top.

Then, click on Pages in the sidebar to the left.

Step 3
Find and click on the page that you wish to edit. We will be demonstrating the process on the homepage.

Step 4
The Backend Editor will open, where you can add custom buttons to your page via widgets. That can be done in two ways: by clicking the plus icon at the top of the page editor and by clicking the plus icon located within an existing section or row.

After clicking one of the icons, locate and choose the Button widget when the Add Element window appears.
![]()
Step 5
Once the Button widget is selected, another window will appear: Button Settings. This widget will allow you to set the button’s text and URL as well as choose its style.
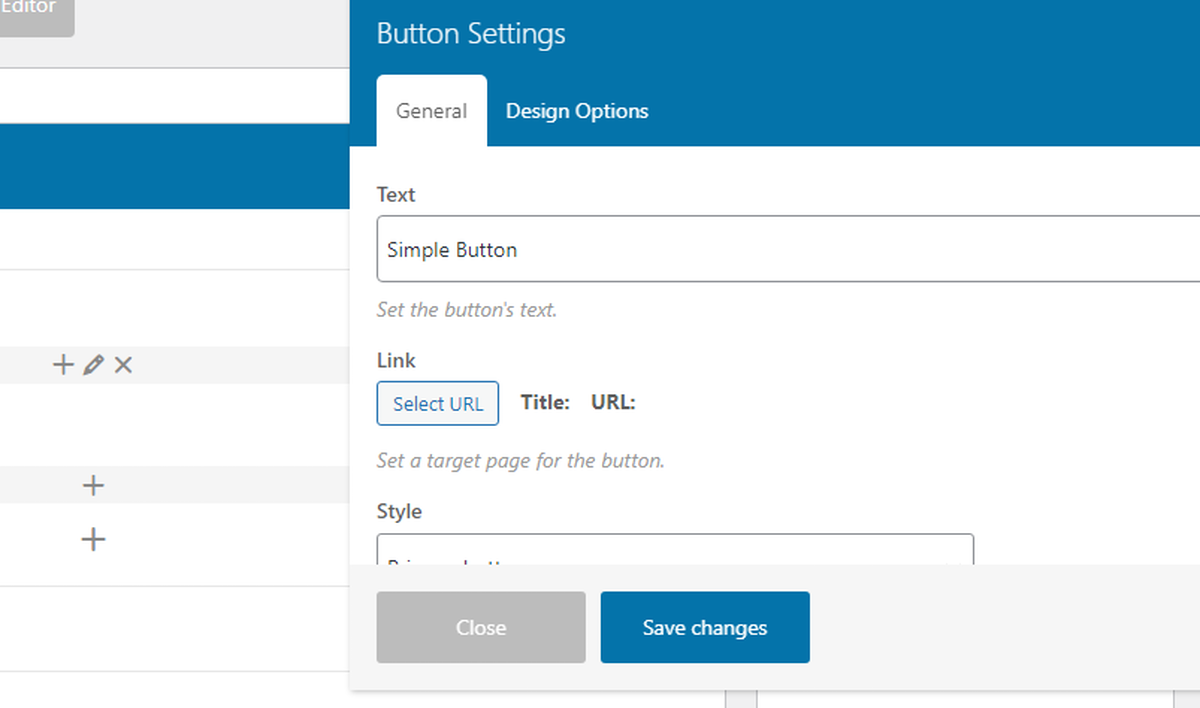
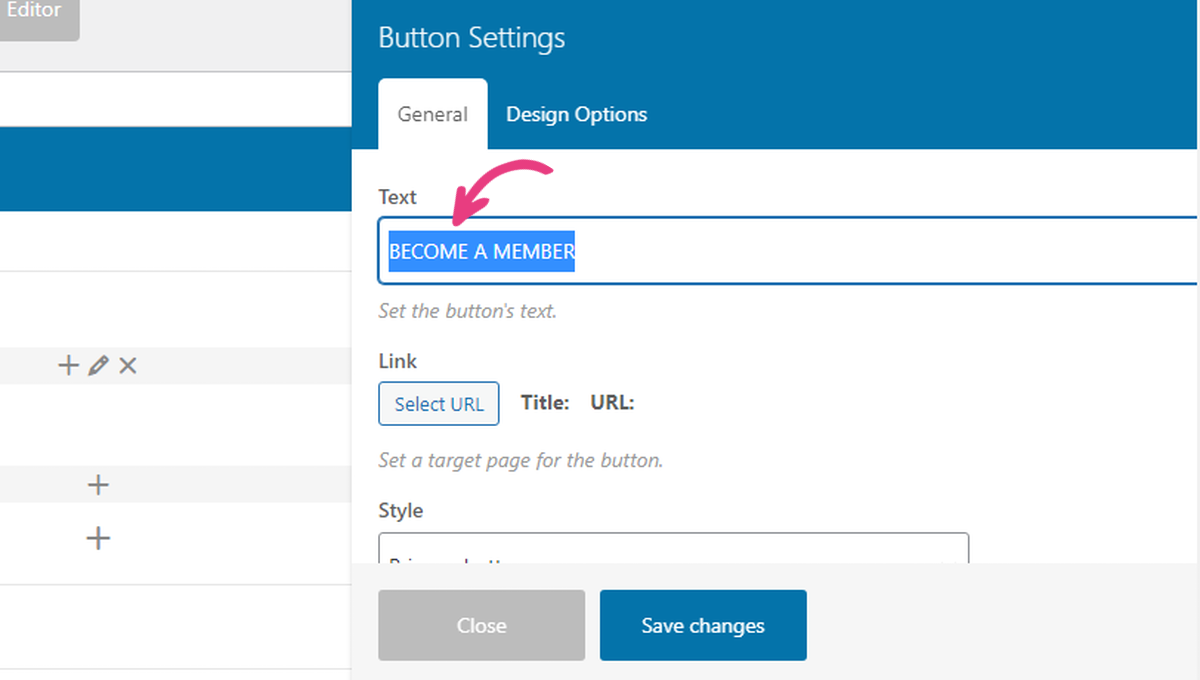
Enter the text you want the new button to display into the Text field.
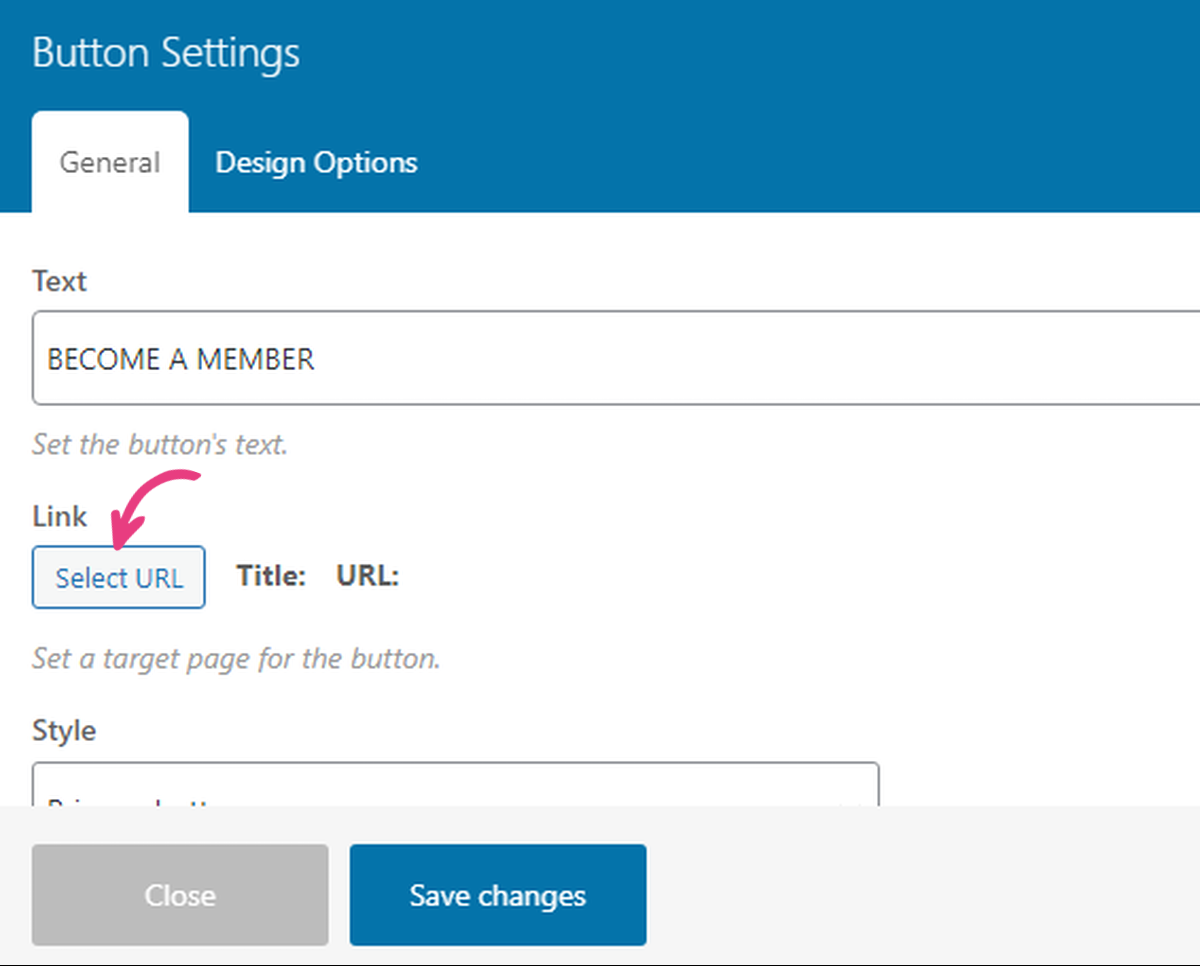
Then, click on the Select URL button to set the page it will direct to.
A new window will pop up — Insert/edit link. The window will have a URL field where you can enter the URL leading to the target site or page.

Note: The Link Text field can be skipped since the button’s text was already configured using the Text field in the previous window.
Next, you can choose whether you want the link to open in a new browser tab by ticking the Open link in a new tab checkbox. Leaving the option unchecked will open the link in the same tab, and vice versa.

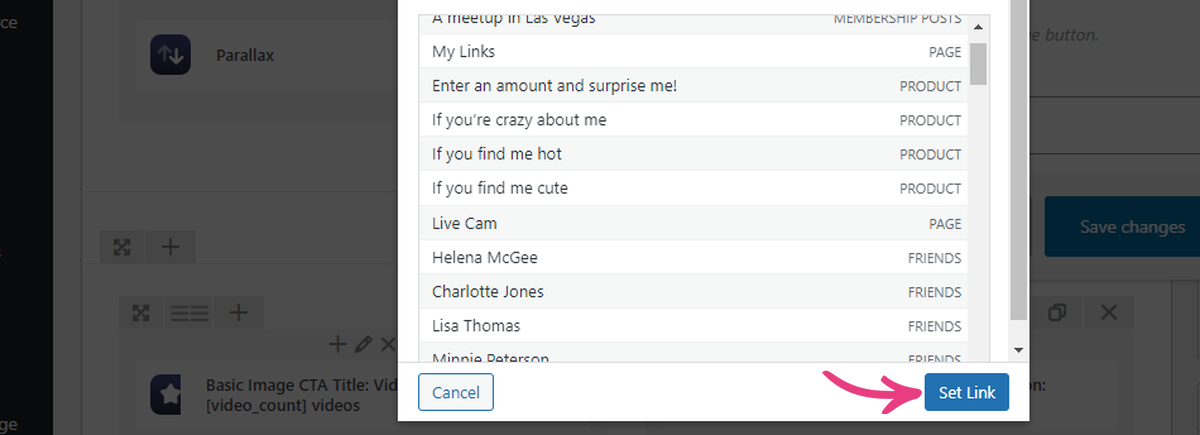
Once everything is configured, click on Set Link in the bottom right corner to add your link to the button.
Step 6
The Style option lets you choose between two ModelX button styles: Primary button and Secondary button.

The button colors and font properties can be changed under Theme Options, more specifically on the Colors and Fonts tabs.

Step 7
Click the Save changes button at the bottom to add the widget to the page.

Step 8
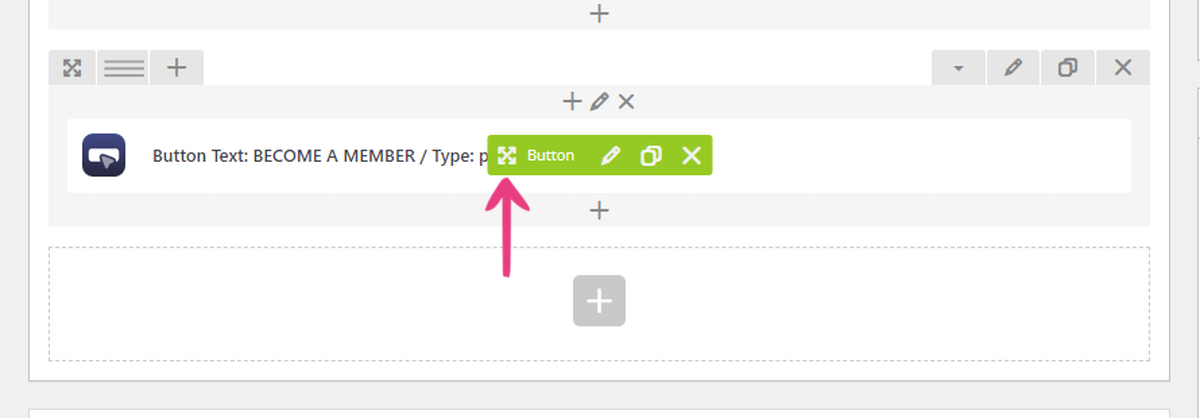
Finally, you can change the button’s position by hovering over the widget, pressing down and holding your cursor over the drag icon, and moving the widget to its new location.
Step 9
Once you’re finished adding custom buttons, click the Update button on the right to apply the changes to the page.

The new button(s) will be immediately accessible to your visitors.


