How To Add CSS Animations
The TeaseX and ModelX themes’ page builder lets you animate any widget or section on your website using a variety of CSS effects.
Keep reading to learn how to do it.
Step 1
Log into your site by entering its domain into the browser’s address bar followed by /login and hitting enter.

Note: You can find your admin credentials in one of the support tickets in the Vicetemple client area. If you’re not sure where to find them, feel free to send us a message over live chat.
On the Login page, enter your username or email into the Username or Email Address field, your password into the Password field, and click the Log In button.

The page will reload and direct you to the admin dashboard.
Step 2
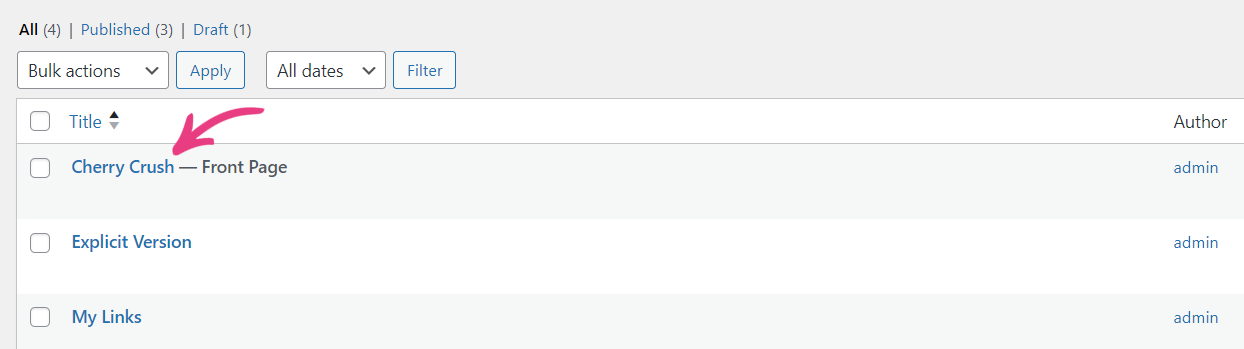
Find and select Pages in the sidebar to the left.

Then, locate the page you want to update, and click on it to begin editing.
Step 3
Hover over the widget or section you want to change, and click on the pencil icon to edit it.

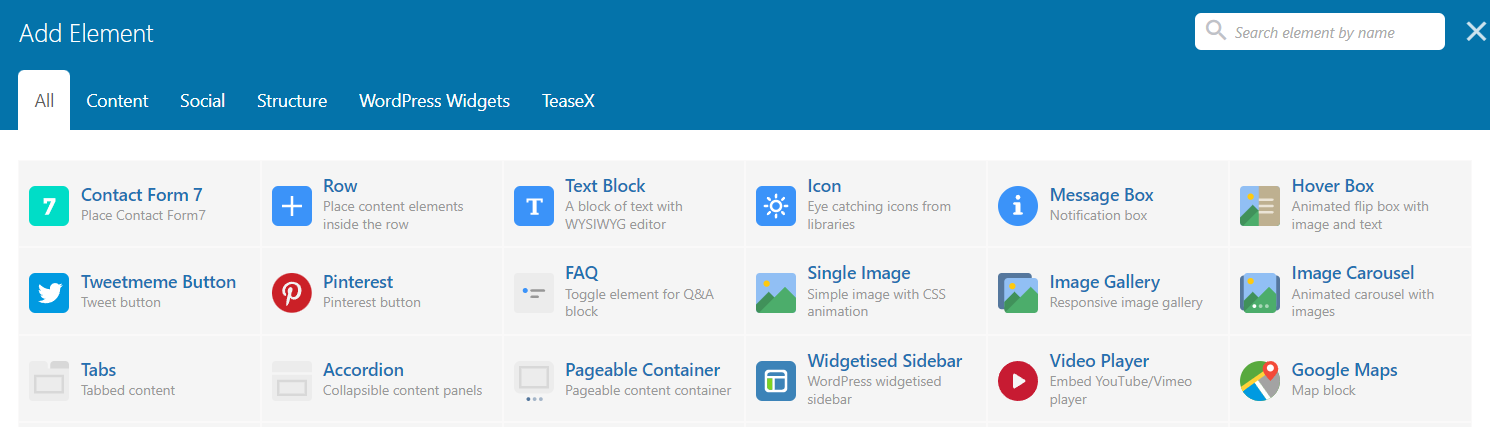
Alternatively, you can add a new widget or section to the page by clicking the plus icon located at the top.

Widgets can also be added by clicking the plus icons located within existing sections.

When the Add Element window appears, locate and select the desired widget or Section from the list.
Step 4
Scroll through the settings window until you find the CSS Animation option.

CSS animations are organized into nine groups, as described below.
Bouncing Entrances
A bouncing entrance animation gives the effect of an element bouncing into view when it first appears on a page. It simulates a bouncing motion similar to that of a ball.
Currently, there are five bouncing entrance animations:
- bounceIn — bounces in from the center
- bounceInDown — bounces in from the top
- bounceInLeft — bounces in from the left
- bounceInRight — bounces in from the right
- bounceInUp — bounces in from the bottom
Fading Entrances
A fading entrance animation gradually fades an element into view when it first appears on a page, creating a smooth and subtle transition effect.
There are nine fading entrance animations:
- fadeIn — fades into view
- fadeInDown — slides and fades into view from the top
- fadeInDownBig — as above but faster
- fadeInLeft — slides and fades into view from the left
- fadeInLeftBig — as above but faster
- fadeInRight — slides and fades into view from the right
- fadeInRightBig — as above but faster
- fadeInUp — slides and fades into view from the bottom
- fadeInUpBig — as above but faster
Flippers
A flip animation flips the element into view from the center, simulating the motion of a card or a page turning over.
There are two flip animations:
- flipInX — flips into view around the X axis (horizontal)
- flipInY — flips into view around the Y axis (vertical)
Lightspeed
There is only one lightspeed animation — lightSpeedIn — that creates the illusion of an element moving at high speed.
Rotating Entrances
A rotating entrance animation adds a rotating effect to an element when it’s about to become visible.
There are five rotating animations:
- rotateIn — rotates into view from the center
- rotateInDownLeft — rotates into view from the top left corner
- rotateInDownRight — rotates into view from the top right corner
- rotateInUpLeft — rotates into view from the bottom right corner
- rotateInUpRight — rotates into view from the bottom left corner
Specials
Similar to rotating animations, the special rollIn animation creates the illusion of an element rolling or spinning on its axis and comes into view from the left edge of the screen.
Zoom Entrances
A zoom entrance animation gives the effect of an element zooming into view by gradually increasing its size.
There are five zoom animations:
- zoomIn — zooms into view from the center
- zoomInDown — zooms into view from the bottom
- zoomInLeft — zooms into view from the left
- zoomInRight — zooms into view from the right
- zoomInUp — zooms into view from the top
Slide Entrances
A slide entrance animation gives the effect of an element sliding into view from a specific direction.
There are four slide animations:
- slideInDown — slides into view from the top
- slideInLeft — slides into view from the left
- slideInRight — slides into view from the right
- slideInUp — slides into view from the bottom
Default
The last group features the default animation that transitions an element from one side of the screen to the other, the exception being the one that appears from the center.
There are five default animations:
- Top to bottom — transitions from the top to the bottom
- Bottom to top — as above but in reverse
- Left to right — transitions from left to right
- Right to left — as above but in reverse
- Appear from center
Step 5
Once you’ve selected the desired CSS animation for your widget or section, click the Save changes button to add it.

Finally, click on the Update button to apply the changes to the page.

Tip: If a given widget doesn’t support CSS animations, we recommend wrapping it in a Row or Section element, which do support the animations. This will help you achieve the desired result.


