How To Embed Images On ModelX
The ModeIX theme allows you to embed different media types from various sources.
In this article we’ll explain how you can embed an image on any page on your website. Read on to learn how the process works.
Step 1
Navigate to your website and log in with your admin account. Click the member icon in the top right corner of your website to access the login area.

After clicking the icon, you will find yourself on the Login page. Enter your username or email into the Username or email field, your password into the Password field, and click on Sign in.

Note: You can find your admin login details in one of the support tickets in the Vicetemple client area. If you’re not sure where to find them, feel free to send us a message over live chat.
Step 2
Once you’re logged in, click on the website name in the admin toolbar at the top.

Then, click on Pages in the sidebar to the left.

Step 3
Locate the desired page and click on it to start editing.

To access the page editor, select either the Backend Editor (convenient for compact editing) or the Frontend Editor (if you want a more visual approach).

Note: In this example, we’ll be using only the backend editor. However, the described steps also apply to the frontend editor.
Step 4
There are two ways to add an image widget to your page: by clicking on the plus icon at the top or by clicking the plus icon in an existing section.

Step 5
After clicking one of the options, a new window will appear, in which you will find the Single Image widget. Click on it to add it to your page.

The next popup — Single Image Settings — contains all the relevant options for your image, which will be covered below.
Widget Title
In the Widget Title field, you can enter the text that will be shown above the image on your website.

Image Source
From the Image source drop-down menu, you can choose between two options: Media library and External link. Media library allows you to choose only the images that are already uploaded on your website, while External link allows images from any source as long as the provided URL leads to an image in a supported format (.jpg, .jpeg, .png, .webp, .gif).
In this article, we’ll explain only the External link method.

To use it, select External link from the drop-down.
Next, copy the URL leading to your externally-hosted image, and paste the link into the field below.

Caption
An image caption is a brief description that accompanies an image. Most captions are shown right below their images, as is the case on ModelX.
Captions are optional. If you want to add one to your image, you can do so by entering it into the Caption field.

After publishing, the caption will be shown on the left, right below the image.

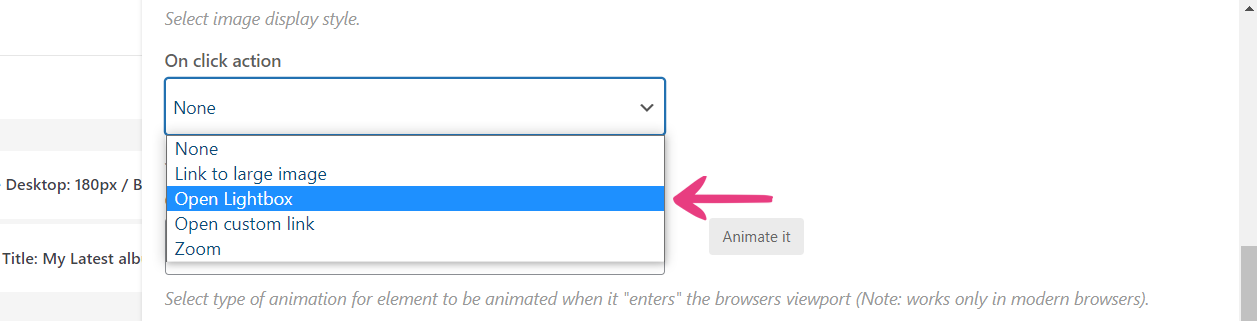
On Click Action
Lastly, there is an option named On click action. These actions enable additional functionalities for the image, such as Link to large image, Open Lightbox, Open custom link, and Zoom.
To use one of these, select your desired action from the On click action option’s drop-down menu. Each action will be covered further below.

Note: Selecting None will add no extra functionality to the image.
Link to Large Image
Once Link to large image is selected, a new option — Link Target — will appear below. The option lets you choose whether the image will open in the same browser tab for your visitors, or a new one. Choose Same window from the drop-down menu to have the image open in the same tab, or select New window if you want it to open in a new tab.

Open Lightbox
Lightbox is an image-previewing method that opens an image directly on the page without directing away from it.
A lightbox is a window overlay that appears over a page, dimming and disabling the rest of the background. This ensures that a site visitor cannot interact with other content on the website until they take action — in this case, by exiting the lightbox.
To enable this option for the image, select Open Lightbox from the drop-down.
Open Custom Link
The images you add to your pages can also direct to other pages on your website — or other websites altogether. Select the Open custom link option to add a link to your image.

With that done, a new option — Image Link — will become available. There, you can enter the page or website URL to which you want the image to direct on click.

Zoom
The last option in this drop-down menu is Zoom. If you select it, visitors will be able to click on the image and zoom in further with one additional click.

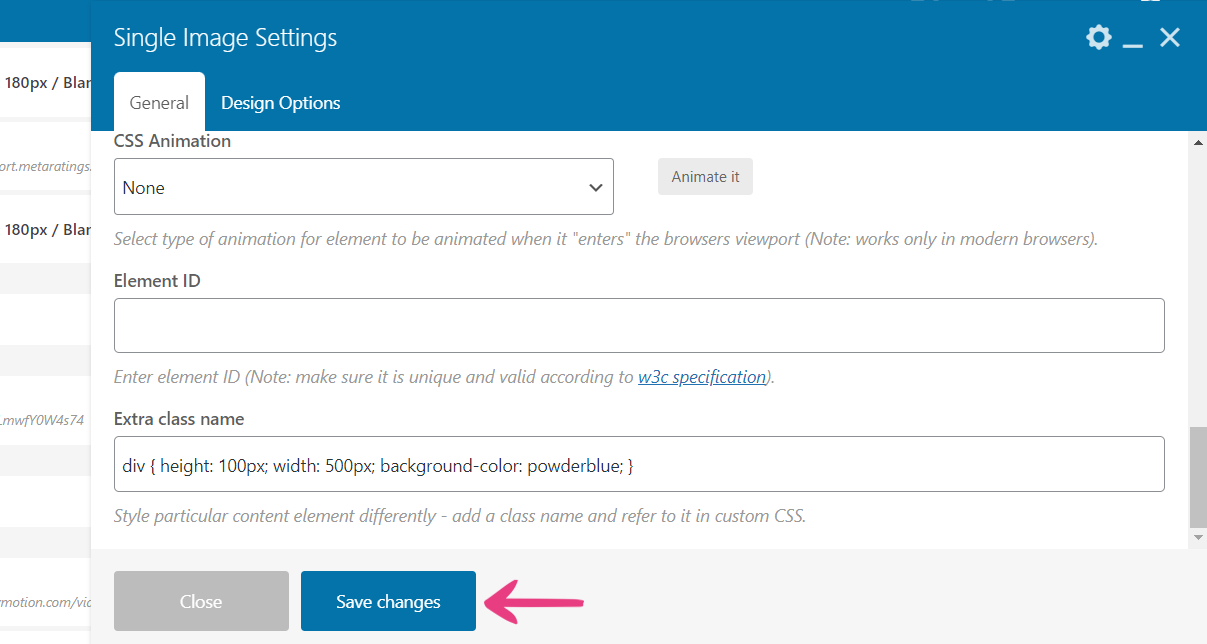
Step 6
Once you’re finished configuring the image, click the Save changes button to add it to your page.
Step 7
Finally, click the Update button on the right side to apply the latest changes.

Here’s the image that was embedded as an example in this article, live on the homepage.


