How To Update Your PornX Website's Identity
The PornX theme uses the default WordPress website identity options, including settings for the logo, browser icon, title, tagline, and copyright text in the footer. This article will show you how to use those settings.
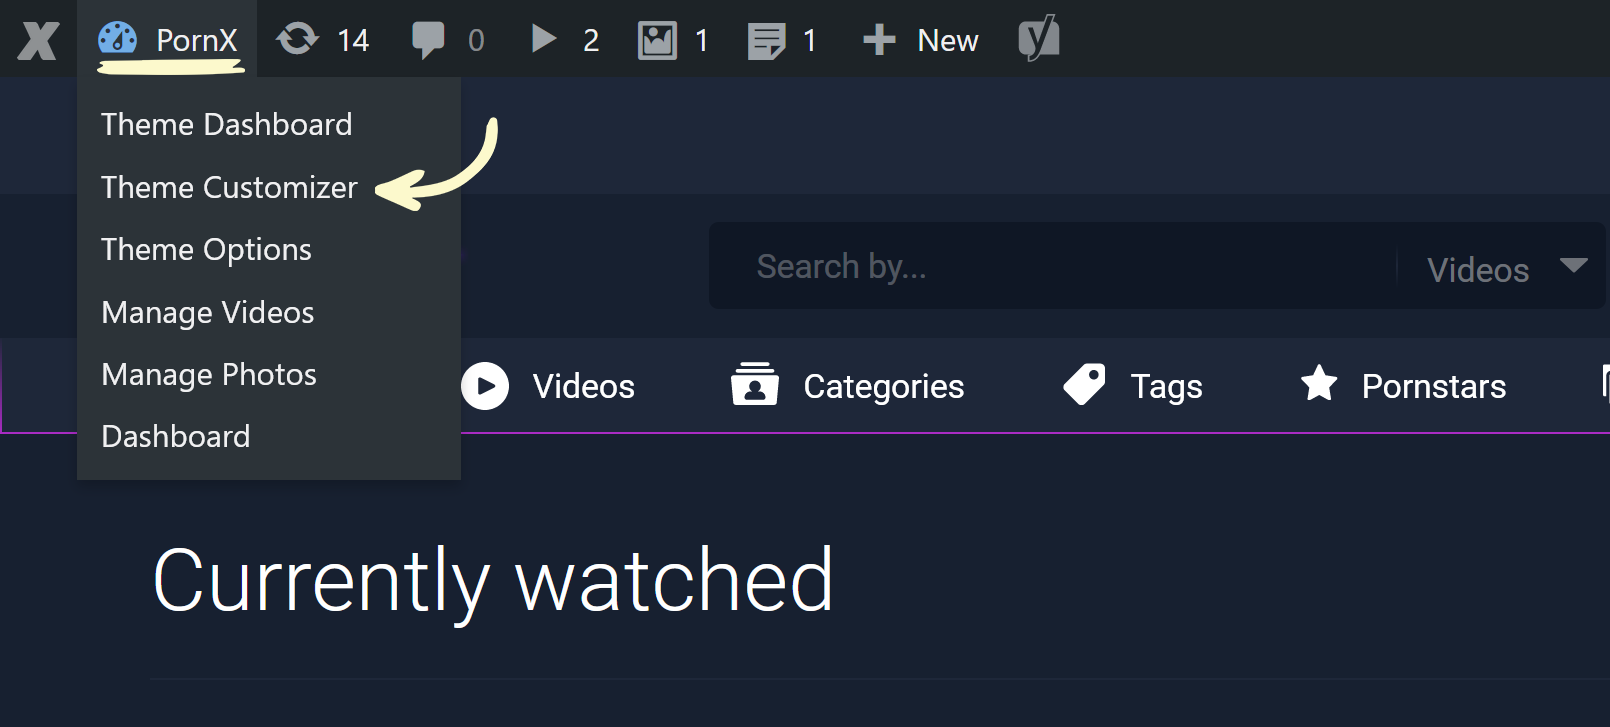
First, log into your website, move your mouse pointer to its name in the top left corner of the admin toolbar, and click Theme Customizer in the drop-down menu.
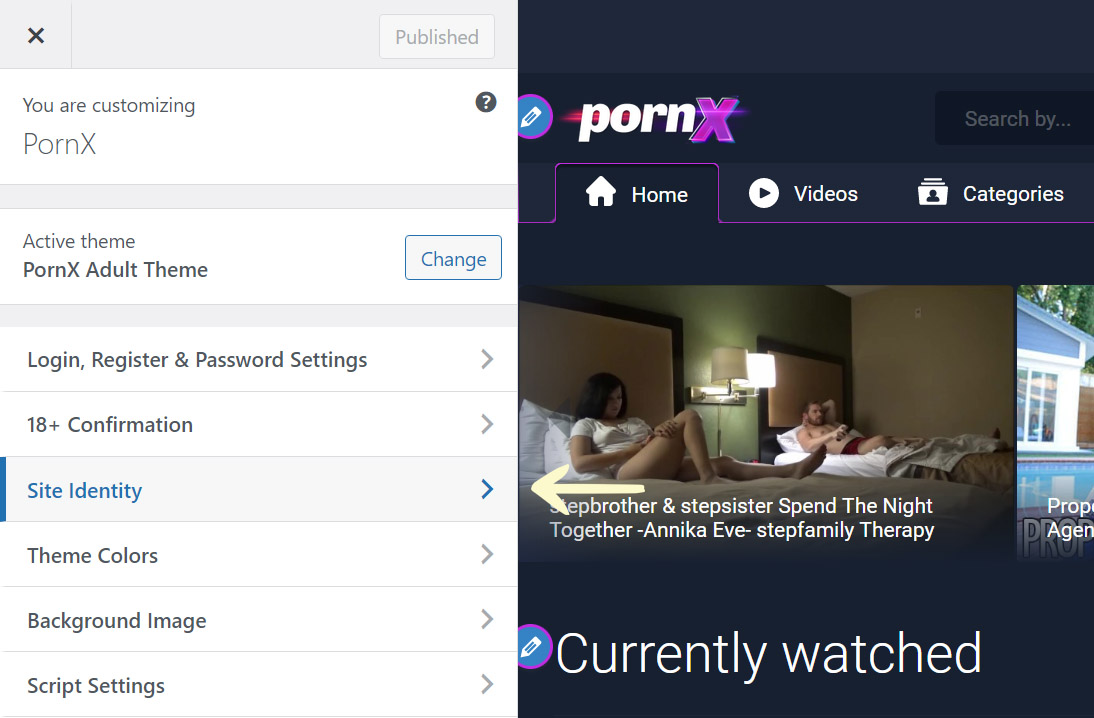
This will display your website’s customization panel to the left. In the customizer, locate and click the Site Identity row, which will open up your website’s identity settings.
Each of the following sections will cover a part of your website’s identity settings.
Changing the Logo
The PornX theme comes with a default set of logos, one for each demo. If you wish to add a custom logo, you can upload it from your device by following the process below.
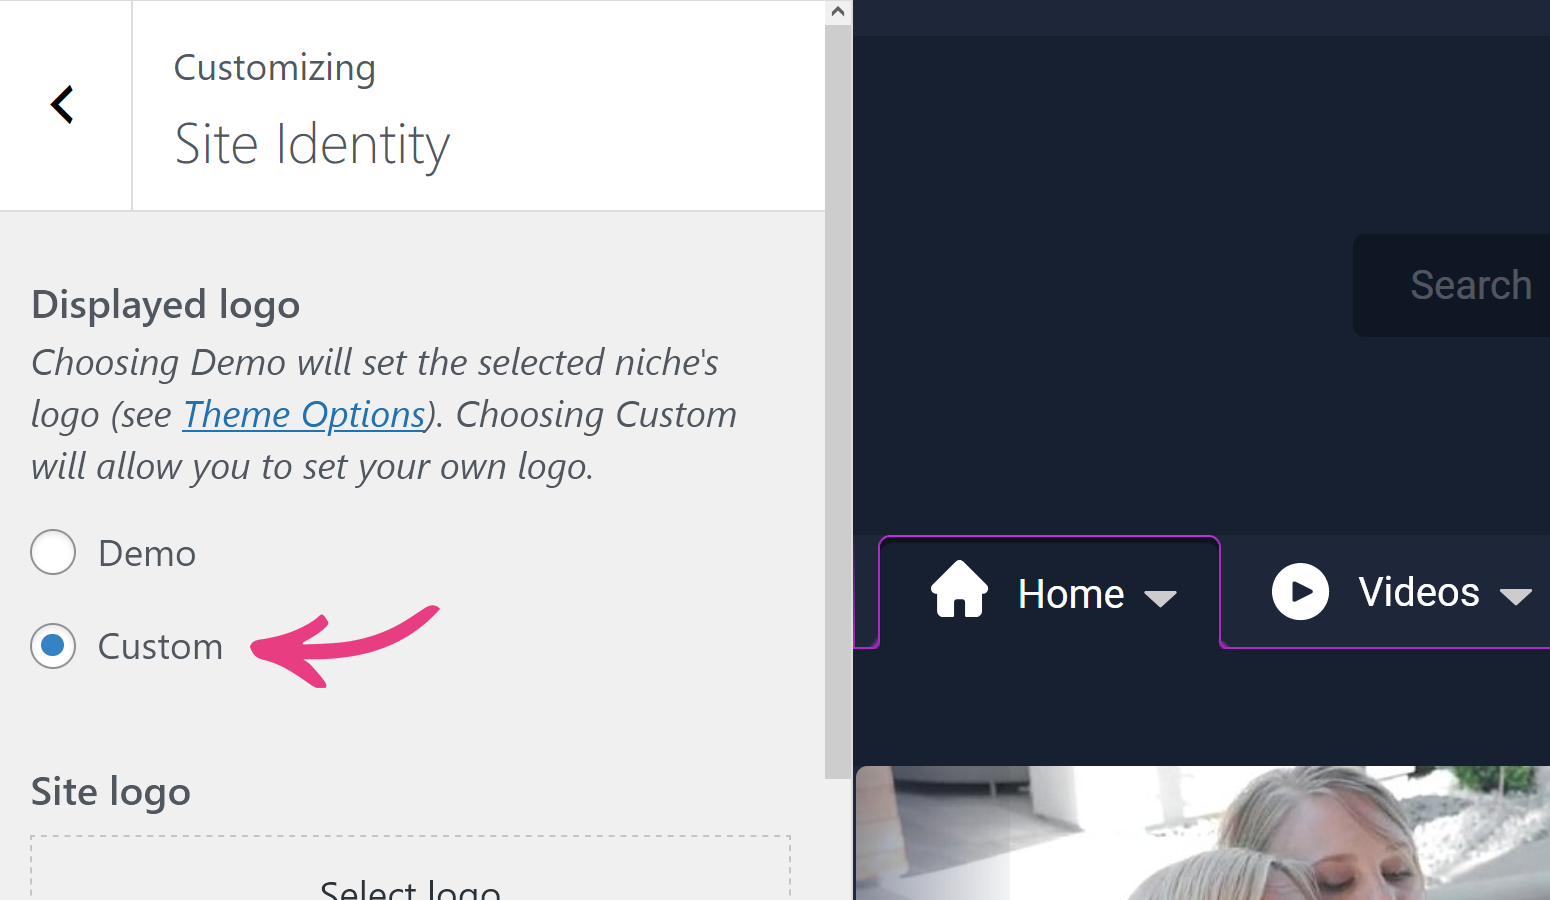
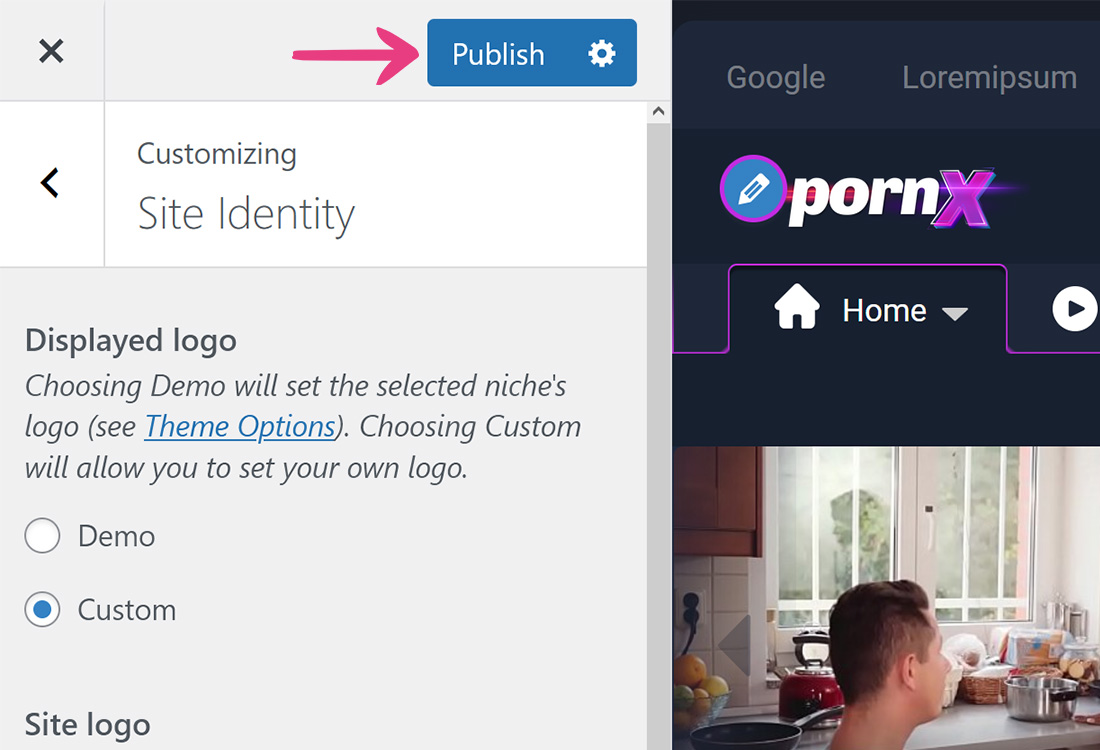
However, before that, make sure to select Custom under Displayed logo. This choice will display a new option below it, called Site logo.
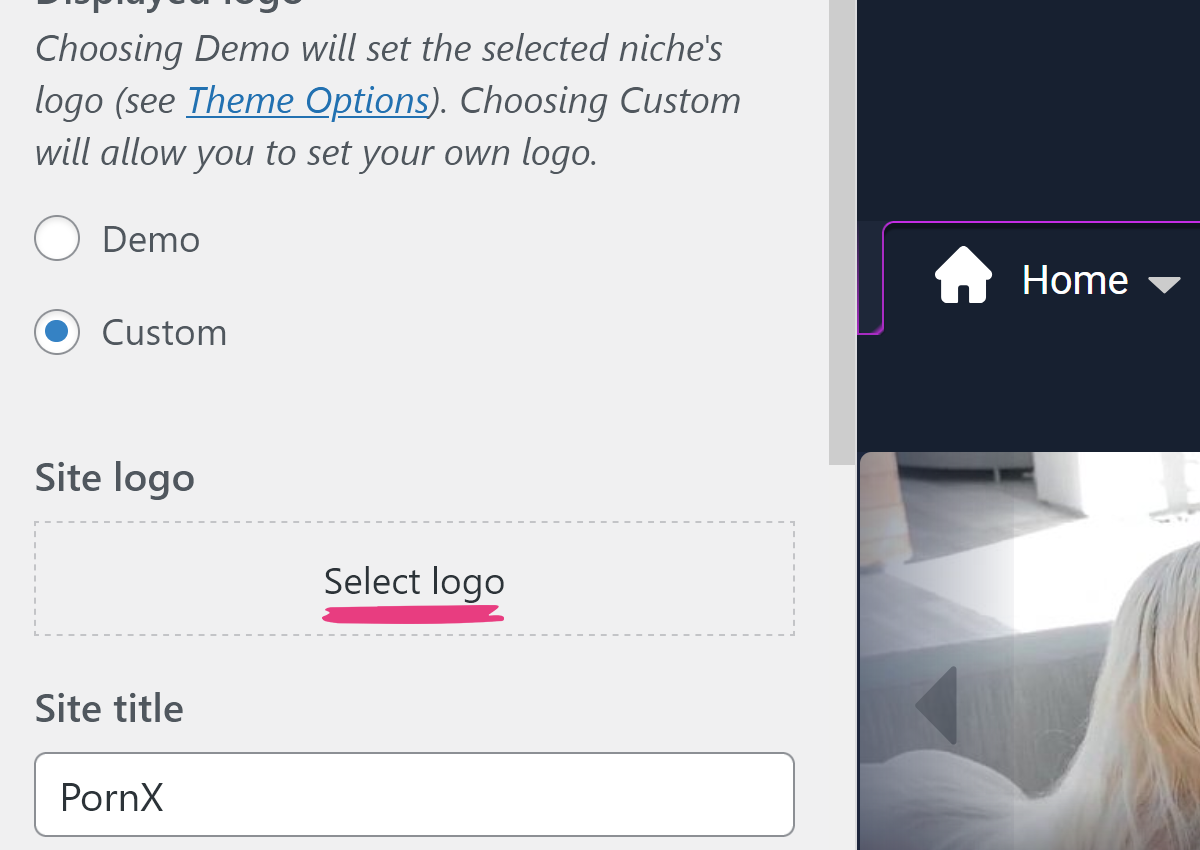
Next, click on Select logo, which will open the Media Library.
Choose the Upload files tab, click Select Files, and locate the logo image on your device.
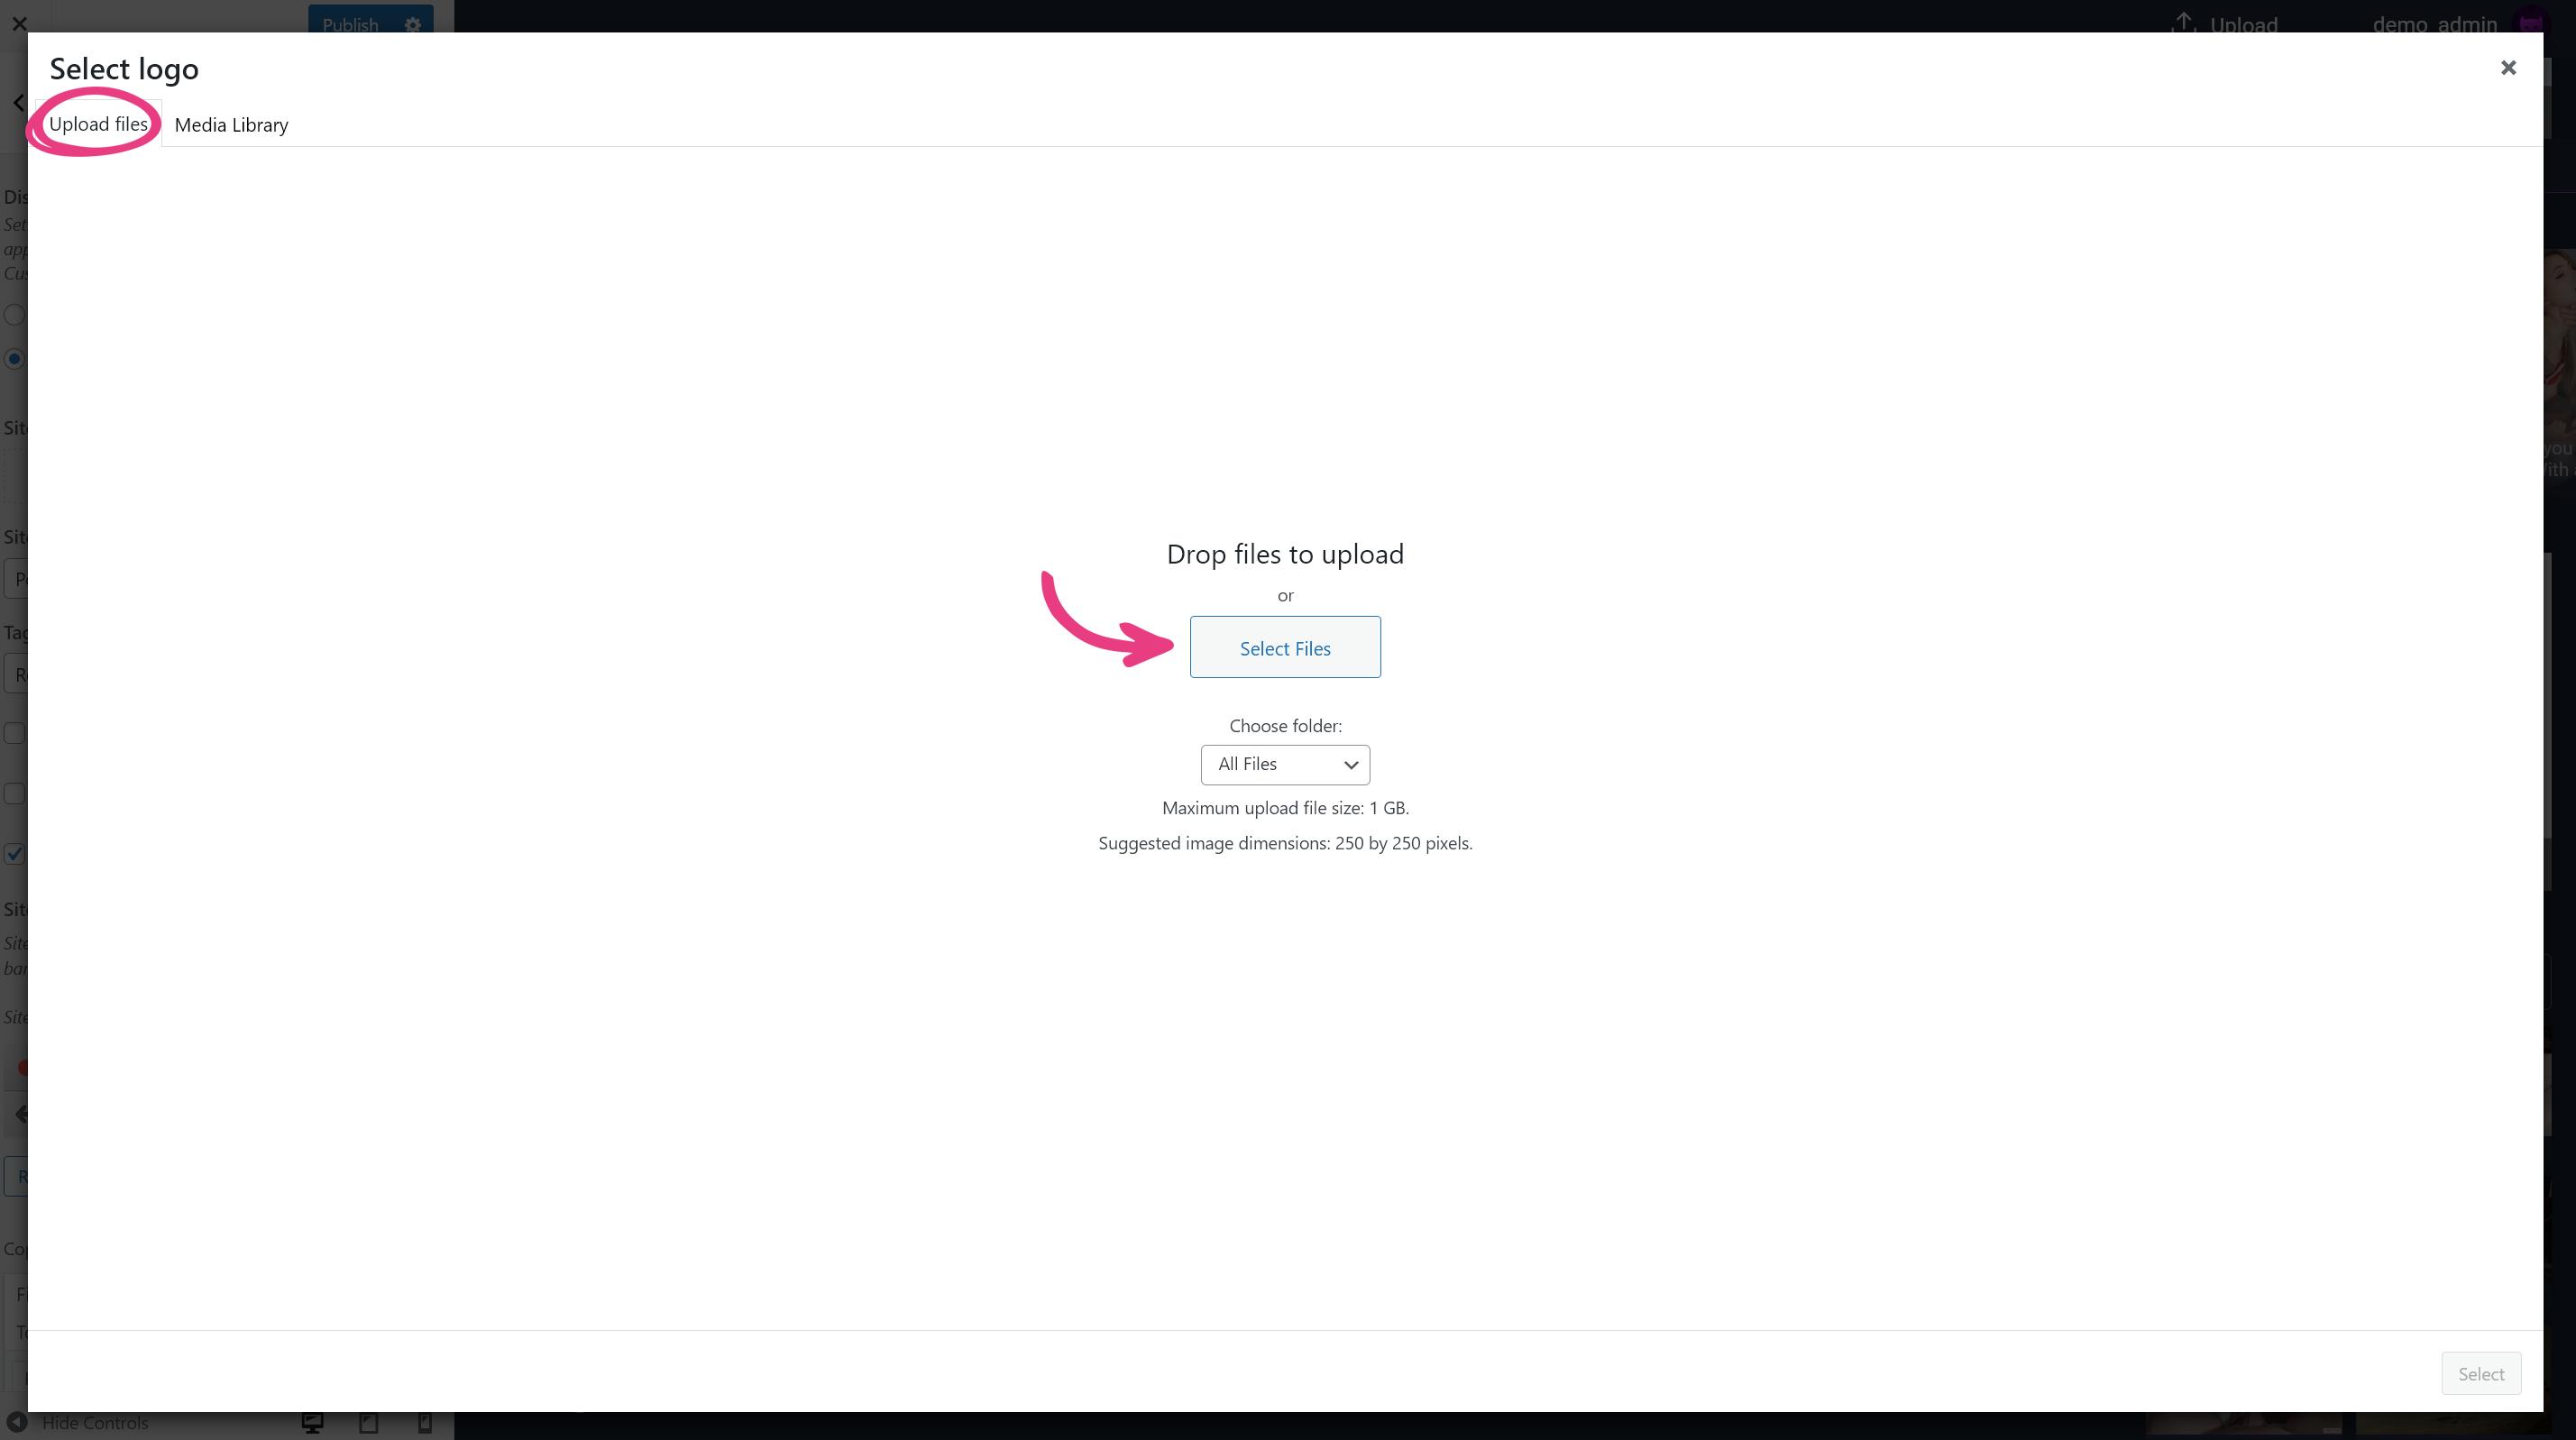
Once the image is uploaded, click the Select button in the bottom right corner, which will bring up the cropping tool, allowing you to remove unwanted portions of your image.
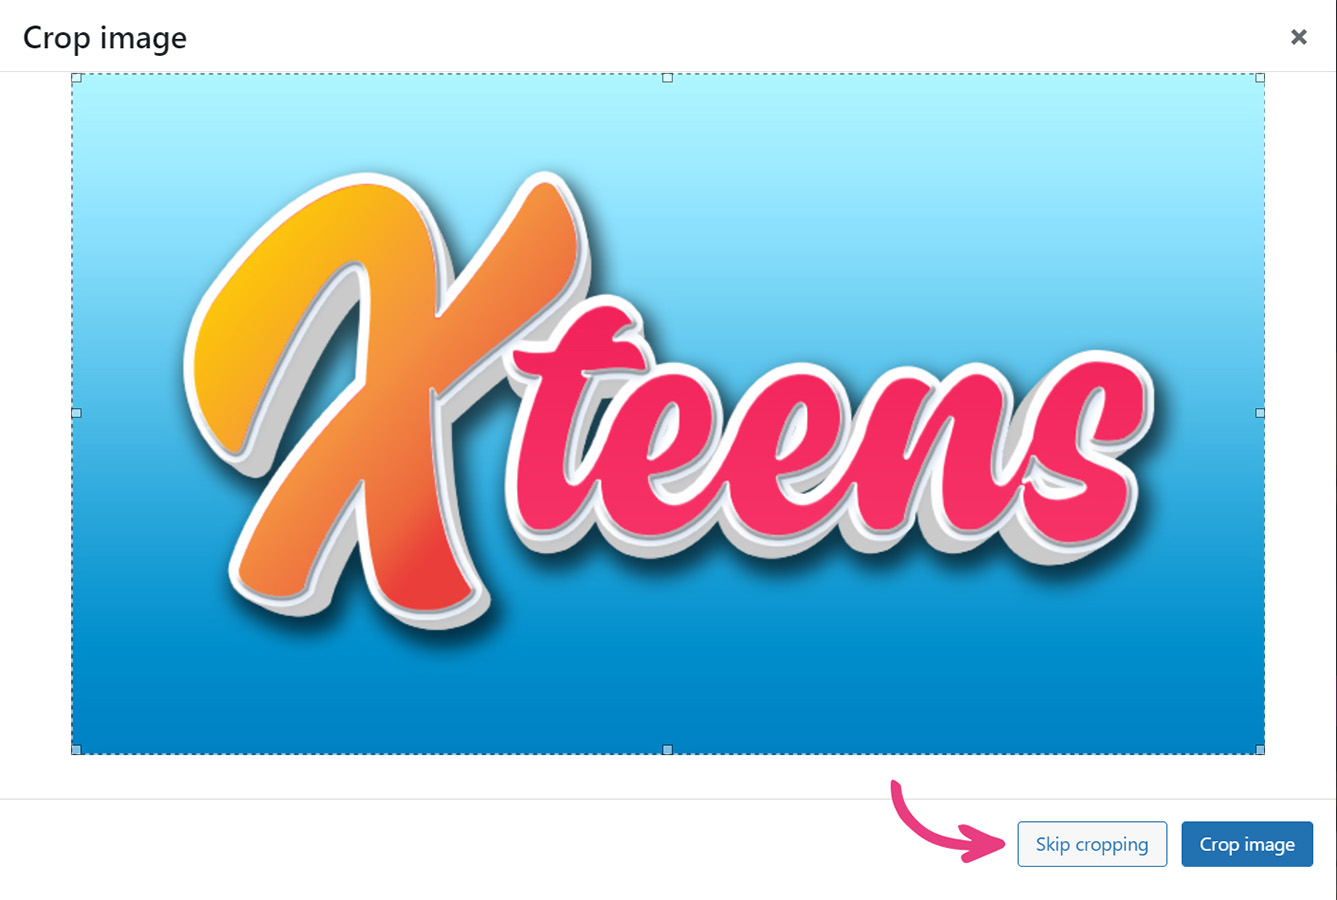
If you want to crop the image, move the highlighted box and its edges to cover only the area you want to keep, and click Crop image when you’re done.
If you don’t want to change the image, click Skip cropping.
Once you are satisfied with the changes you have made to your website’s identity, click the Publish button at the top.
Note: We recommend using the following dimensions for your logo: 250×100, 250×50, 350×75, 400×100, or 160×160 pixels.
Changing the Site Title and Tagline
You can also change your website’s title and tagline, which are shown in browser tabs, and can be displayed instead of the logo. These settings are located below the Site logo option.
Enter your website’s new name in the Site title field, and its new tagline in the Tagline field. A tagline should be short and catchy, and we don’t recommend making it longer than 60 characters.
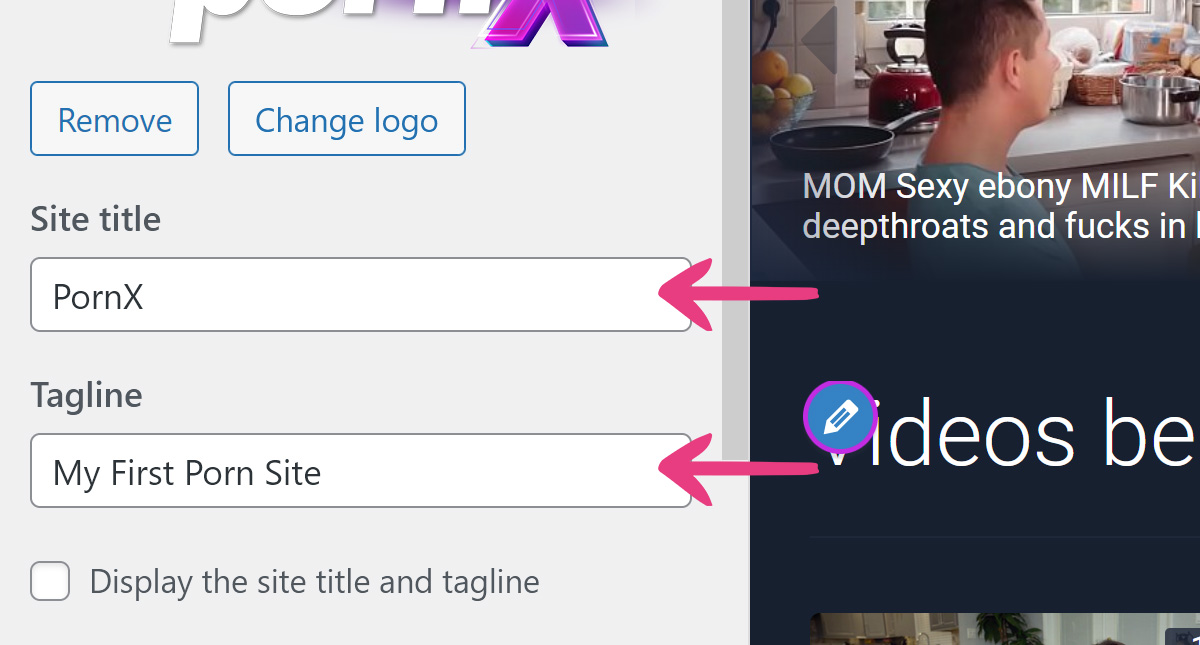
If you would like to display your website’s title instead of the logo, make sure that the Site logo box is empty by clicking Remove below it, then tick the Display the site title and tagline checkbox.
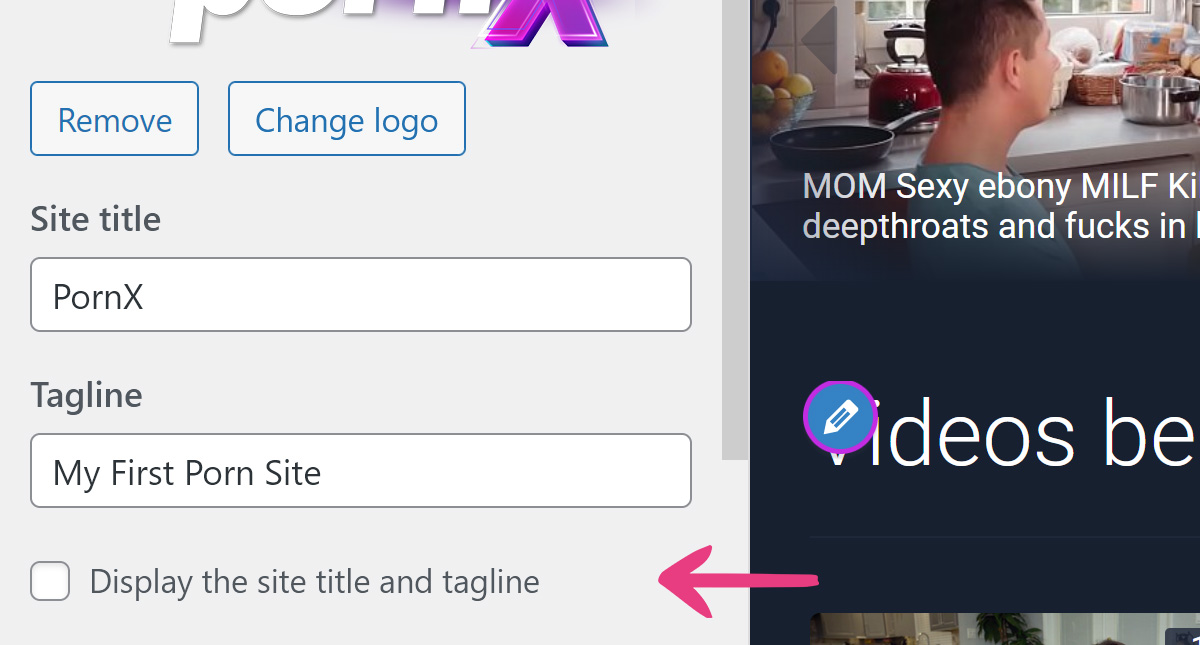
Once you are satisfied with the changes you have made to your website’s identity, click the Publish button at the top.

Changing the Favicon
The favicon is an image associated with your website’s identity that gets displayed as a visual reminder for the address bar or the browser tab in which your website is opened.
The favicon needs to be uploaded from your device. To do so, locate the Site icon option and click on the Select site icon box. If an icon is already present and you wish to change it, click the Change image button below the image. Either action will open up the Media Library.
![]()
Next, pick the Upload files tab, click Select Files, and locate the image on your device.

When the progress bar fills up, click the Select button in the bottom right corner, which will bring up the cropping tool, allowing you to specify which part of the image will be used as your website’s icon.
Once you’ve narrowed down your desired area, click Crop image, and finally, the Publish button at the top.

Note: We recommend 512x512px dimensions for your icon.
Changing the Footer Copyright
To change the copyright text displayed at the bottom of your website, navigate to the text editor at the bottom of the Site Identity tab’s settings.
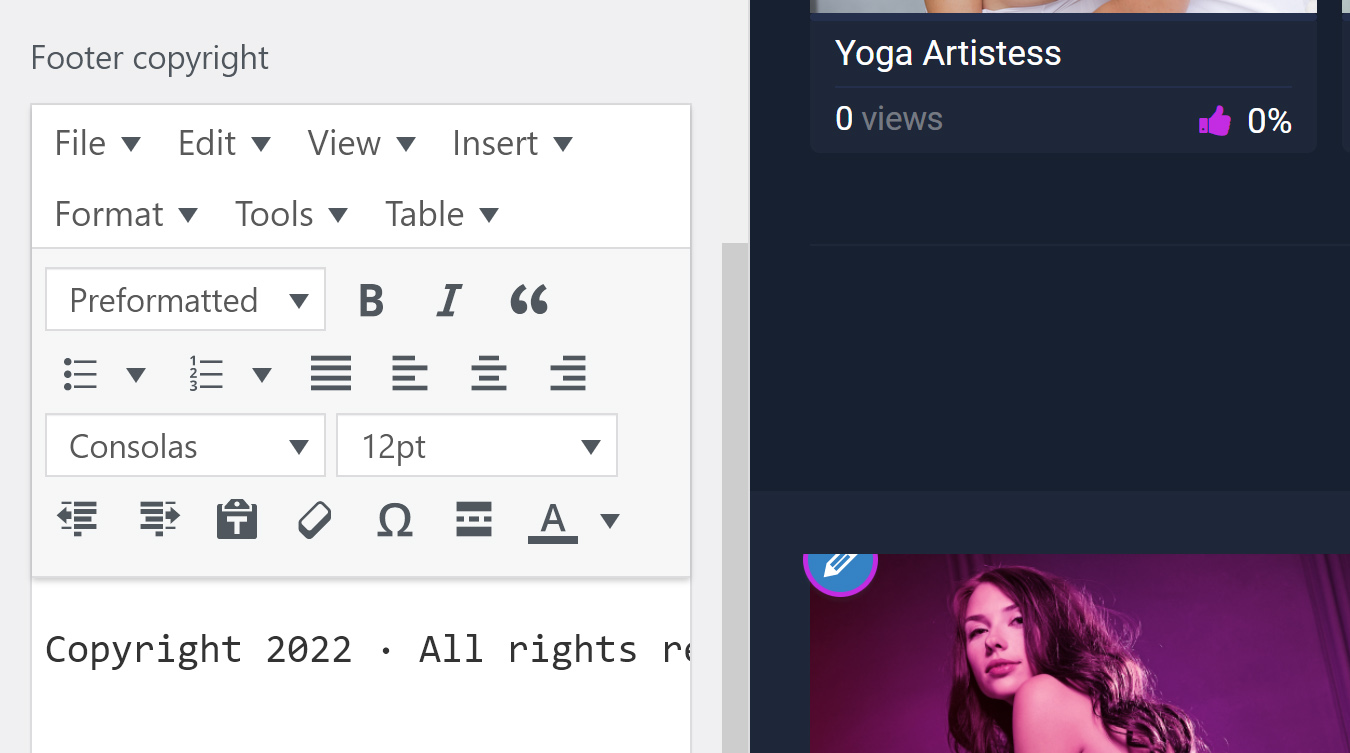
Enter the text you want to display in the footer, and click the Publish button at the top.

Note: The PornX theme uses an advanced text editor for the footer text, which offers complete control and flexibility to format the text according to your needs and preferences.


