How To Set A Featured Image For Blog Posts
The featured image for your PornX blog post serves two purposes:
1) It will be shown next to the blog post’s title on your website.

2) It will be displayed whenever the blog post is shared on social media.
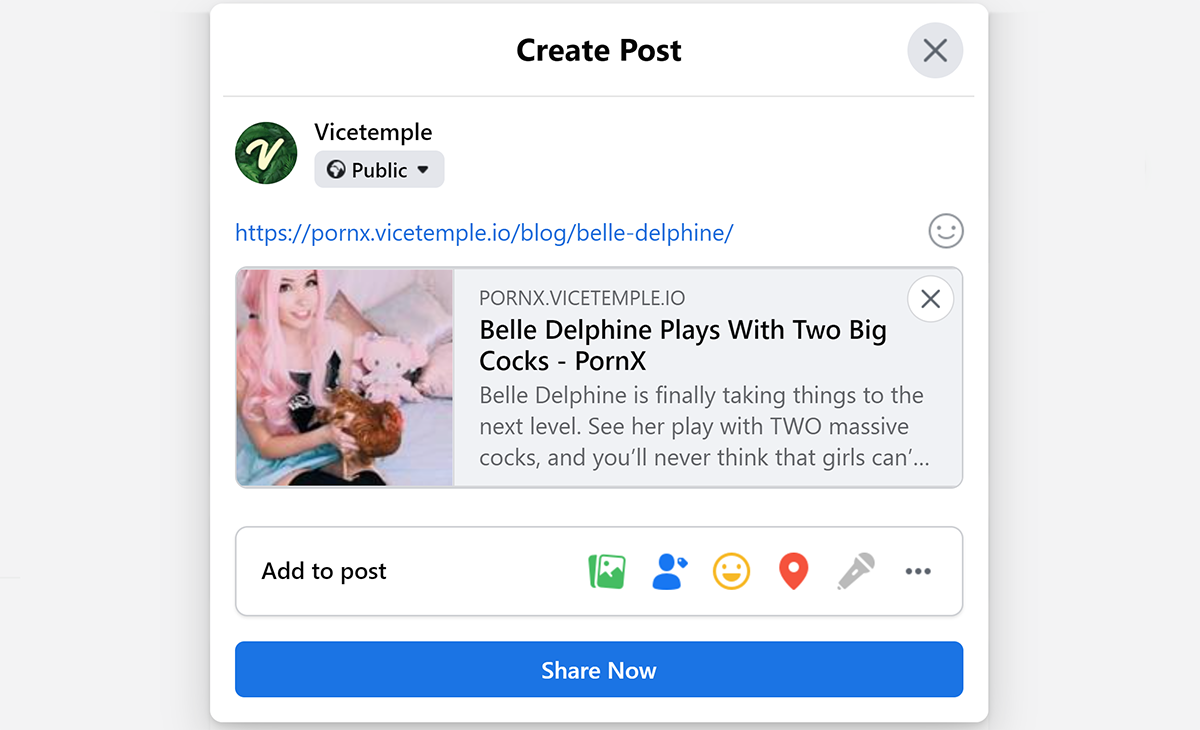
This article will teach you how to set the featured image for your blog posts in three simple steps.
Step 1
Navigate to your website and log in with your admin account. The Login option is located in the top right corner of your website.
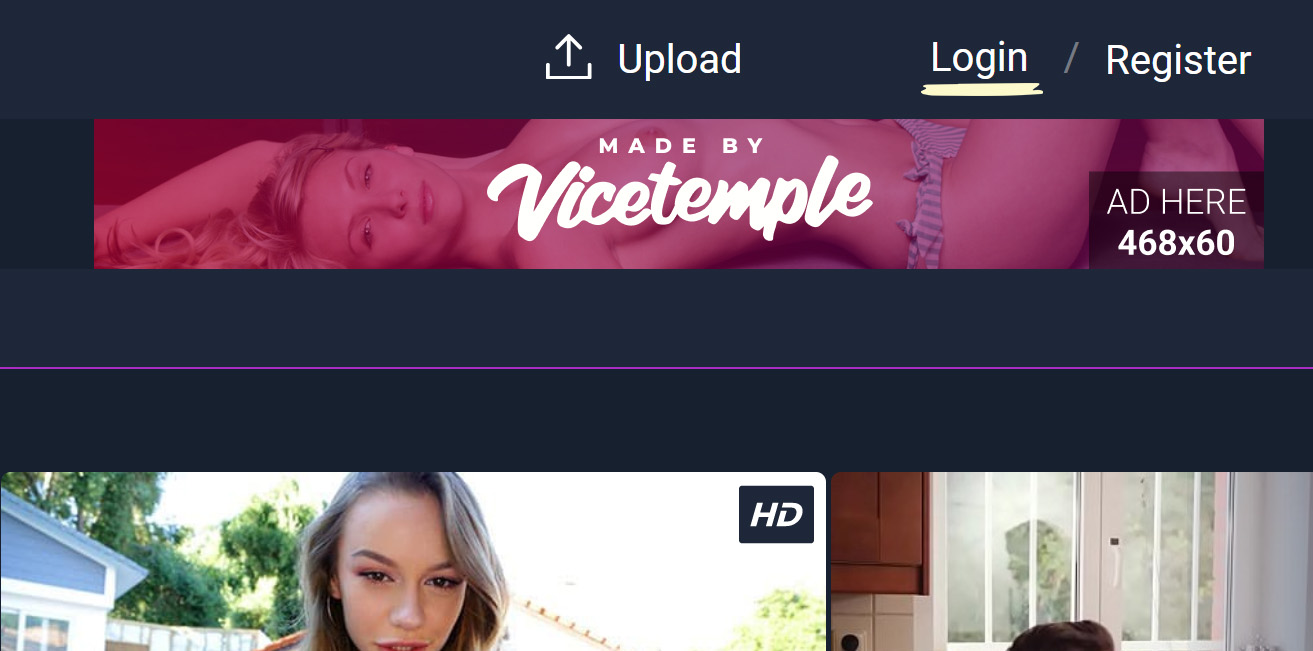
Note: You can find your admin login details in one of the support tickets in the Vicetemple client area. If you’re not sure where to find them, feel free to send us a message over live chat.
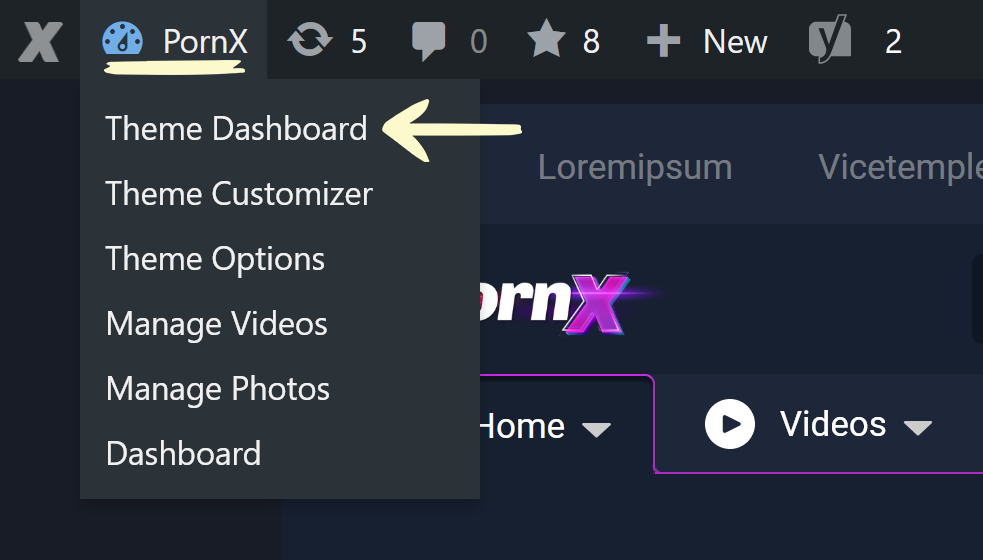
When you log in, hover over your website’s name in the top left corner of the admin toolbar, and click Theme Dashboard when the menu appears.
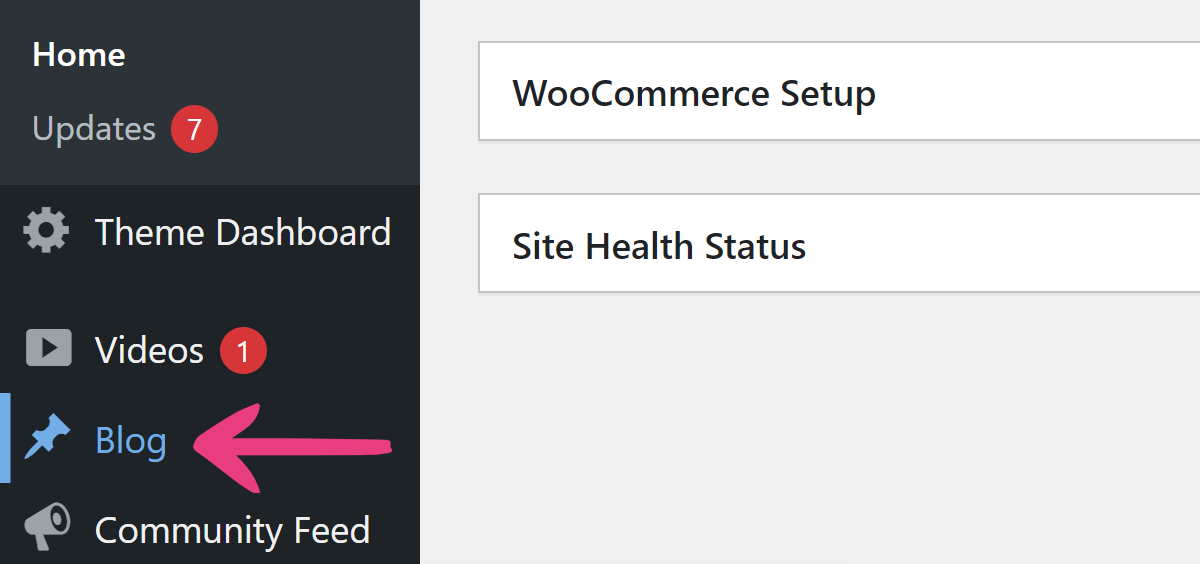
Next, click the Blog option in the sidebar on the left.
Step 2
Find the blog post you want to update and click Edit.
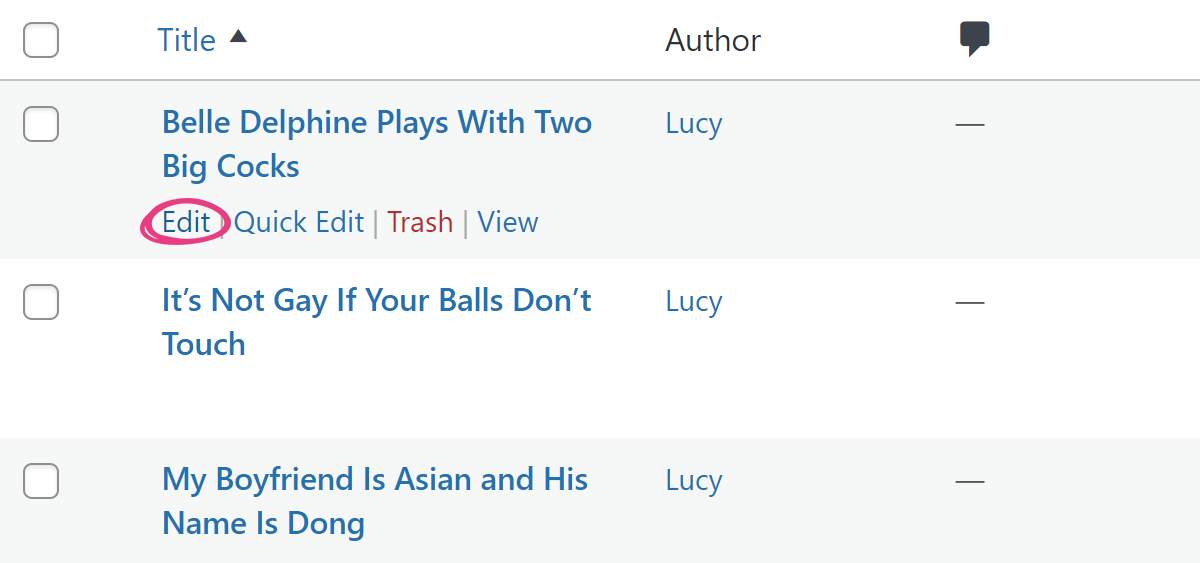
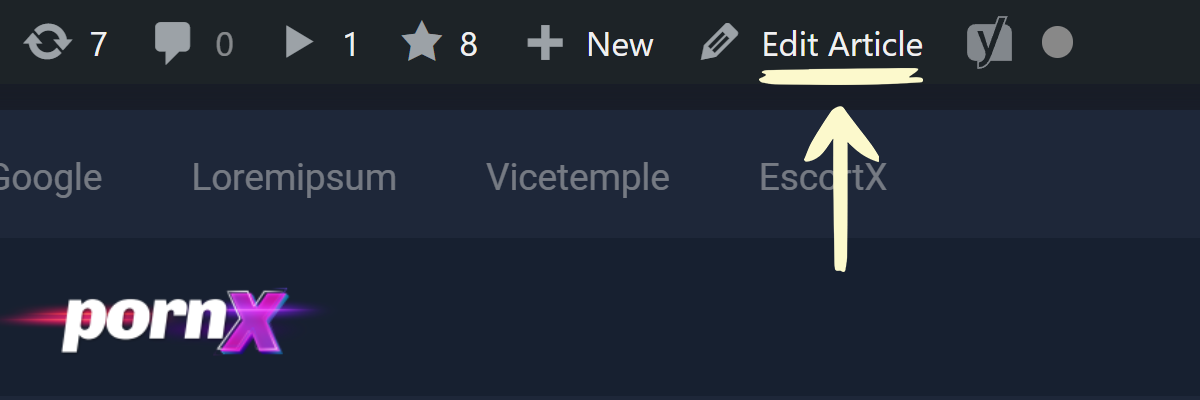
Alternatively, if you already have the blog post open on your website, click Edit Article in the admin toolbar at the top of the page.
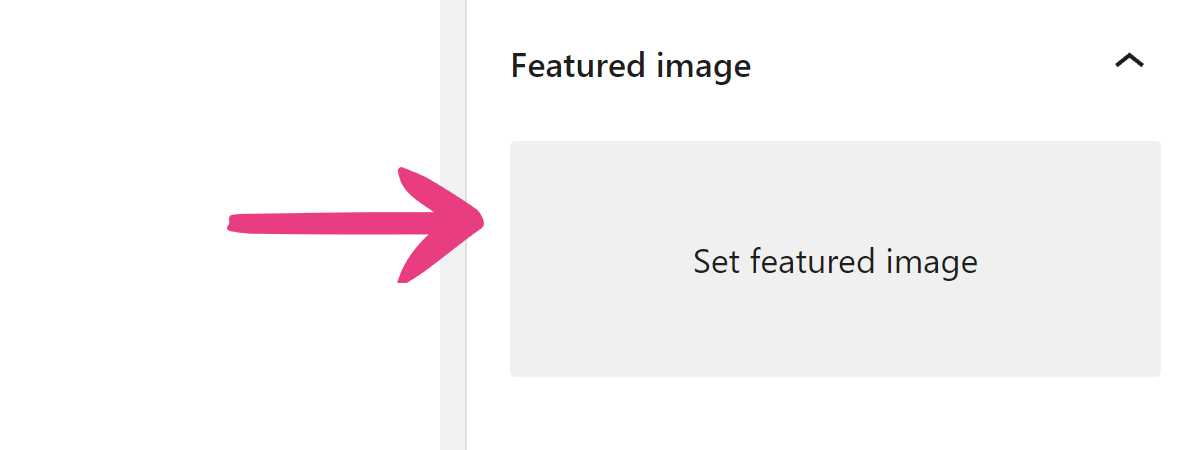
After the edit page loads, locate and expand the Featured image section in the sidebar on the right. Then, click the Set featured image option.
Step 3
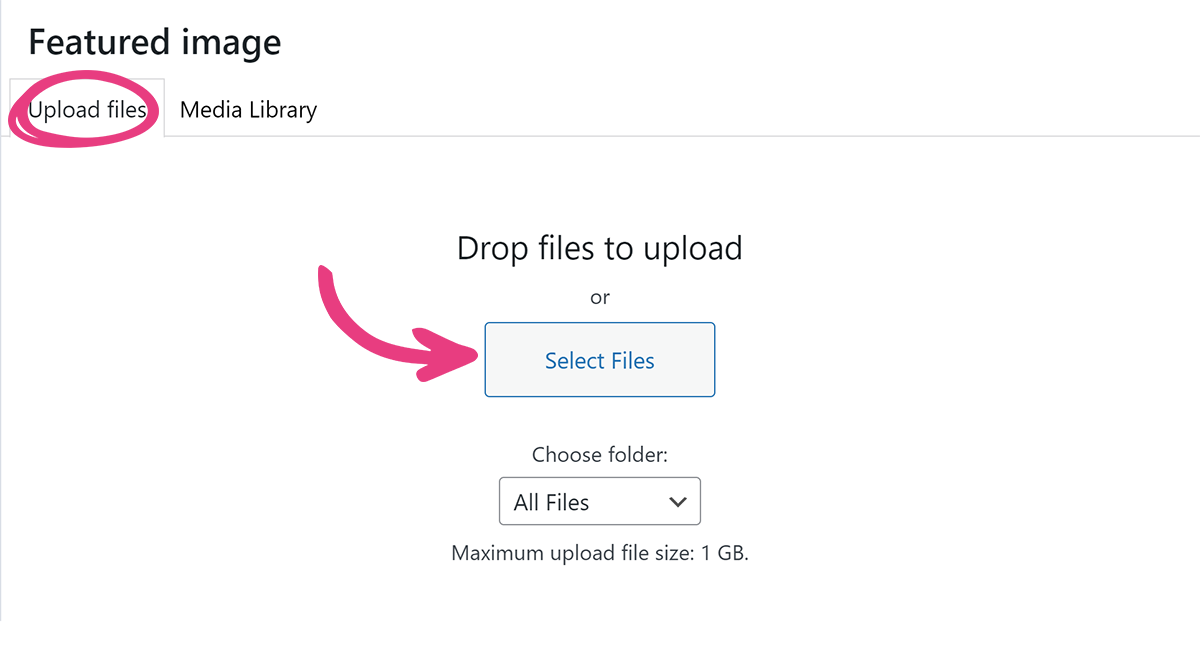
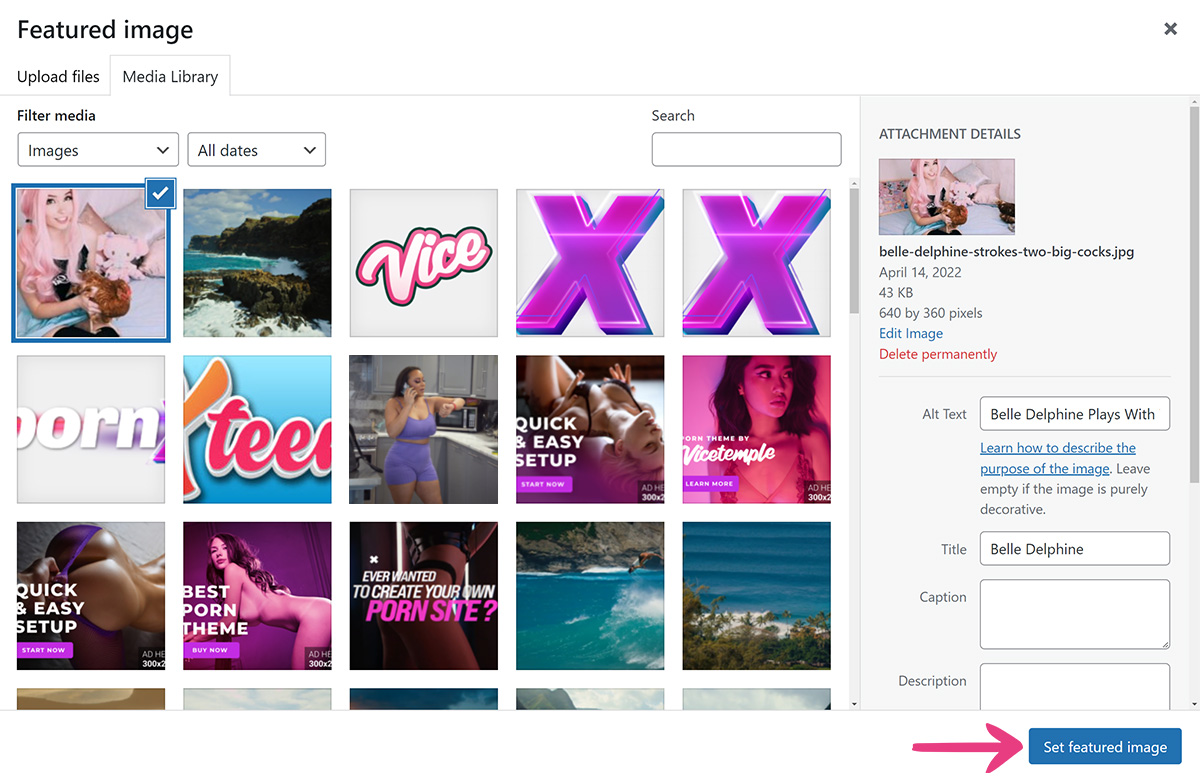
Once the Featured image popup opens, choose the Upload files tab, and click the Select Files button to upload an image from your device.
Then, click the Set featured image option in the bottom right corner. Only the supported formats will be displayed.
Finally, click the Update button in the top right corner to apply the changes.

The featured image will now be shown on the blog and all social media platforms.


