How To Upload Videos From The User Area
This article will show you how to upload videos directly from your website’s user area. The method is quicker and simpler compared to uploading videos from the admin area, but won’t give you as many options.
Follow the steps below to get started.
Step 1
Navigate to your website and log in with your admin account. The Login option is located in the top right corner of your website.
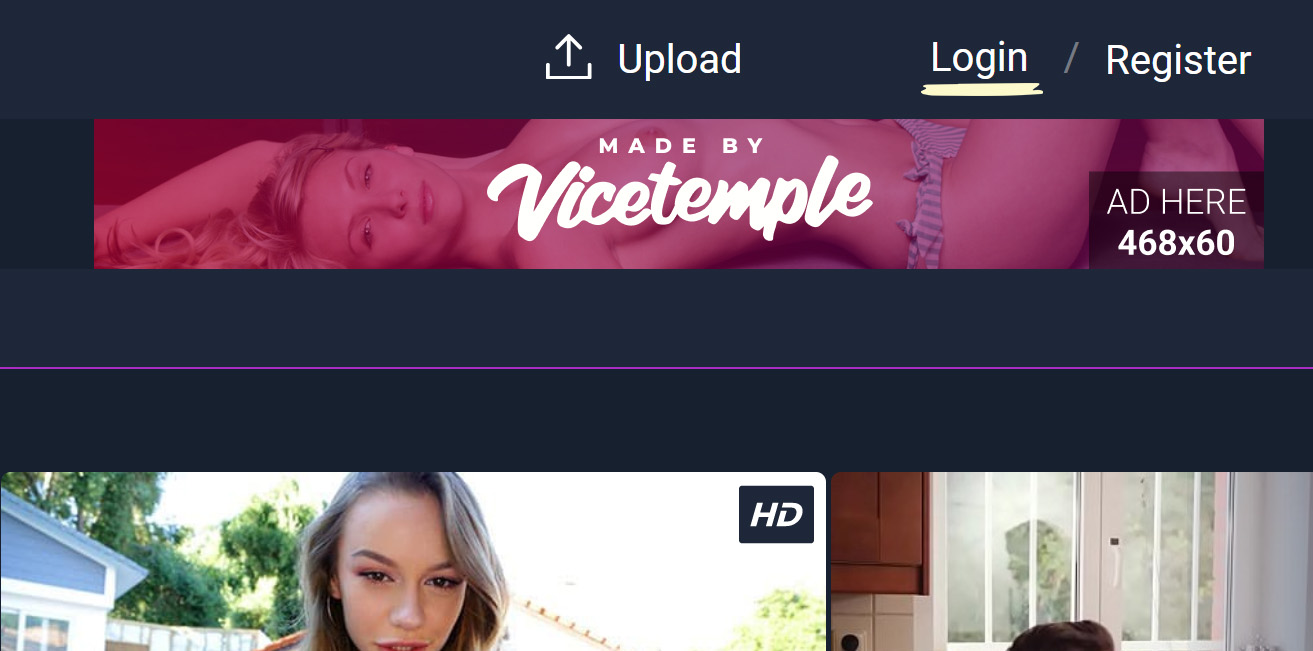
Note: You can find your admin login details in one of the support tickets in the Vicetemple client area. If you’re not sure where to find them, feel free to send us a message over live chat.
Step 2
Once you are logged in, click the Upload option, also located in the top right corner, and choose Videos from the drop-down list. This will direct you to the Upload page.

Step 3
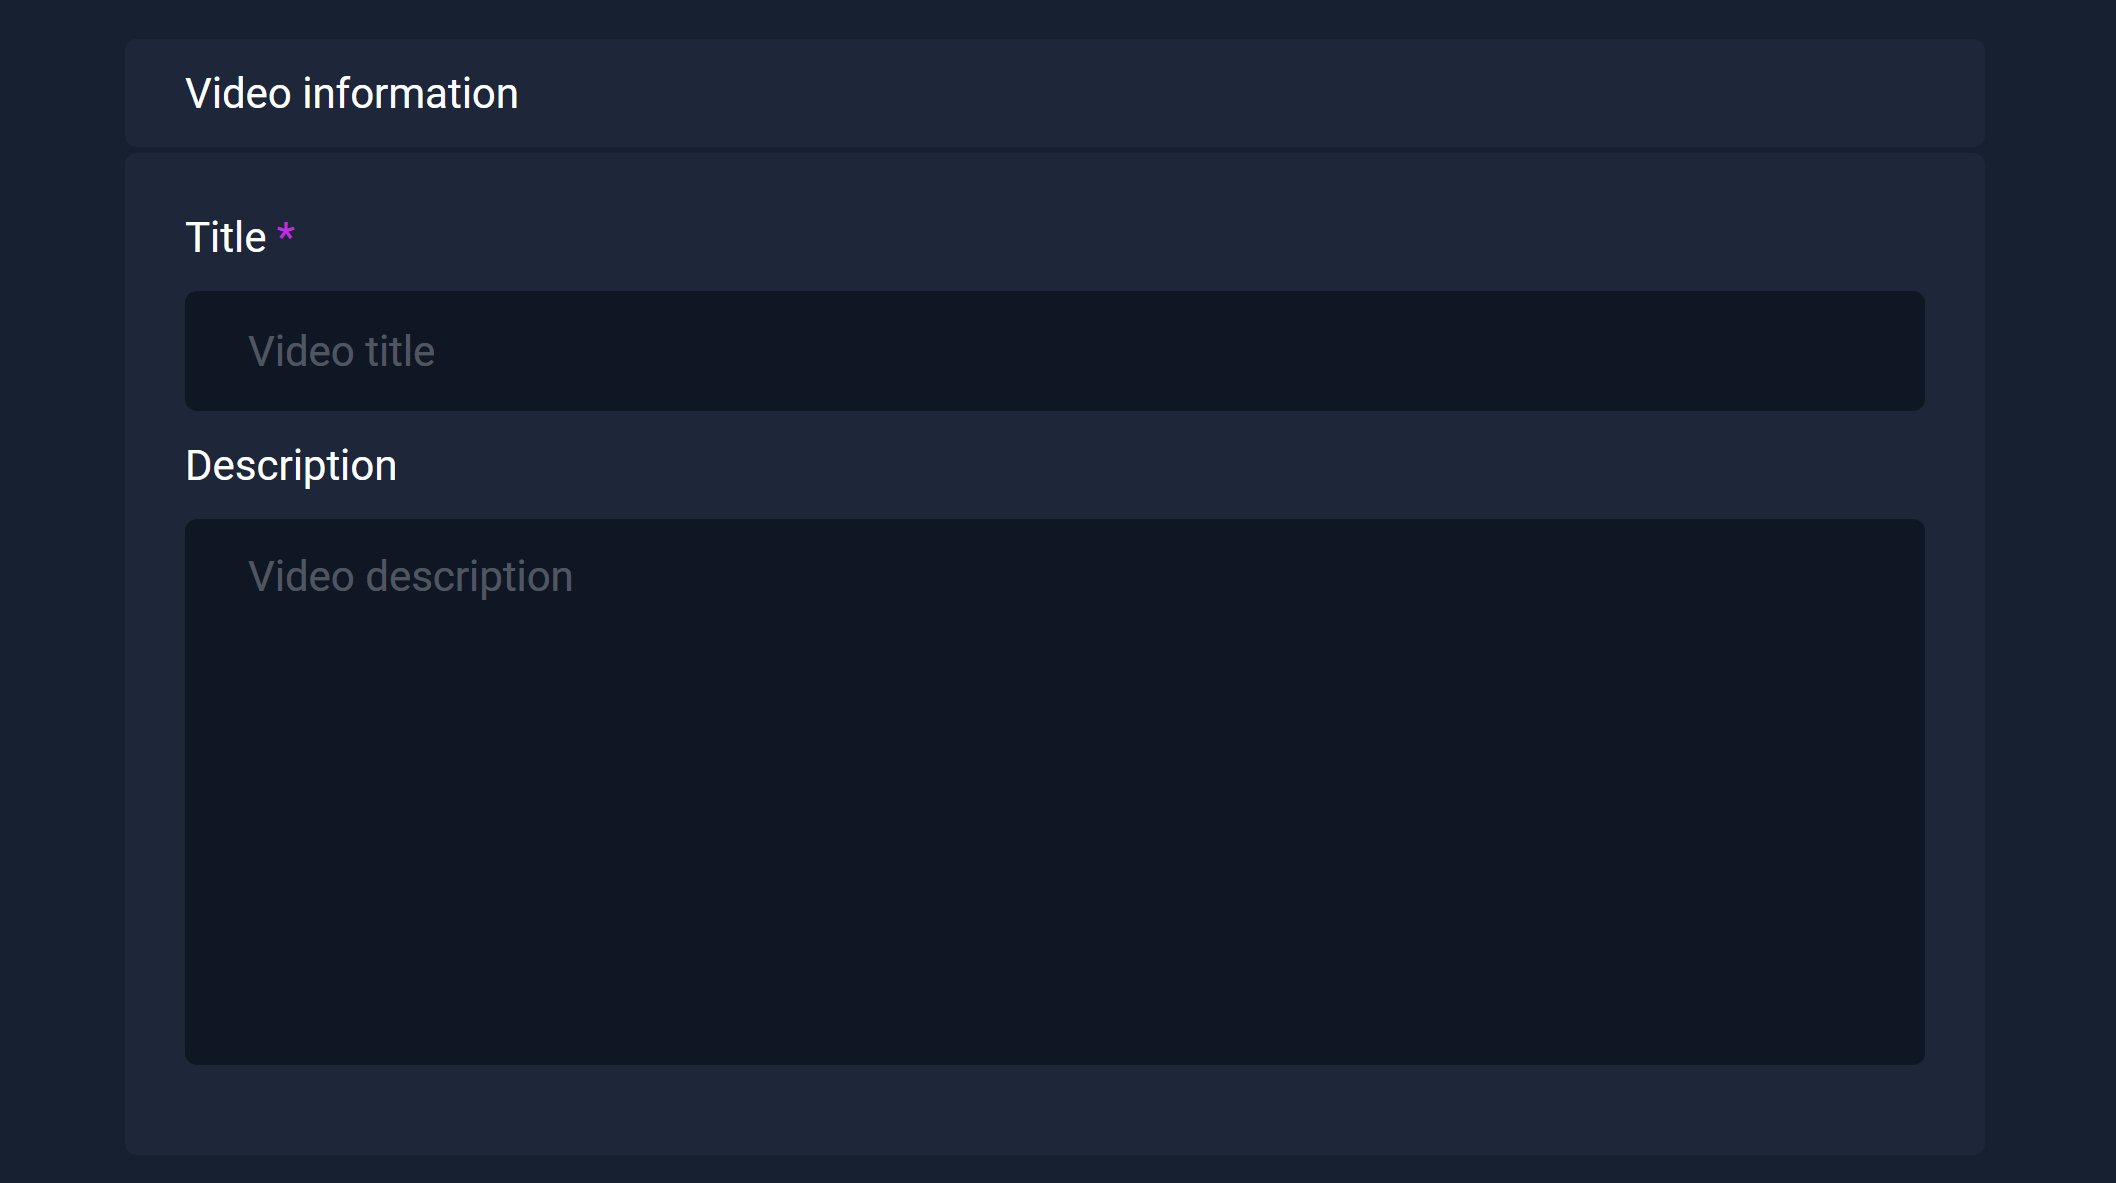
Set a title and description for your video under Video information.
Step 4
Add the video under Video source by using one of the following methods: direct link, embed code, or direct upload. The first two methods let you add videos from other websites, while the third one is used for importing videos from your device.
Note: If you try to add video sources using more than one method at a time, only one source will be accepted and the rest discarded. Your website will favor video sources in the following order: direct upload -> direct link -> embed code.
Direct Video Link
Paste a direct link to the video into the Video URL field. The video can be hosted at any website as long as the URL is publicly accessible and ends with one of the supported video extensions (mp4, webm, m4v, or mov).

Configuring a thumbnail for your linked video will be explained below, under Generate a Thumbnail.
Embed Code
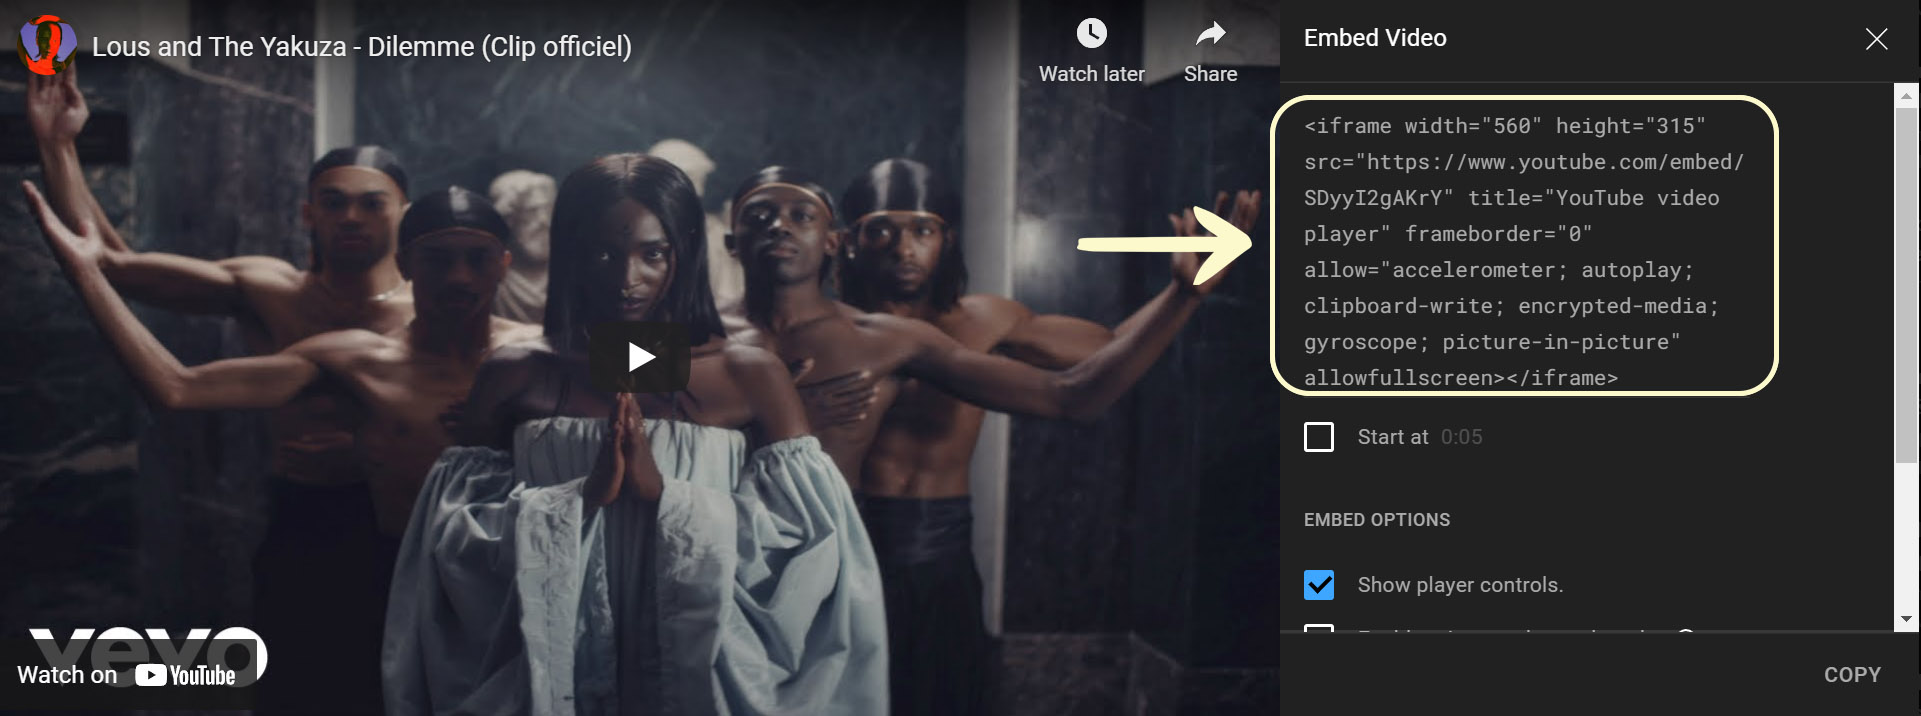
Copy the <iframe> code from the source website.
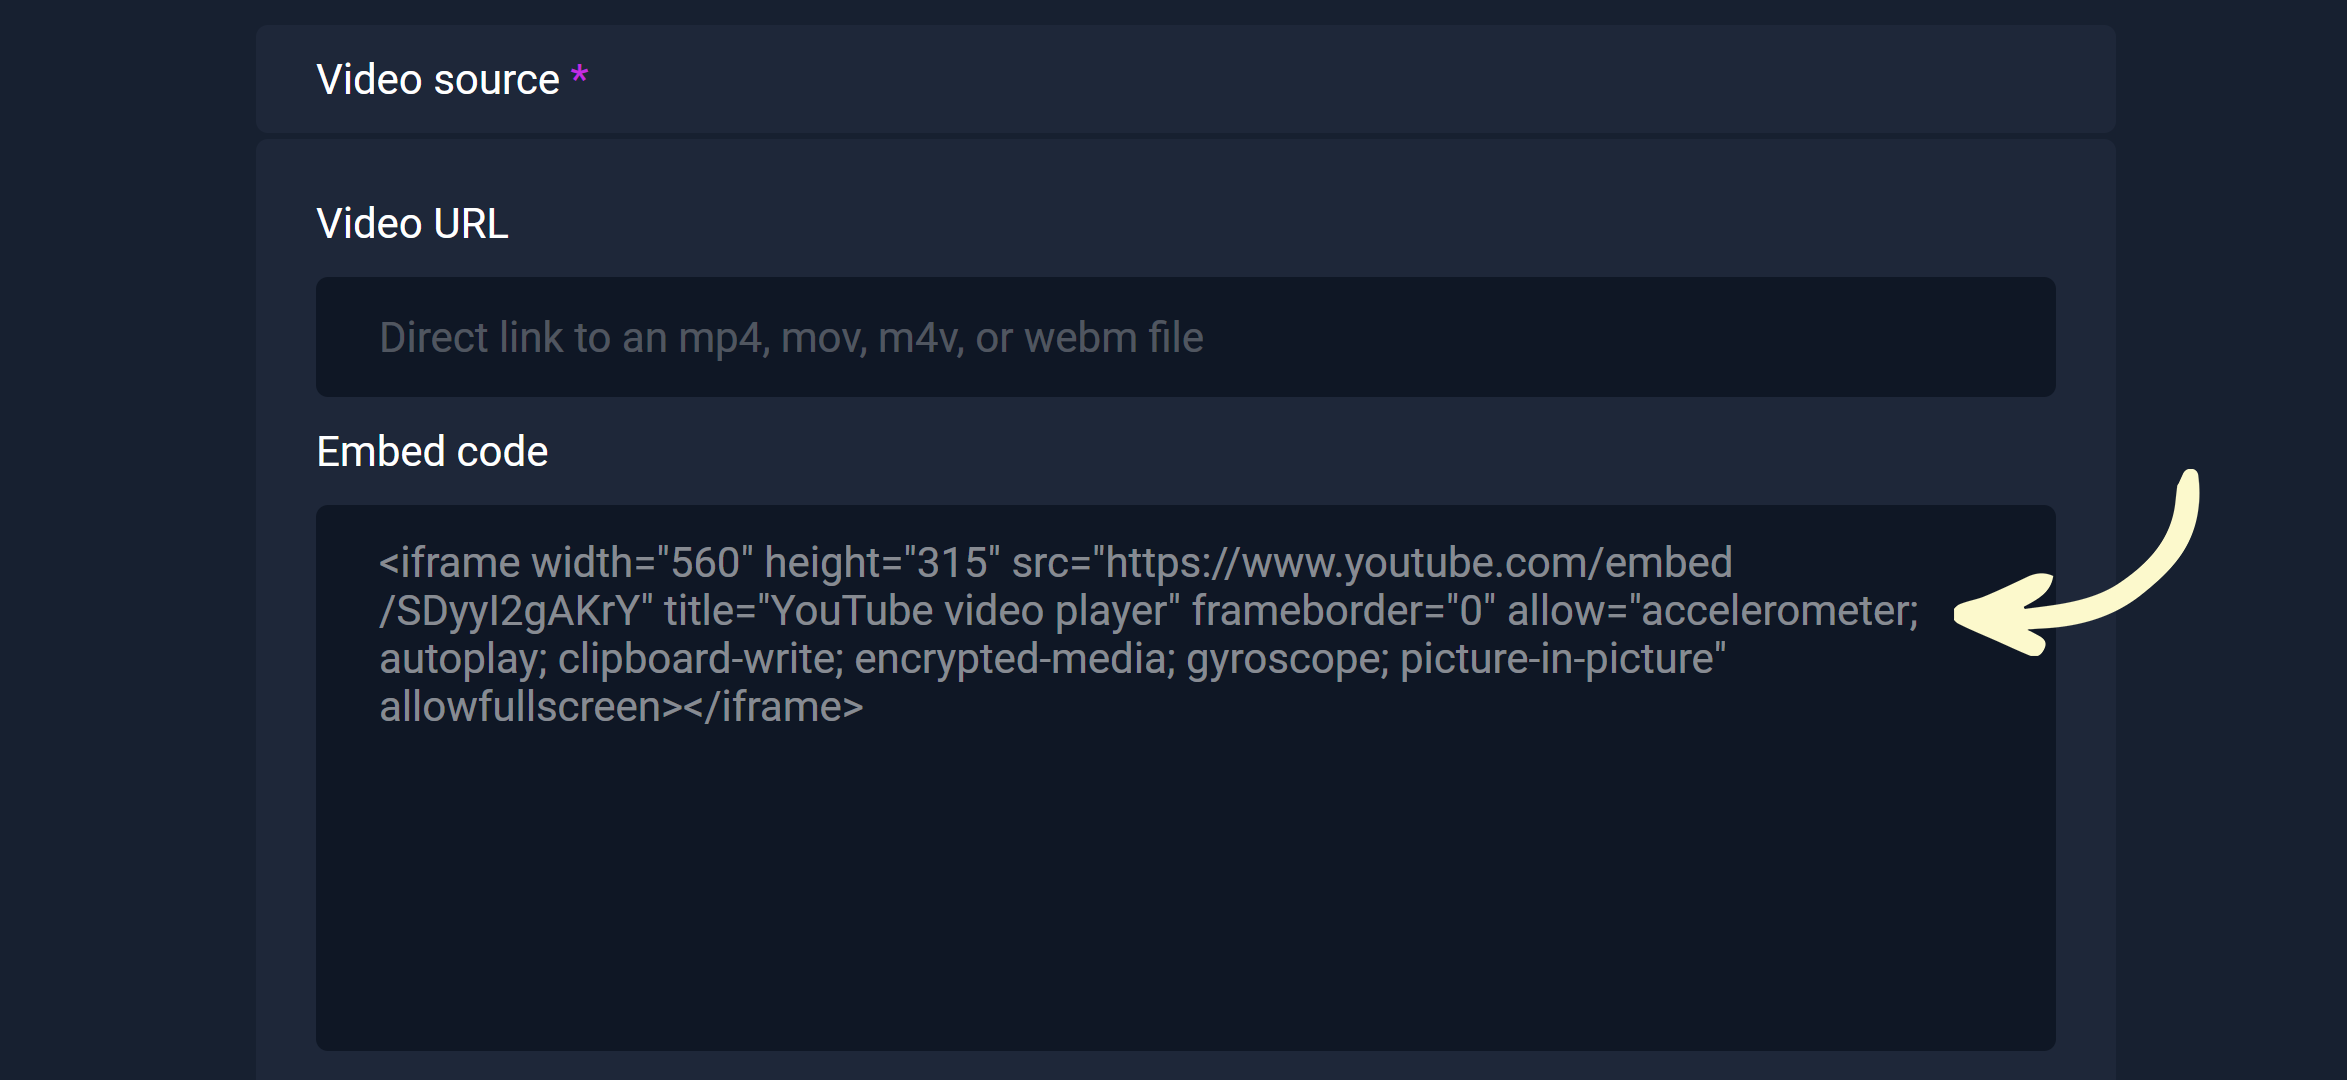
Paste the copied code into the Iframe / Embed code field on your website’s Upload page.
If you are unsure how to find the embed code, we have a guide here.
Setting a thumbnail for your embedded video will be covered later, under Generate a Thumbnail.
Direct Upload
Click the Select a file button and choose the video file you’d like to upload from your device. Only the supported formats will be displayed. If you go with this upload method, you will have the option to set the video’s thumbnail. This process is explained below, under Generate a Thumbnail.
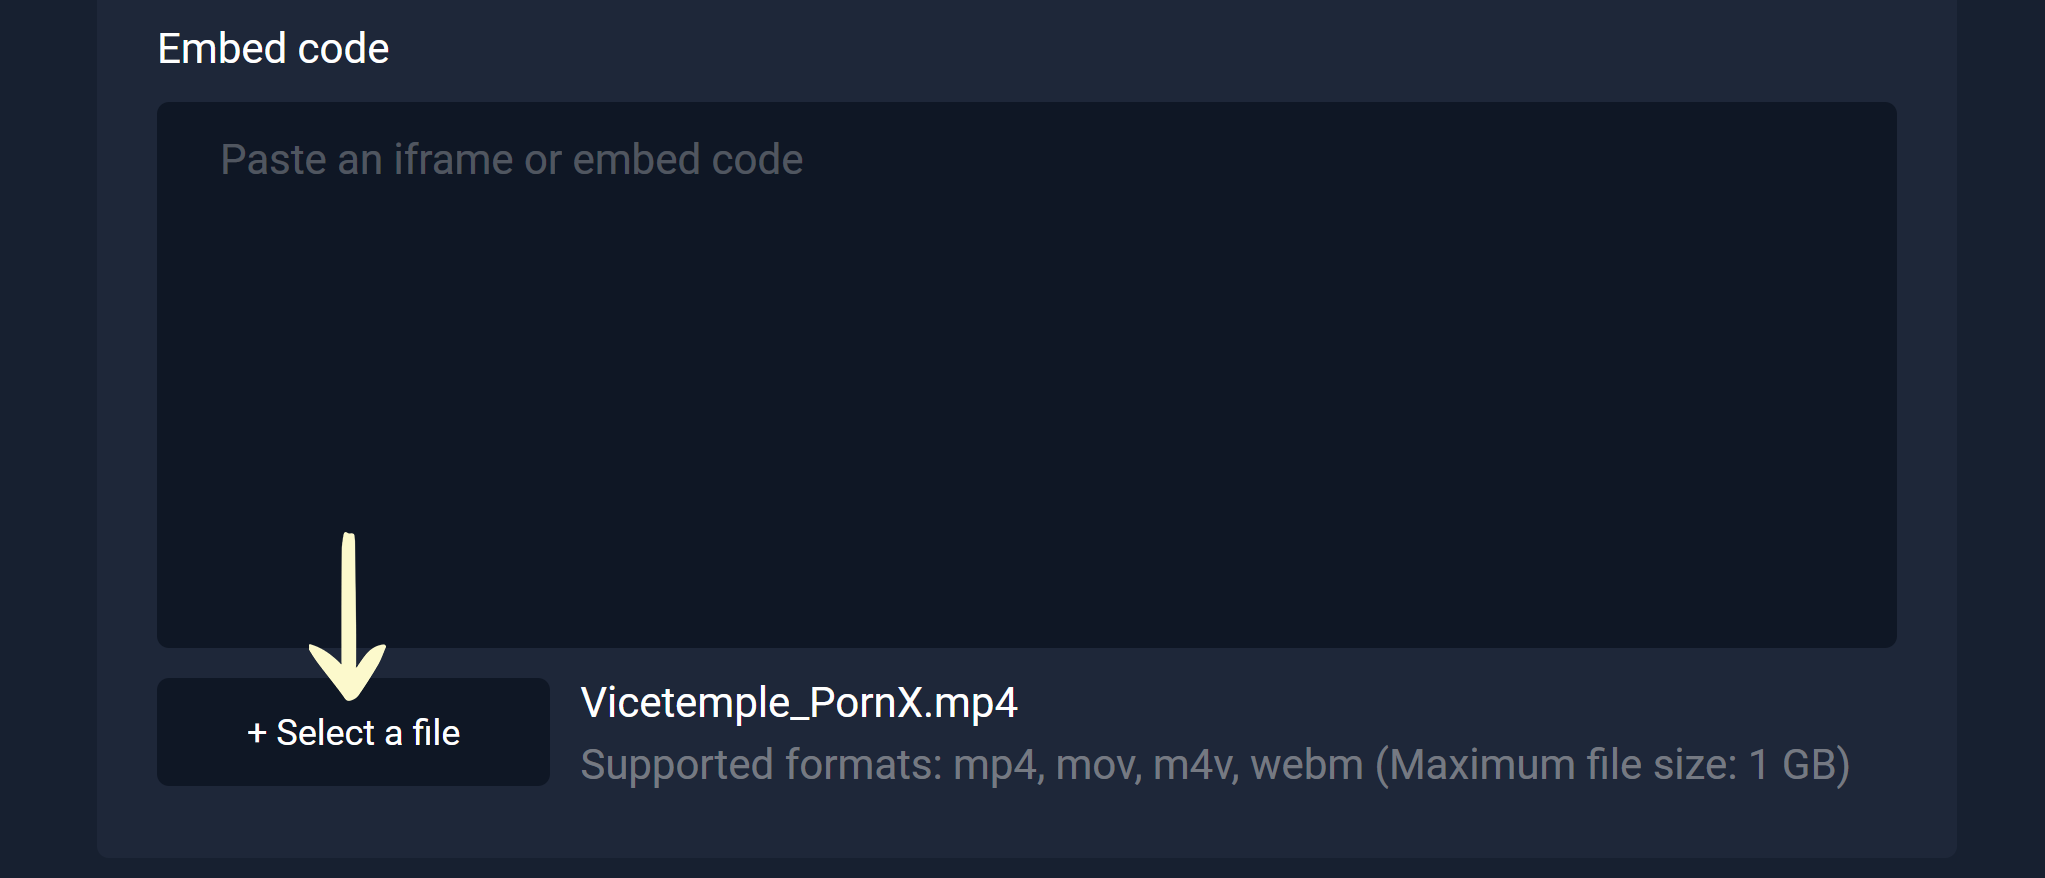
Supported video formats include .mp4, .webm, .m4v, and .mov.
Note: The video file should contain only alphanumeric symbols (A to Z and 0 to 9), hyphens (-), and underscores (_) to avoid potential errors.
Step 4
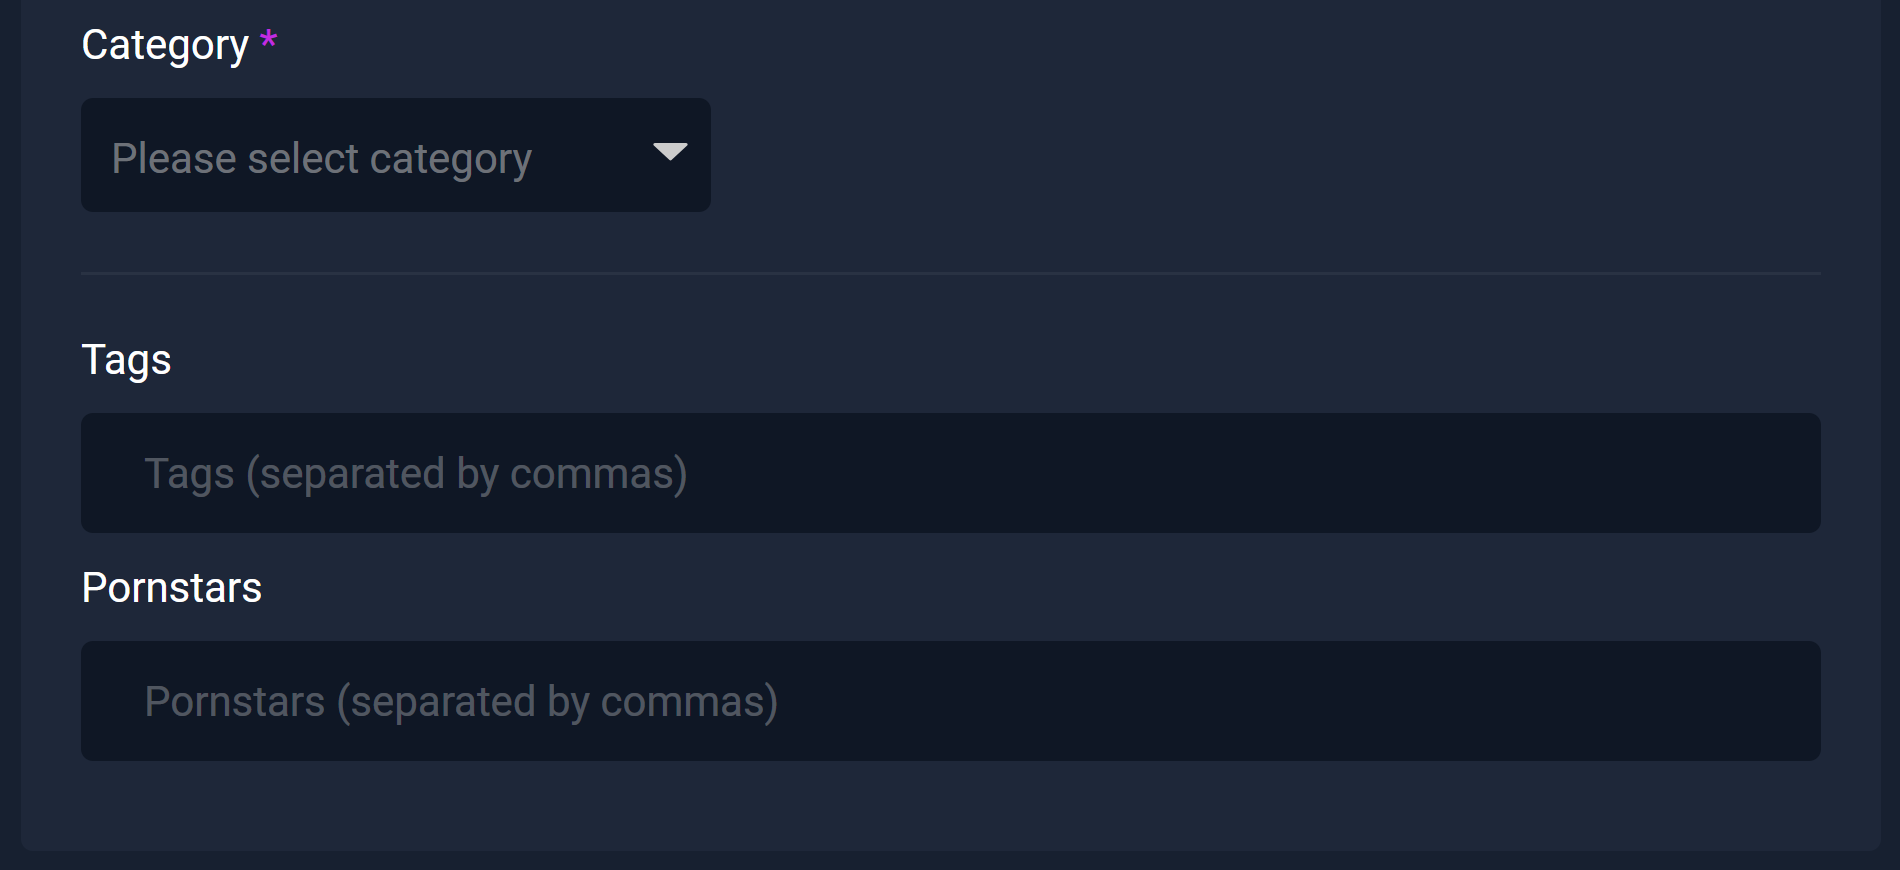
Select a category for your video, and add relevant tags and pornstars in the Video details section to make the video easier to find.
Step 5
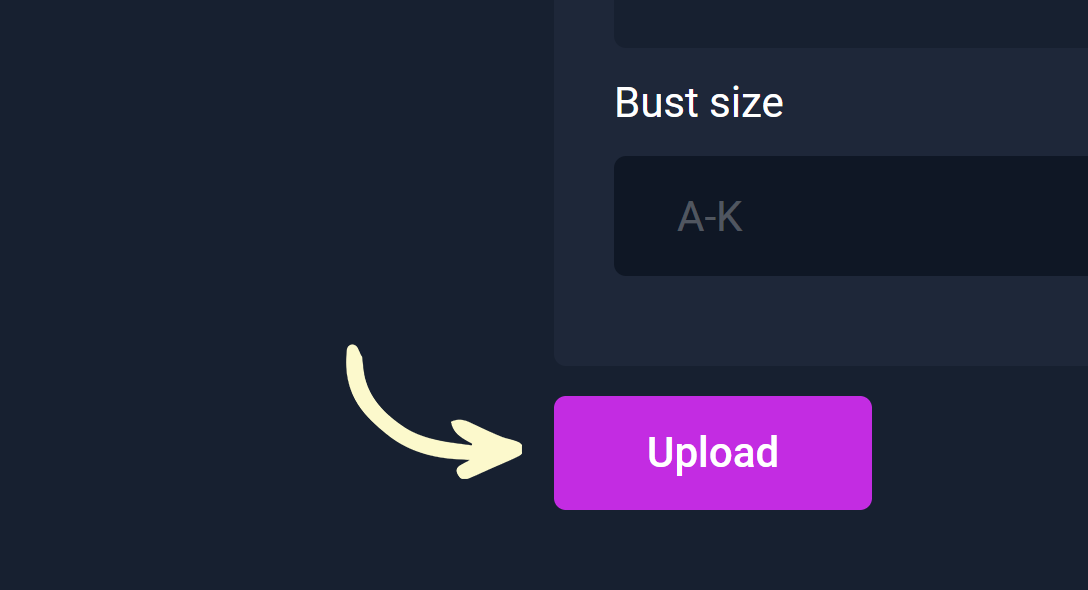
After you’ve finished entering the video’s information, click the Upload button at the bottom to make the video available. If moderation is disabled, the video will be immediately accessible. As an optional step, you may set up additional information for the video, which will be explained in the Optional Steps section at the bottom of this article.
Step 6
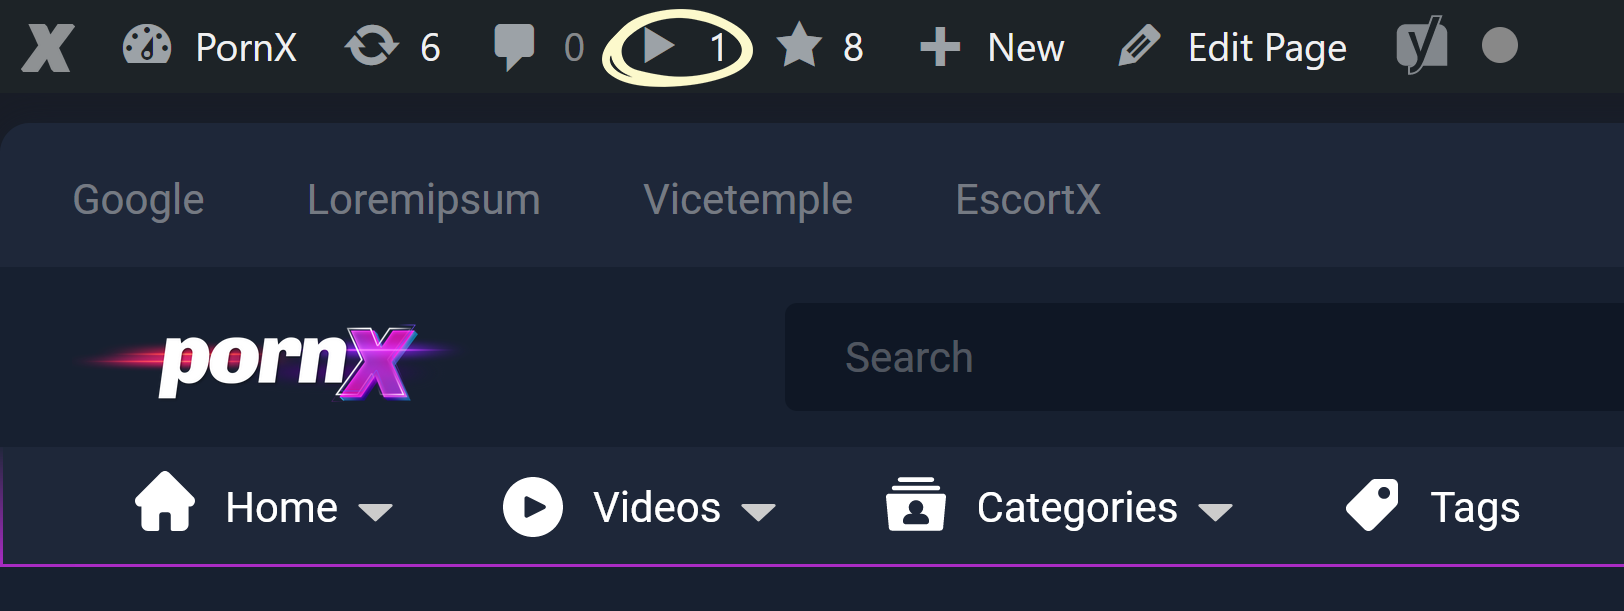
Once you click the button, the video will be uploaded to your server. However, if moderation is enabled, the video will not be visible on your website until you publish it from your admin console. To do so, click the play icon in the website’s top menu. To learn more about content moderation, click here.
Step 7
After clicking the icon, you will see a list of pending videos. Locate the video you want to publish and tick the checkbox left of its title. You may select and publish any number of videos at once.
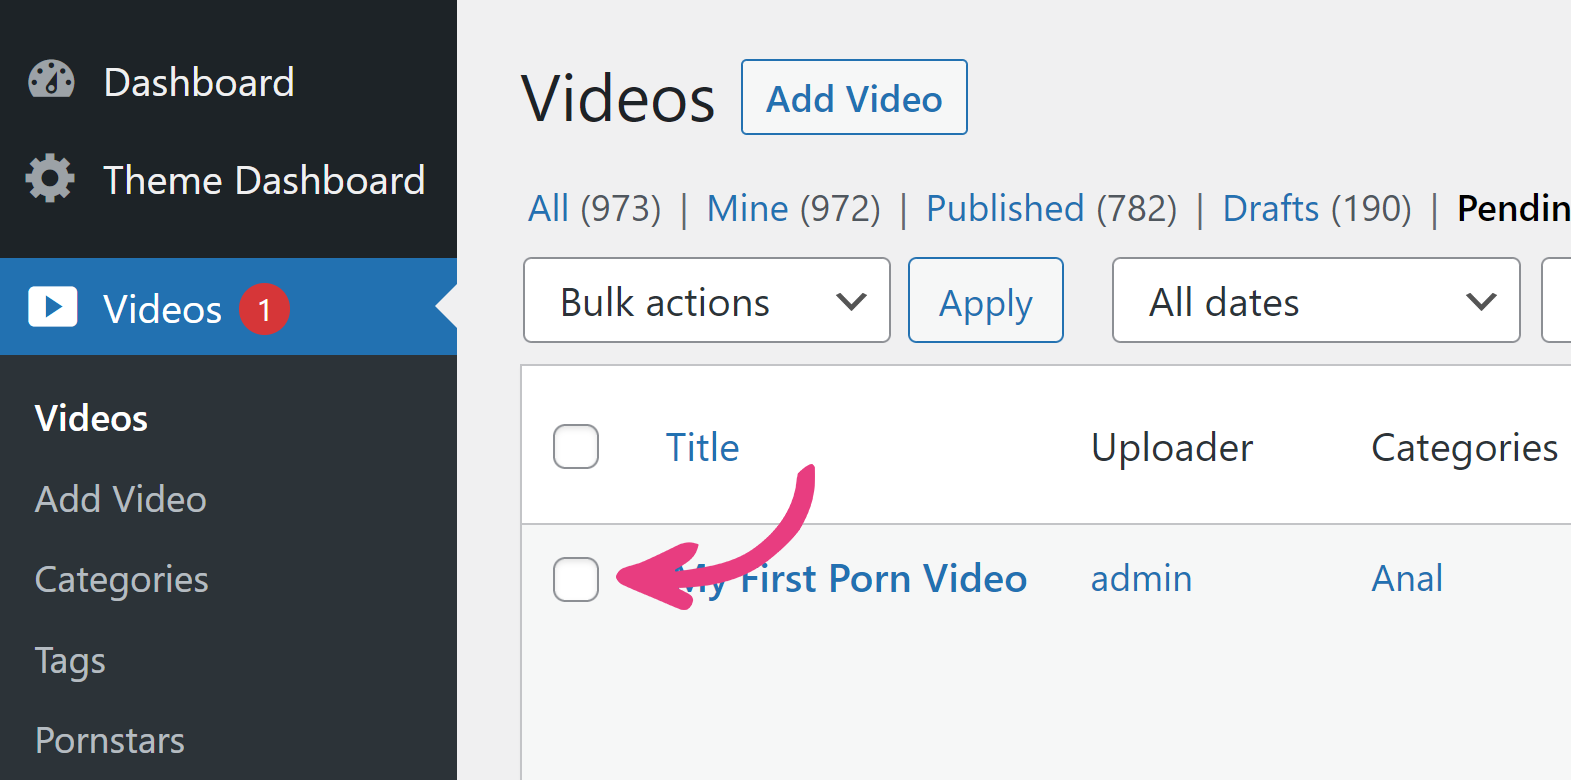
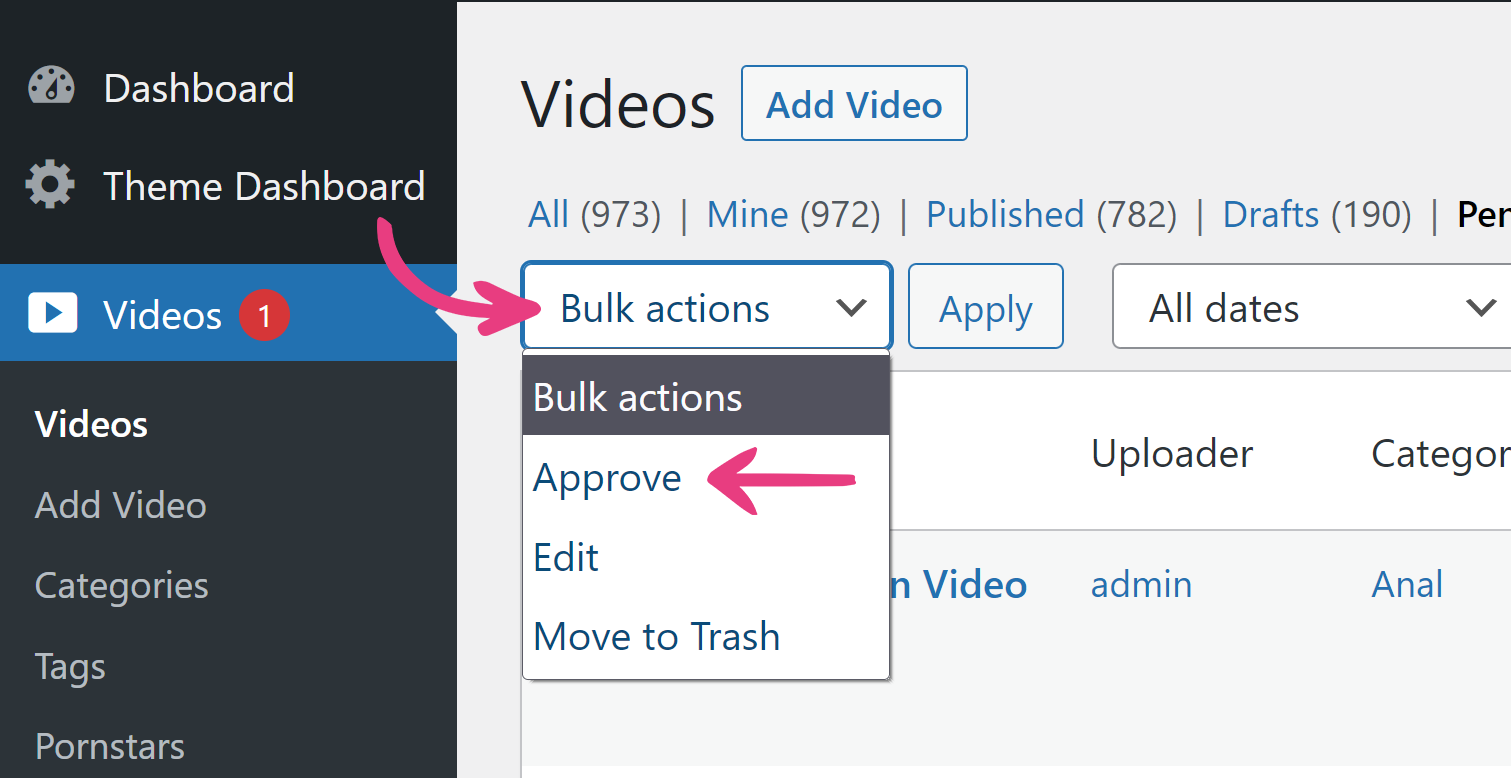
Next, click one of the Bulk actions drop-downs, located above and below the video list, and select Approve.
Finally, click Apply next to the drop-down.
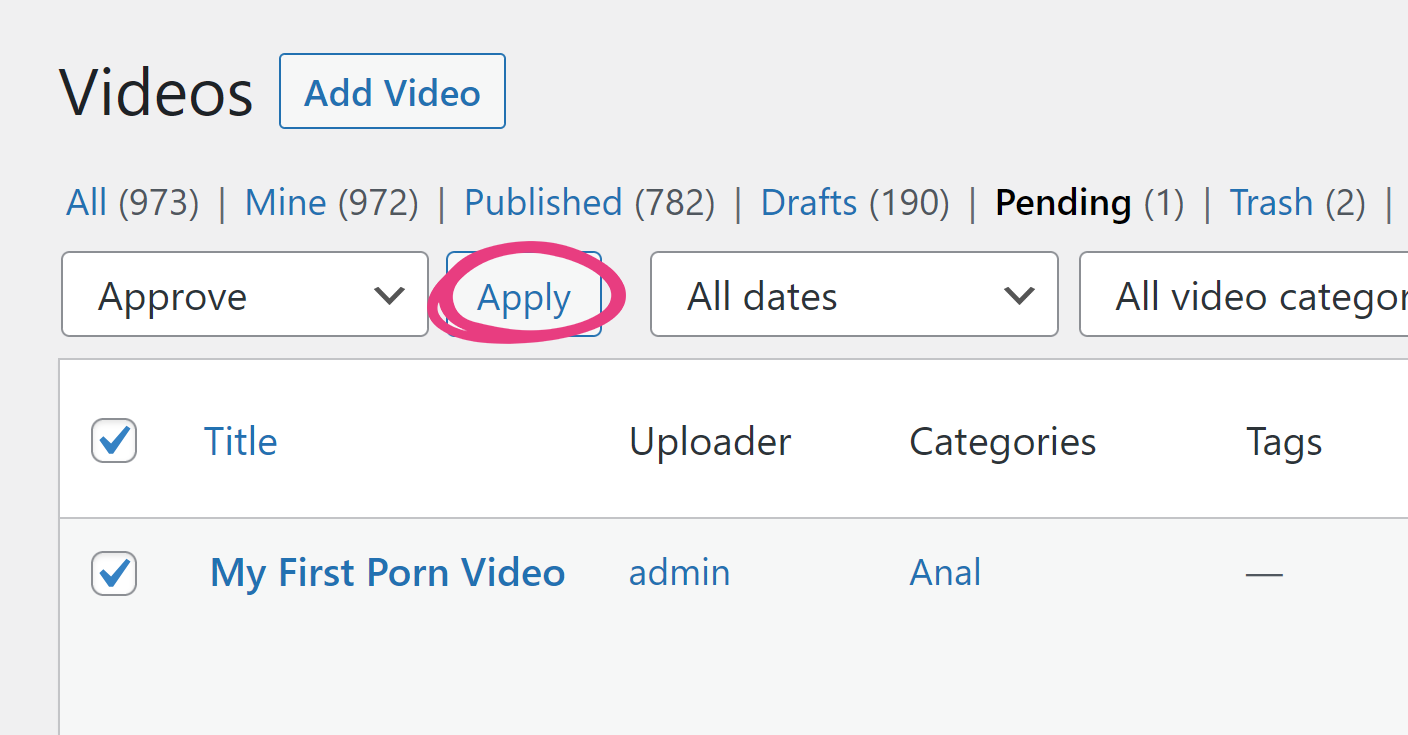
Voilà! Your video is now live for everyone to enjoy.
Optional Steps
Generate a Thumbnail
If you’re adding the video via direct upload, a new section called Snapshot will become available once the video file is uploaded. Click the Random snapshot button to generate a new, random thumbnail for the video.

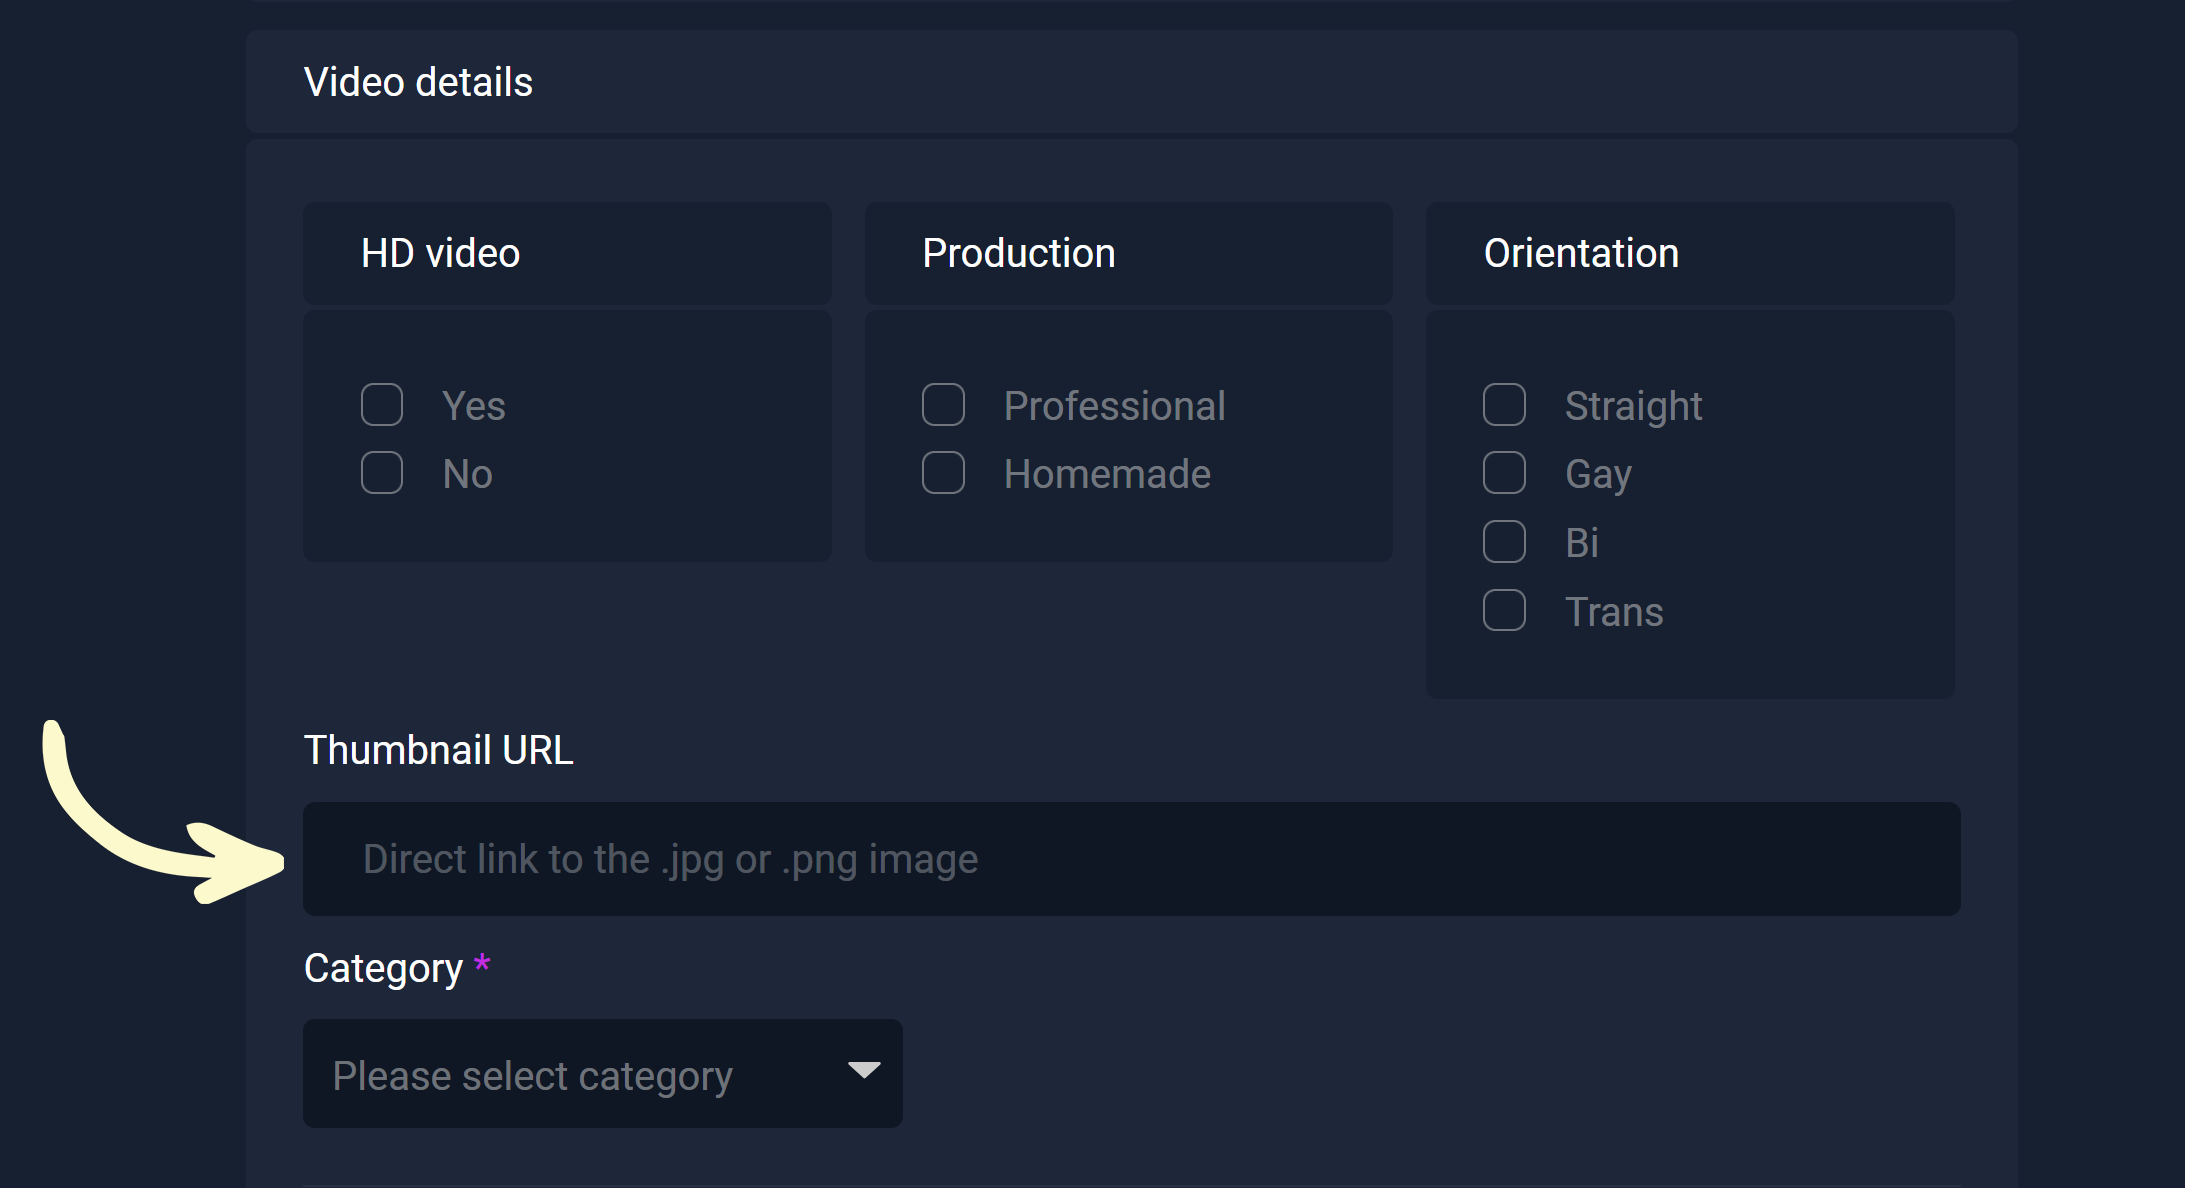
If you’re embedding the video or adding it by link, you will be able to paste a direct link to existing video thumbnail in the Thumbnail URL field under Video details. To get this link, find the video in question by using the search function on the source website, right click on its thumbnail, and select Copy Image Link. You can then paste this link into the above mentioned field.
Additional Information
After linking to a video, embedding, or uploading it, you can also add extra information about it in the Video details and Pornstar details sections.
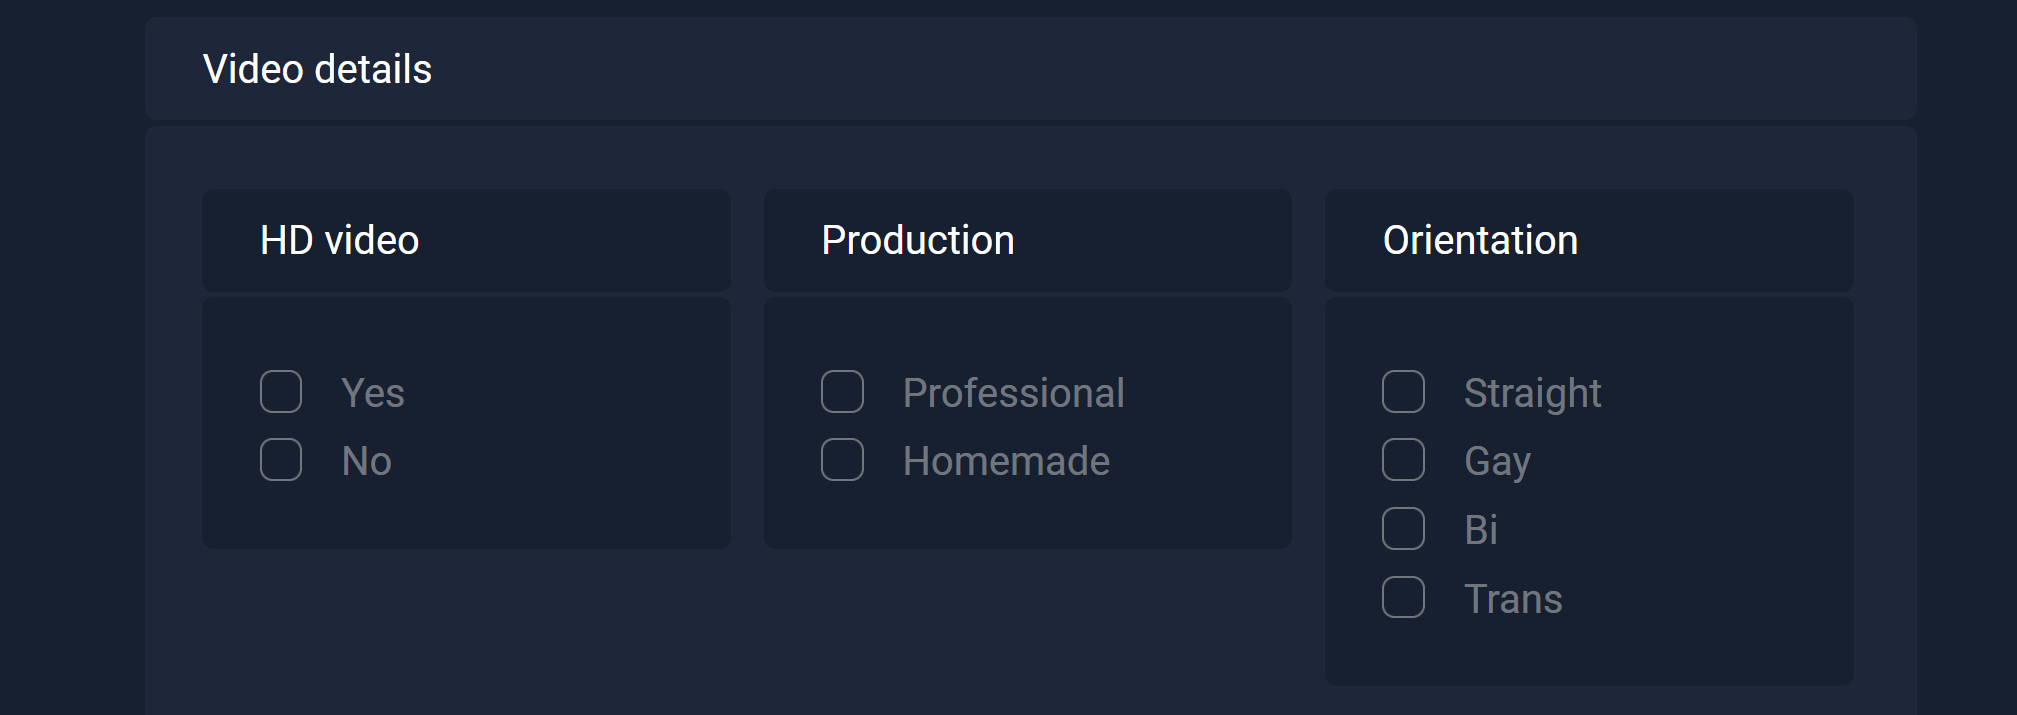
In the Video details section, you can enable the HD icon, set the video’s production as amateur or professional, and specify its sexual orientation.
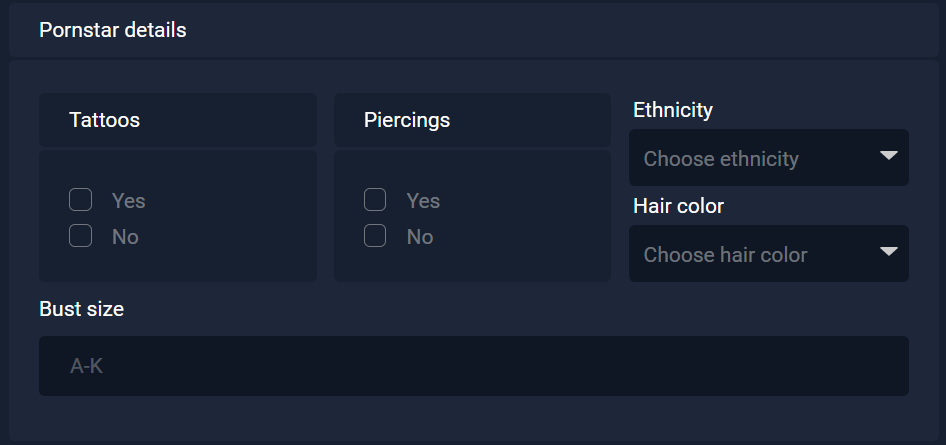
In the Pornstar details section, you can add more information about the video’s featured pornstars, such as whether they have tattoos or piercings, specify their bust size, and set their ethnicity and hair color.
These options will serve as filters, making it easier for users to find videos on your website. To give your videos as much exposure as possible, you should fill out all optional fields.


