How To Customize Premium Plans
The PornX theme comprises four premium plans, respectively lasting one, three, six, and twelve months. This article will guide you through their customization, including changing their names and prices, adding the best choice label, and enabling the Billing details section.
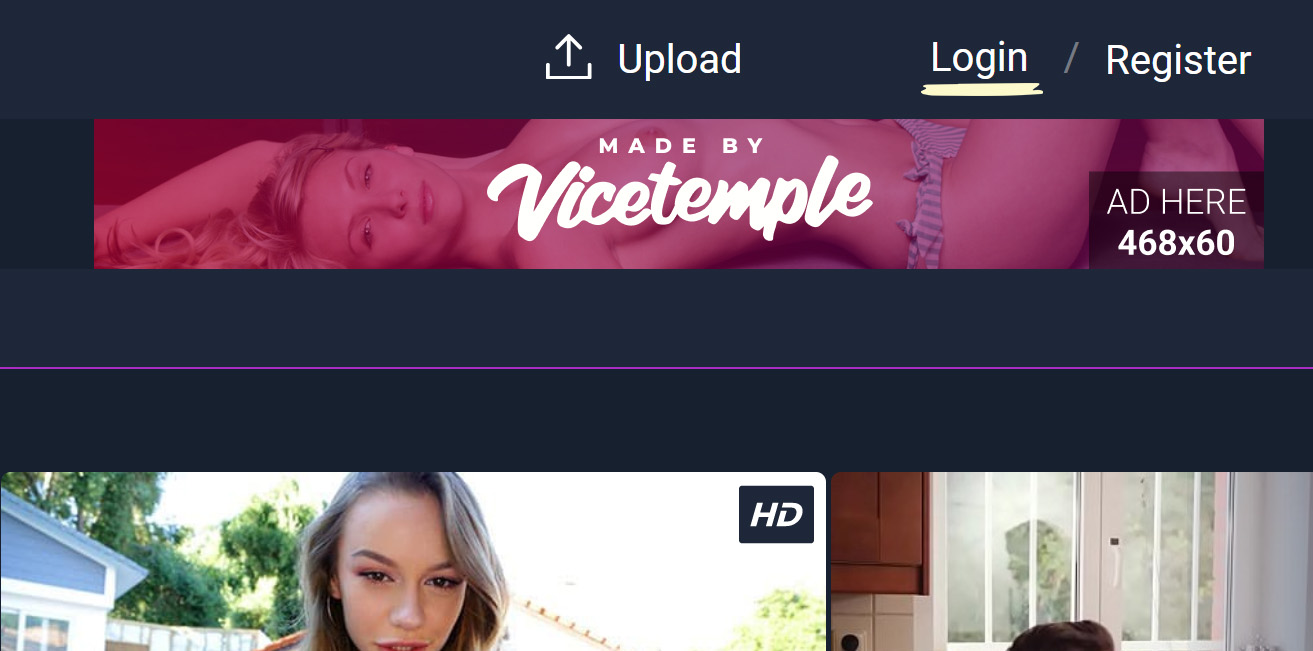
Before you can apply any of these changes, you will need to navigate to your website and log in with your admin account. The Login option is located in its top right corner.
Note: You can find your admin login details in one of the support tickets in the Vicetemple client area. If you’re not sure where to find them, feel free to send us a message over live chat.
Change Price
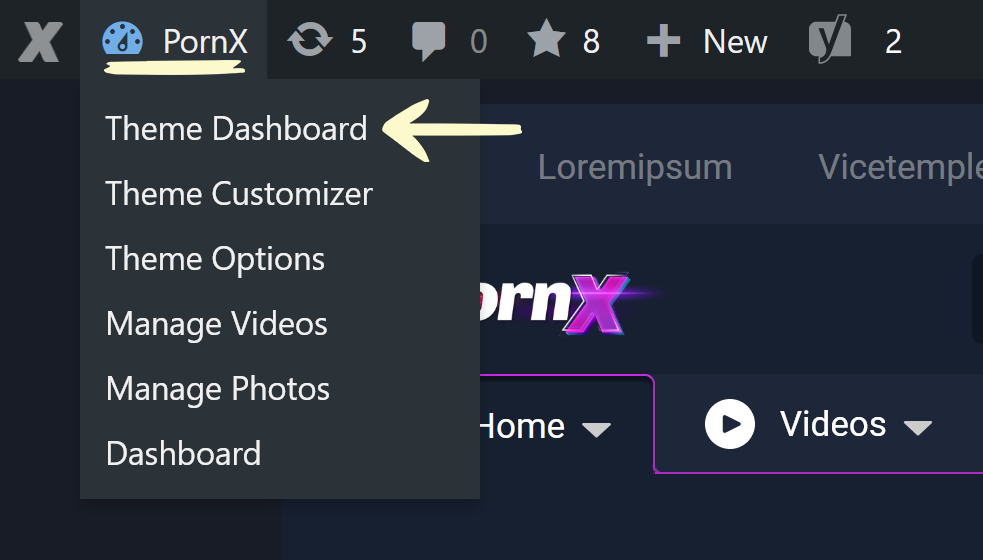
After logging in, hover over your website’s name in the top left corner of the admin toolbar, and click Theme Dashboard when the menu appears.
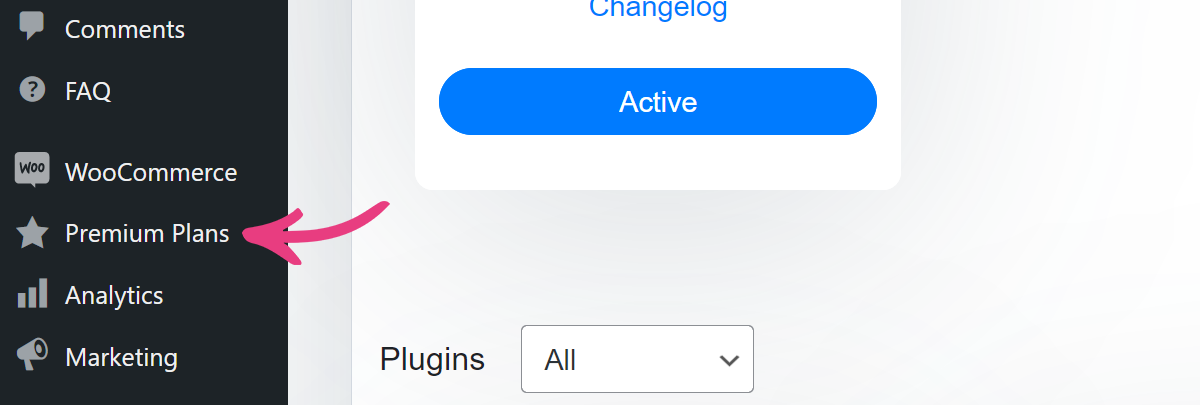
Next, locate and select the Premium Plans option in the sidebar on the left.
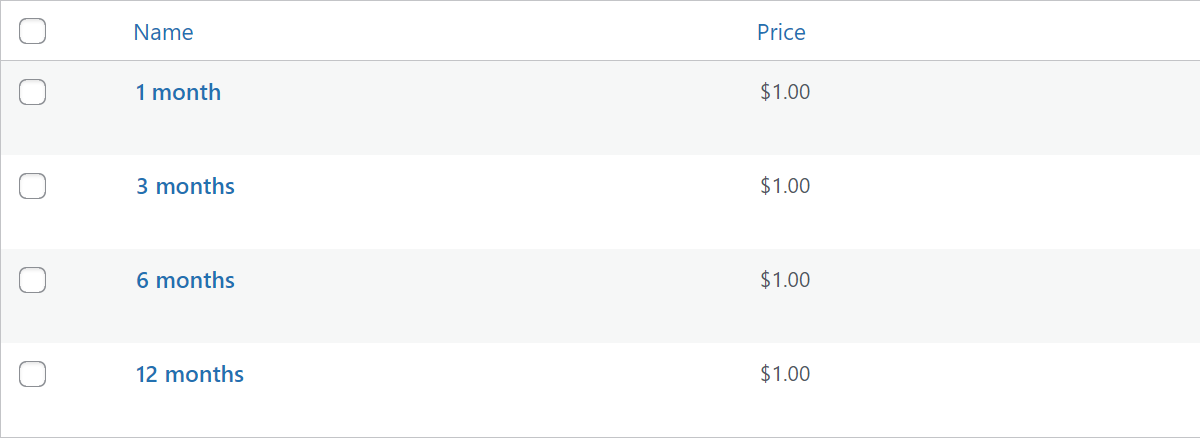
After the page loads, you will see the four premium plans, each starting at $1.
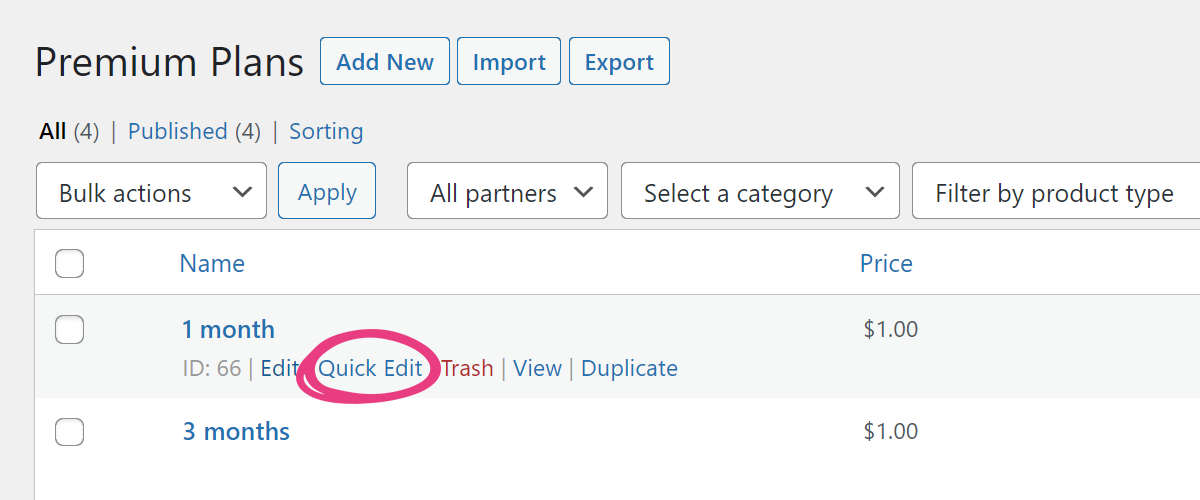
To change a plan’s price, hover your mouse cursor over it, and click Quick Edit.
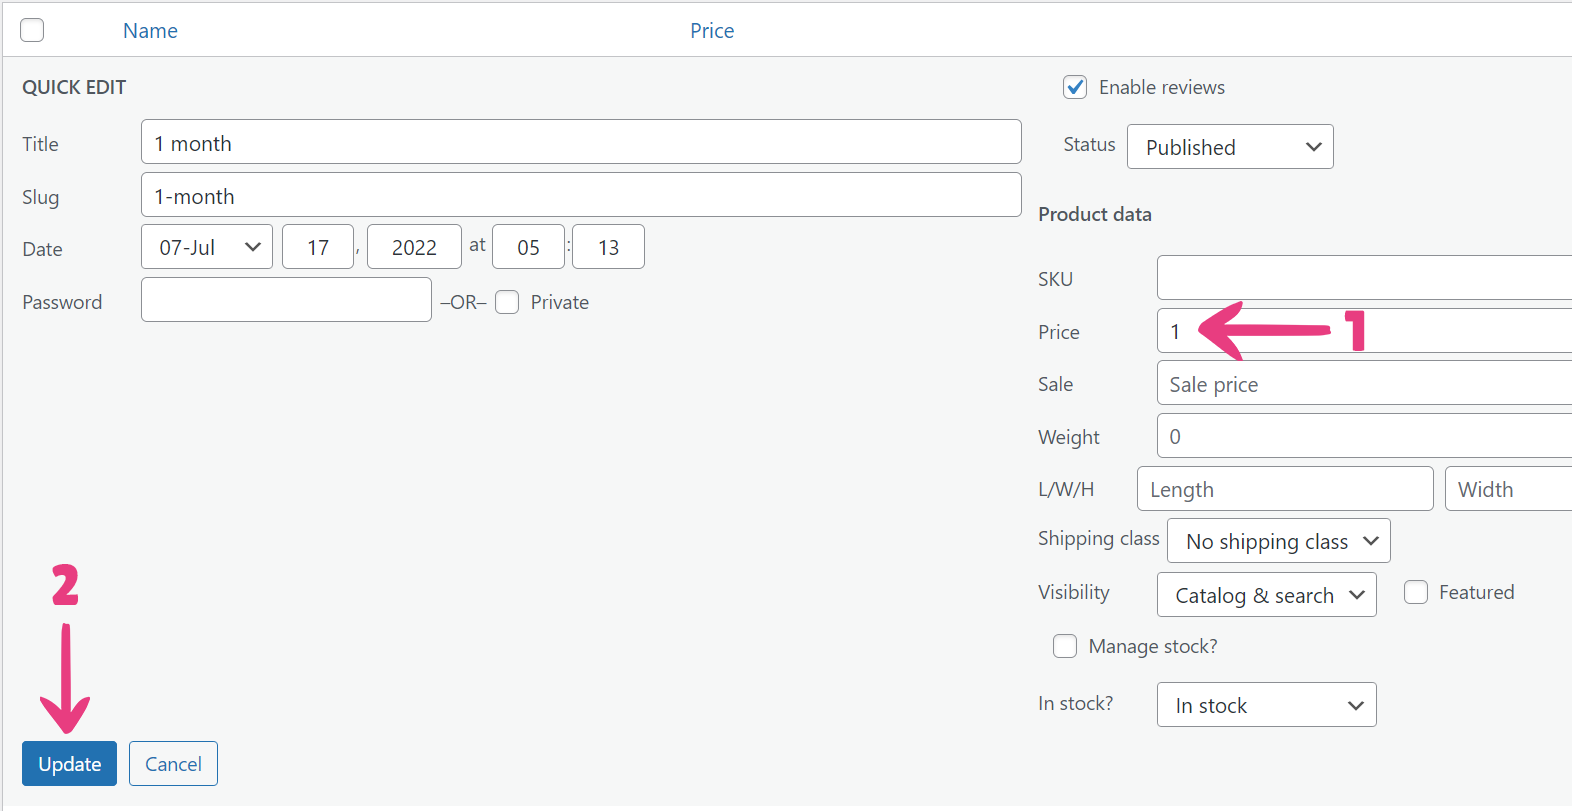
Then, set a new price in the Price field and click Update at the bottom.
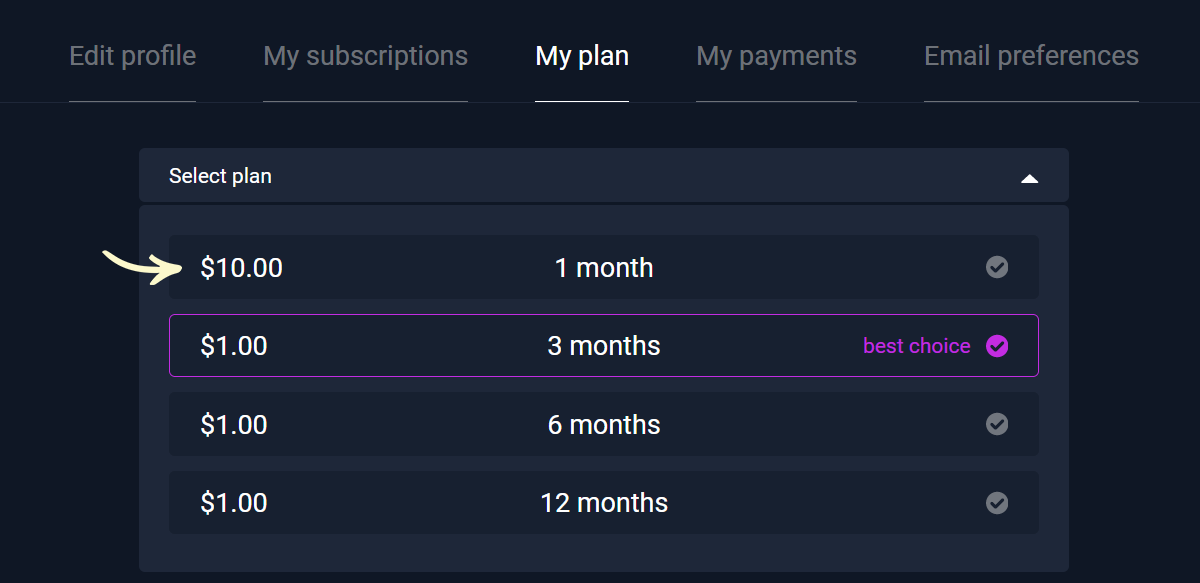
Your plan’s price has now been updated. Repeat this process for each plan that you wish to update.
Change Name
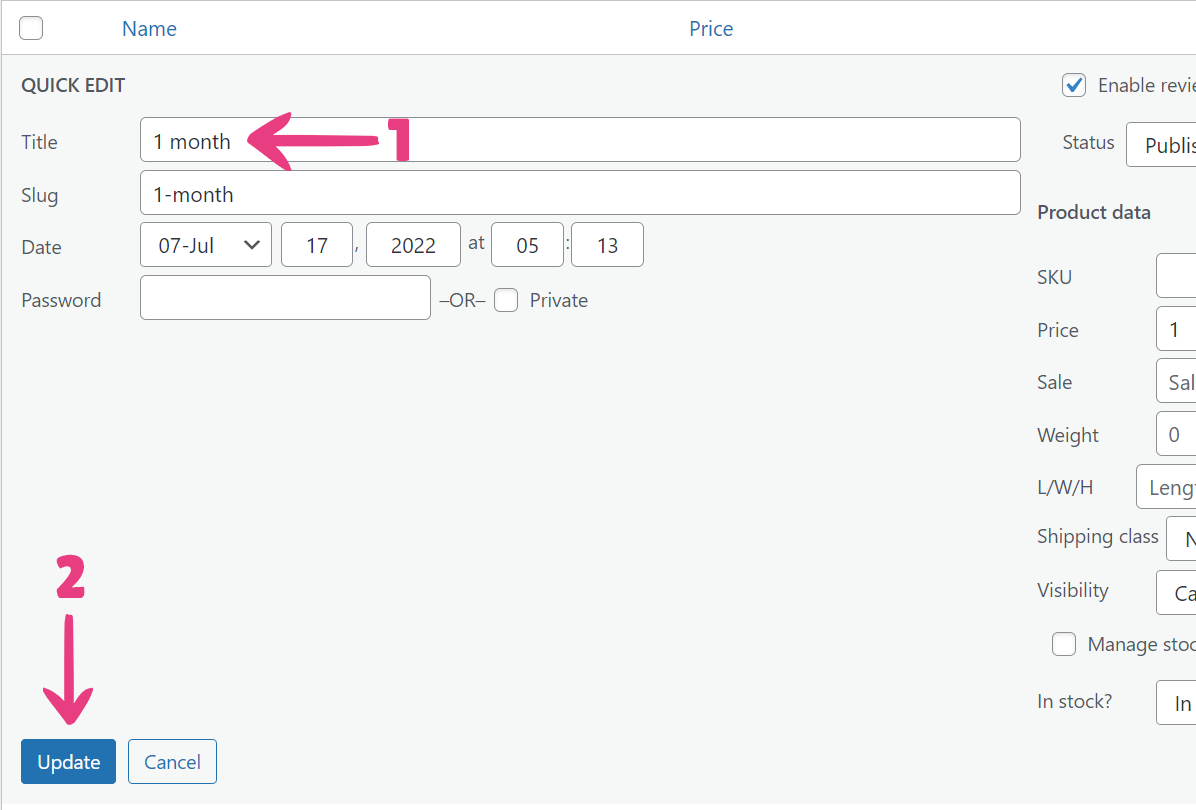
If you want to set a different name for a plan, you should open its edit page as described above, but update a different field. Specifically, you’ll need to enter the new name in the Title field, and confirm the change by clicking the Update at the bottom.
From then on, the plan will be displayed with its new name. Repeat the process for each plan that you want to rename.
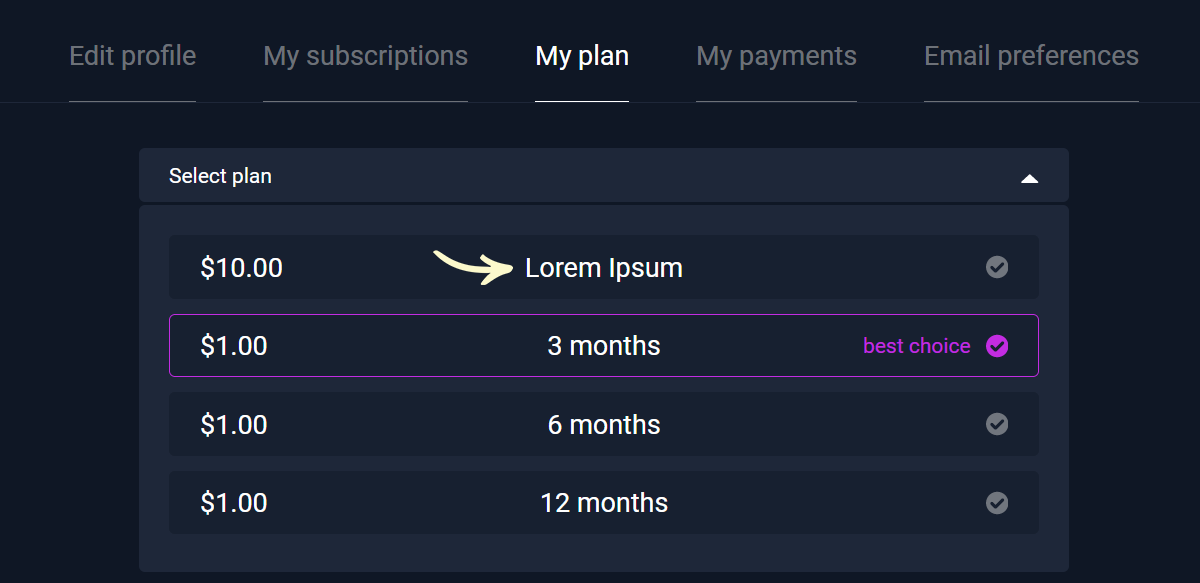
Note: A plan’s duration will remain the same after a name change. For example, the renamed 1 month plan will be active for exactly one month after purchase.
Set the Best Choice Label
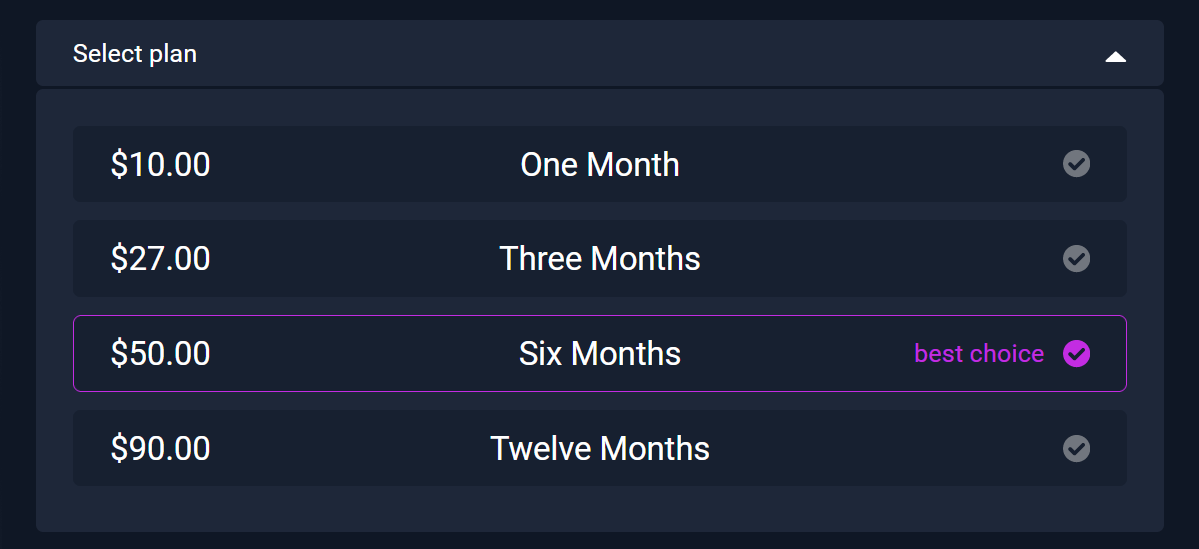
The theme allows you to assign the Best Choice label to one of your plans. That way, you can let your customers know which plan will give them the most value for their money.
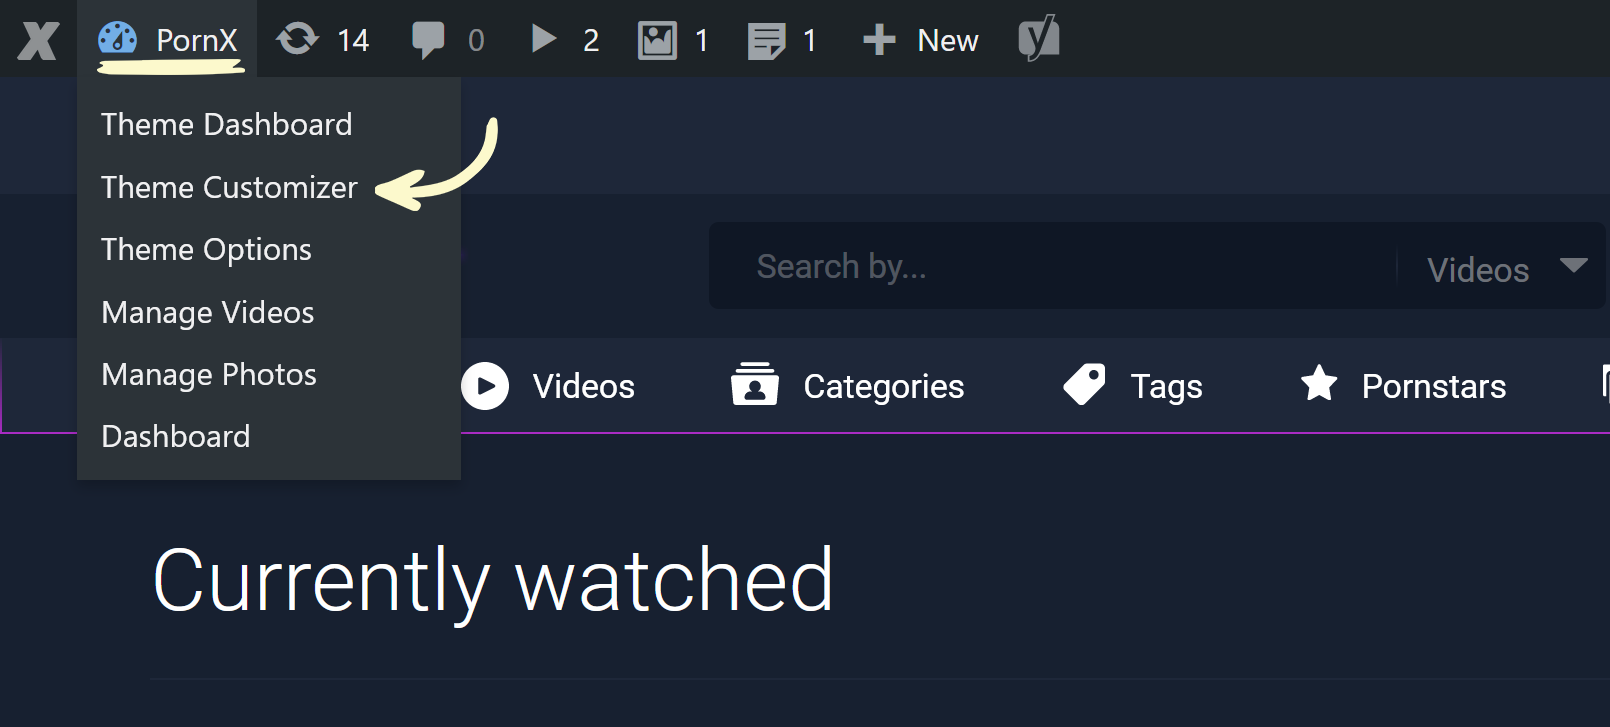
To use the feature, log in, hover over your website’s name in the top left corner of the admin toolbar, and click Theme Customizer when the menu appears.
Next, locate and enter the Premium Settings group, and the Premium Rates group after it. Three options will become available.
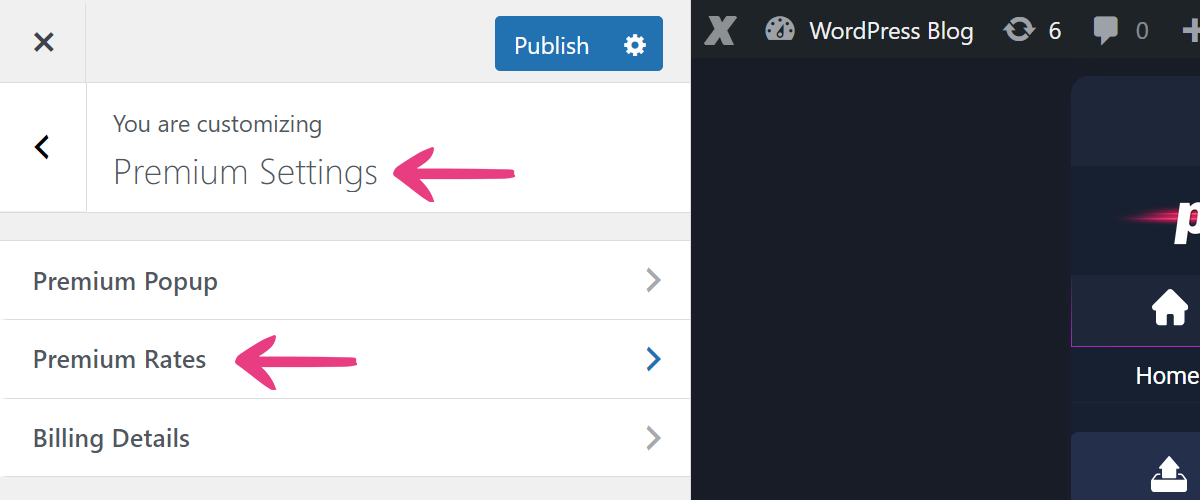
The first option — Suggest the “Best choice” package — lets you assign a label to a plan.
The second option — Display the “Best choice” label — allows you to show or hide the label. Tick the box for the former, or untick it for the latter.
The third and final option — “Best choice” label text color — sets a custom color for the label. To use it, click Select Color and paste the desired color’s hex value, or select it in the color picker.
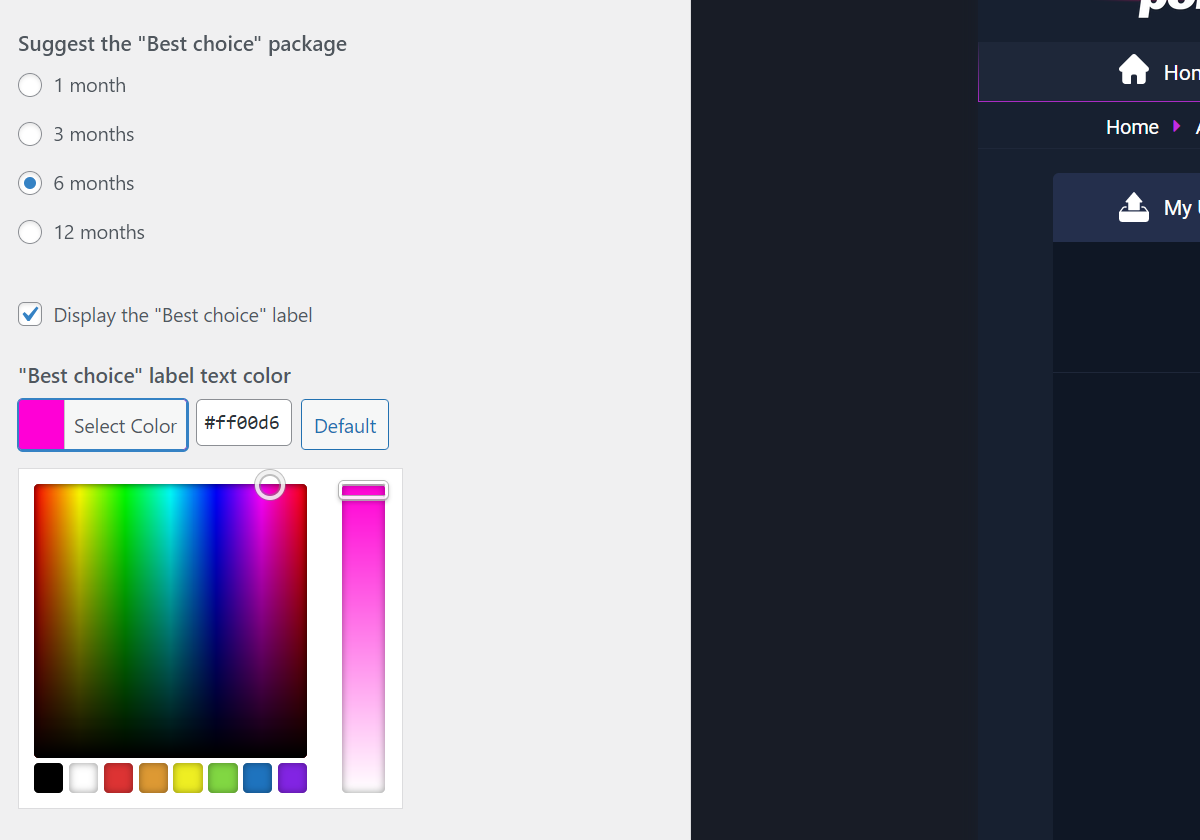
After you’ve made your desired changes, click Publish to apply them.

For reference, the settings above would result in a look like this:
Enable Billing Details
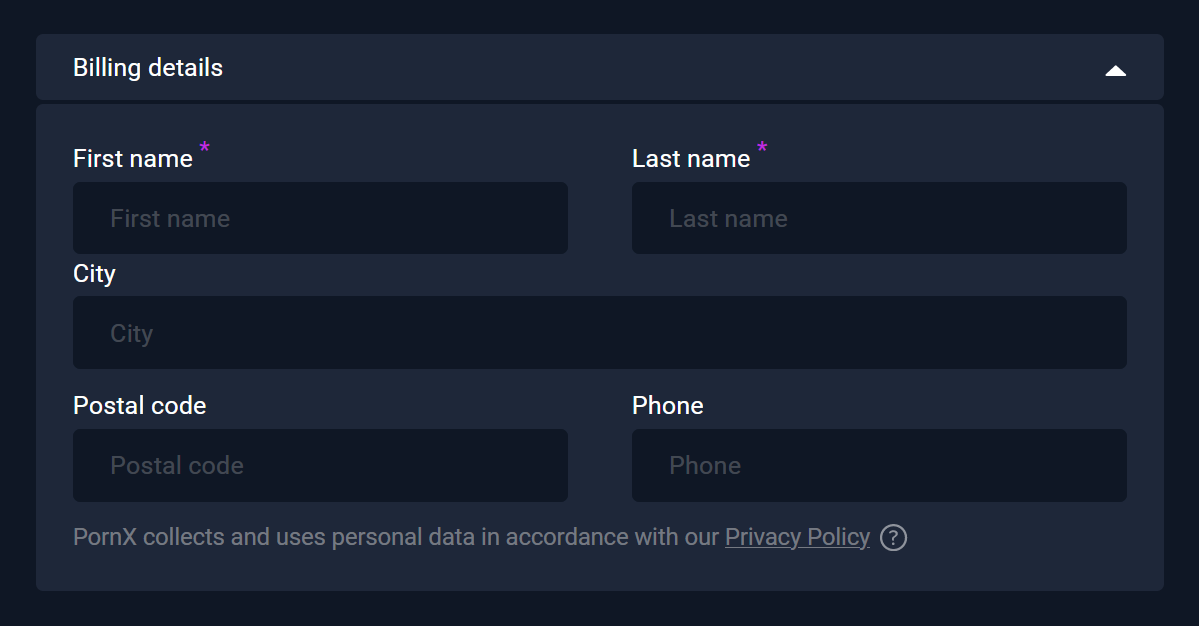
The Billing details section allows you to obtain more information from your customers, for purposes such as tax reports, creating a customer database, or others. If you do not wish to collect this info, you can disable the section, and let your clients make anonymous purchases.
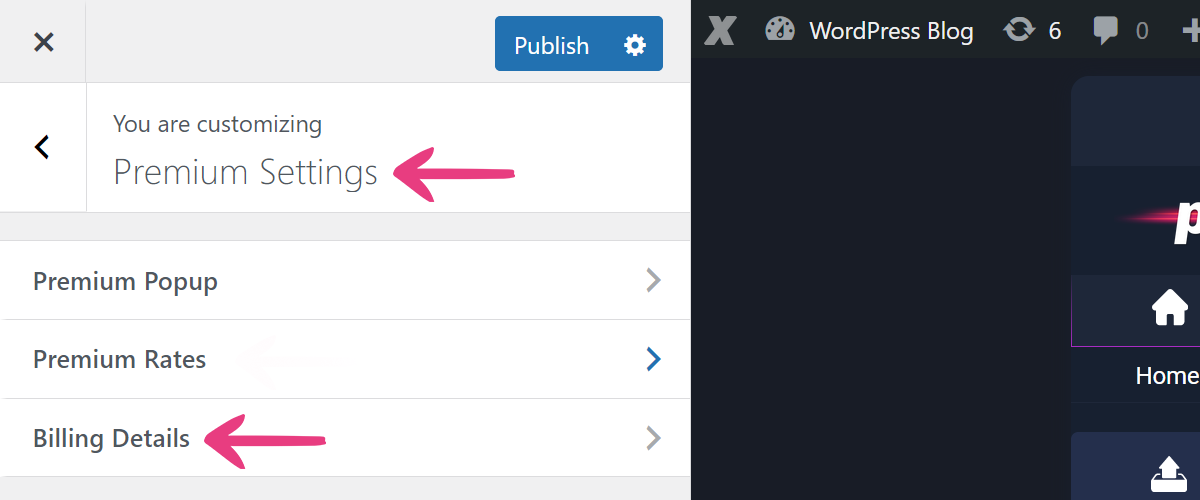
To configure these fields, hover over your website’s name in the top left corner of the admin toolbar, and click Theme Customizer when the menu appears.
Next, locate and enter the Premium Settings group, and the Billing Details group after it.
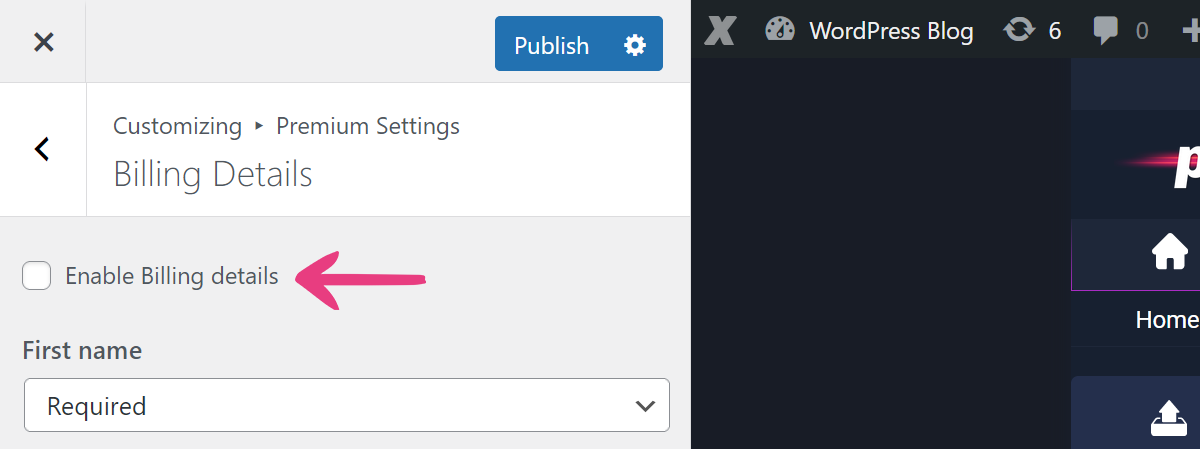
The first option in the group — Enable Billing details — is used to toggle the entire section. Tick the checkbox to display the section under My plan on the Account Settings page.
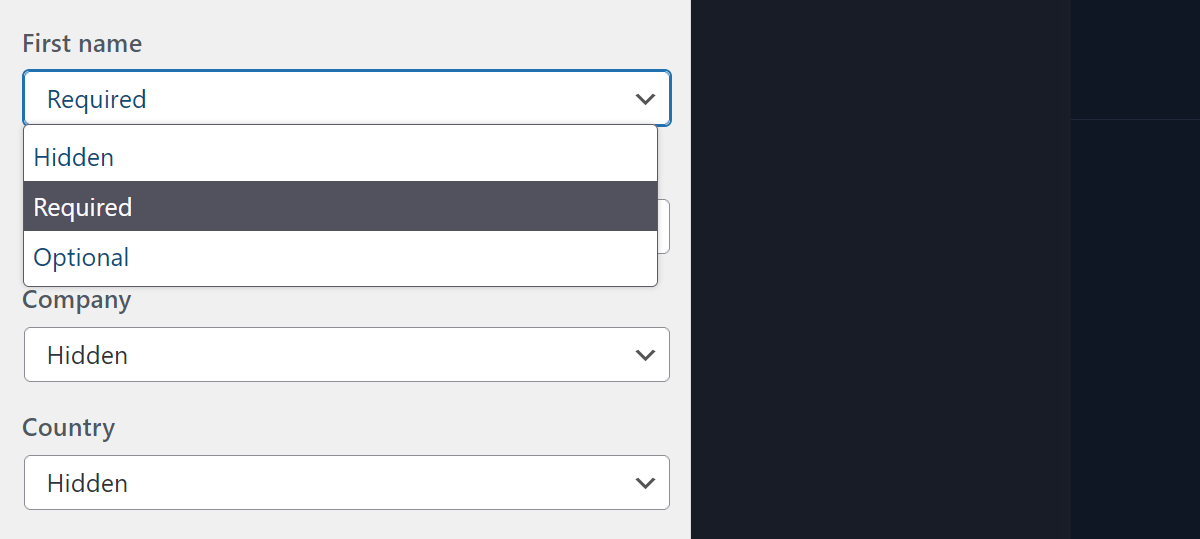
The following seven options — First name, Last name, Company, Country, City, Postal code, and Phone — function the same. Each option has a drop-down with three selectable values:
- Hidden fields will not be shown on the page.
- Required fields cannot be left empty when purchasing a plan.
- Optional fields will be displayed, but can remain empty when purchasing a plan.
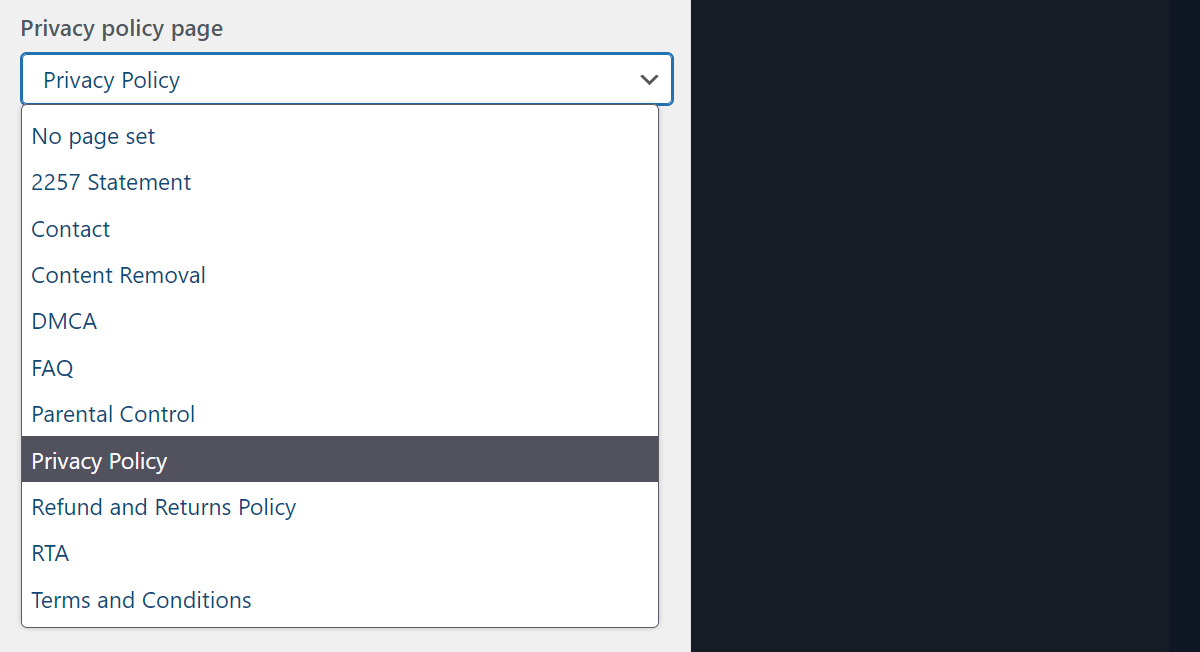
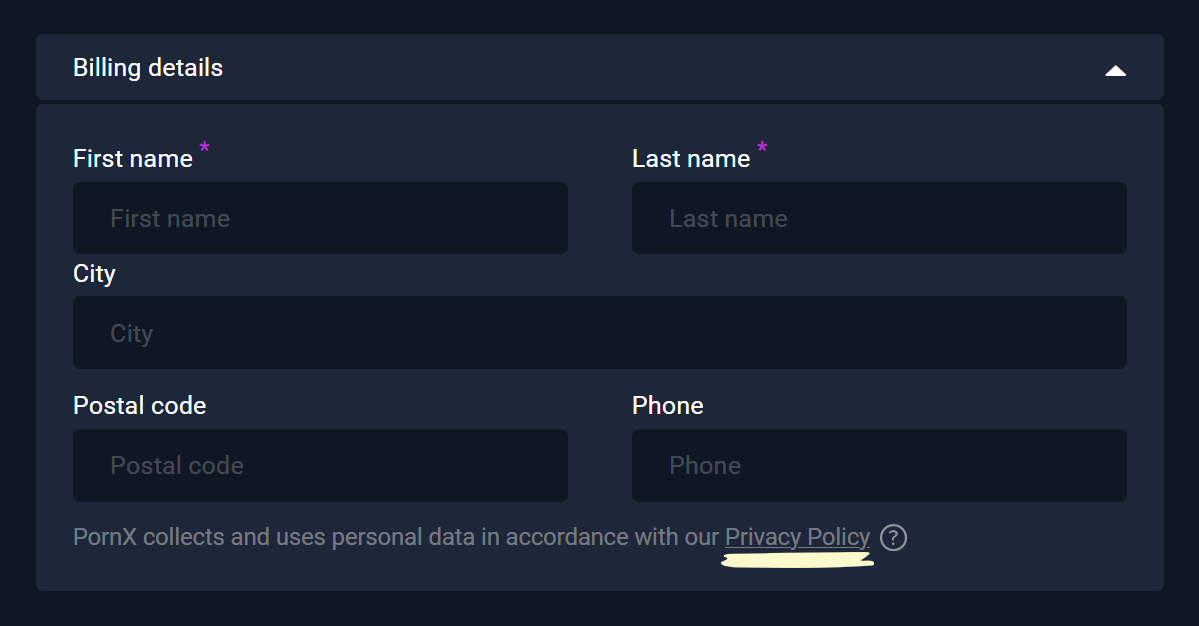
The last option — Privacy policy page — lets you set your privacy policy page. The page selected in the drop-down will be linked in the text at the bottom of the Billing details section.
For reference, the option above will affect the following link:
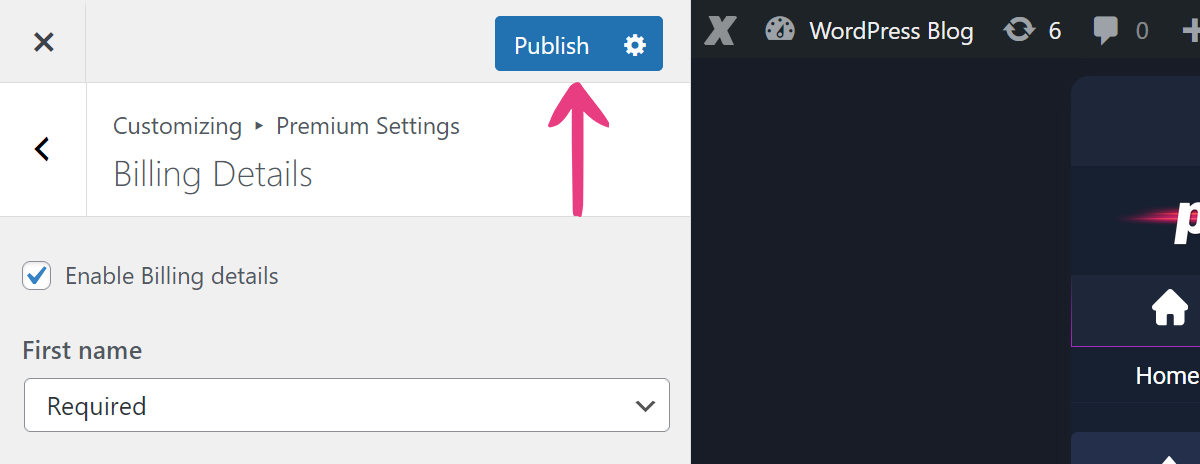
After you’ve made your desired changes, click Publish at the top to apply them.
If you’re having difficulties or need help configuring your premium plans, feel free to send us a message or open a support ticket by using one of the buttons below.


