How To Update A Video From The Admin Area
You can update each video and its information directly from your PornX admin area, where you have more than 30 customization options. For a simpler process, see our guide on updating videos from the user area.
Start by navigating to your website and logging in with your admin account. The Login option is located in your site’s top right corner.
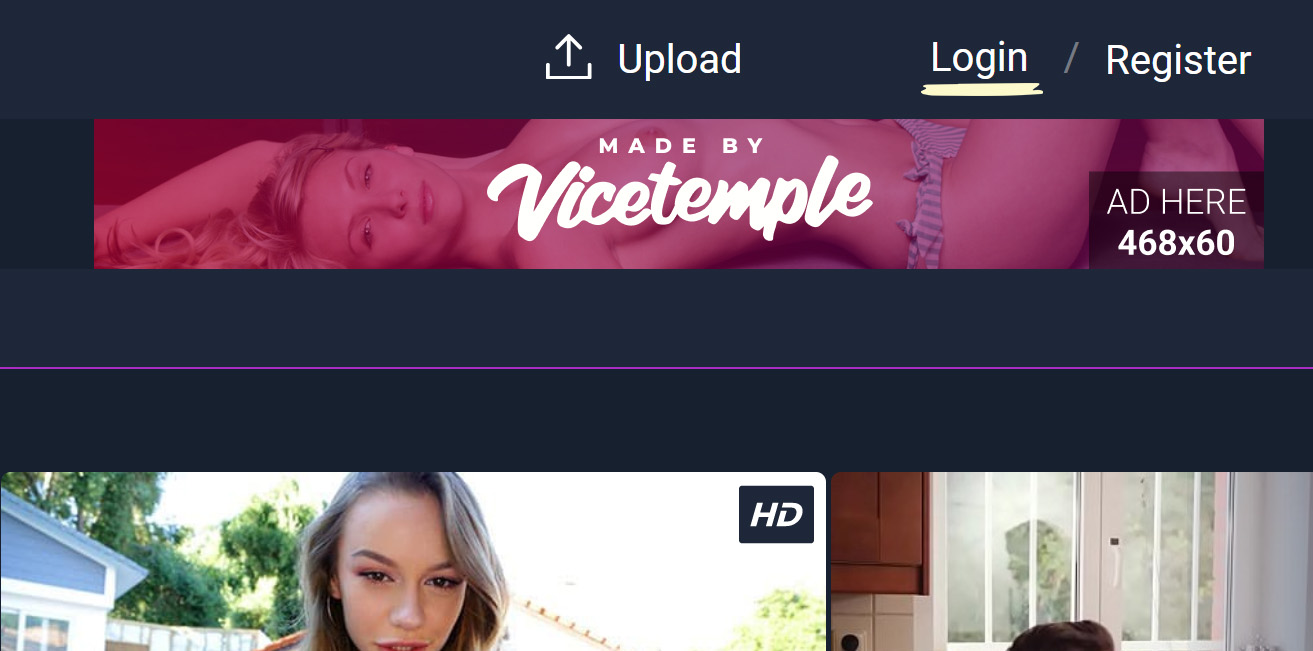
Note: You can find your admin login details in one of the support tickets in the Vicetemple client area. If you’re not sure where to find them, feel free to send us a message over live chat.
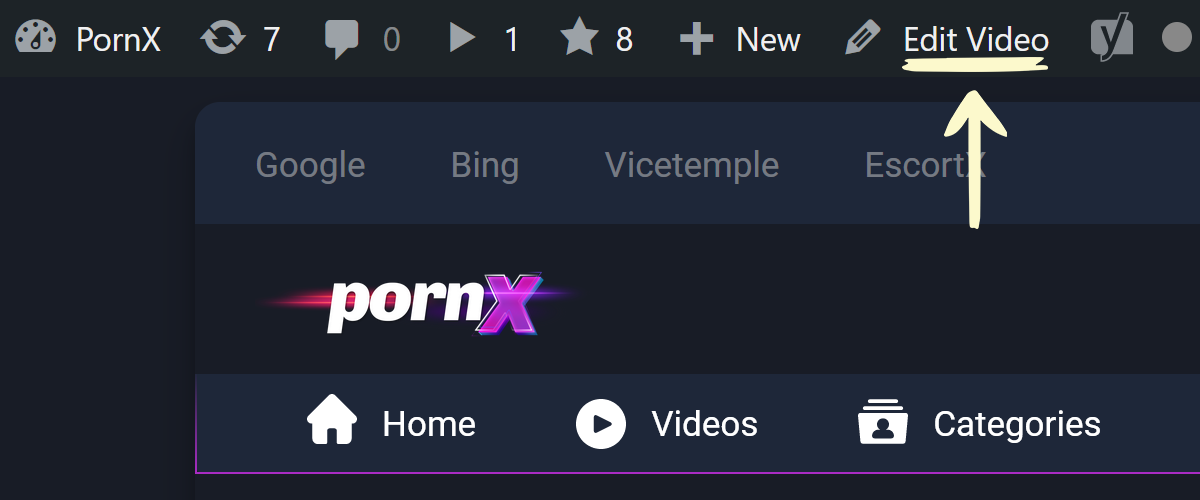
Once you are logged in, locate the video you want to edit through the user or admin area. If you find the video in the user area, open its page and click the Edit Video option in the admin toolbar at the top.
Alternatively, you can access the video through the admin area. Hover over your website’s name in the top left corner of the admin toolbar, and click Manage Videos when the menu appears.

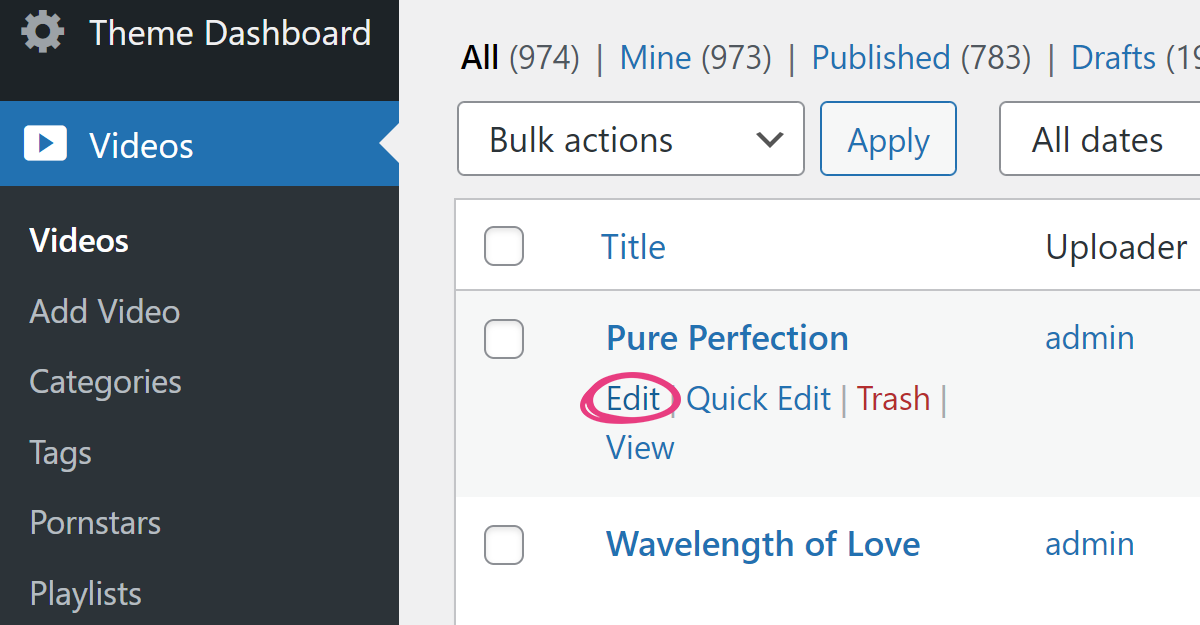
This will open the Videos page in the admin area, where you will see a list of all videos on your website. Locate the video you want to update, hover its row for options, and click Edit when it appears.
Choosing to edit the video via either of the two methods above will direct you to the video’s page in the admin area. There, you will have over thirty available options. Let’s explain how each of them works.
Video Title and Description
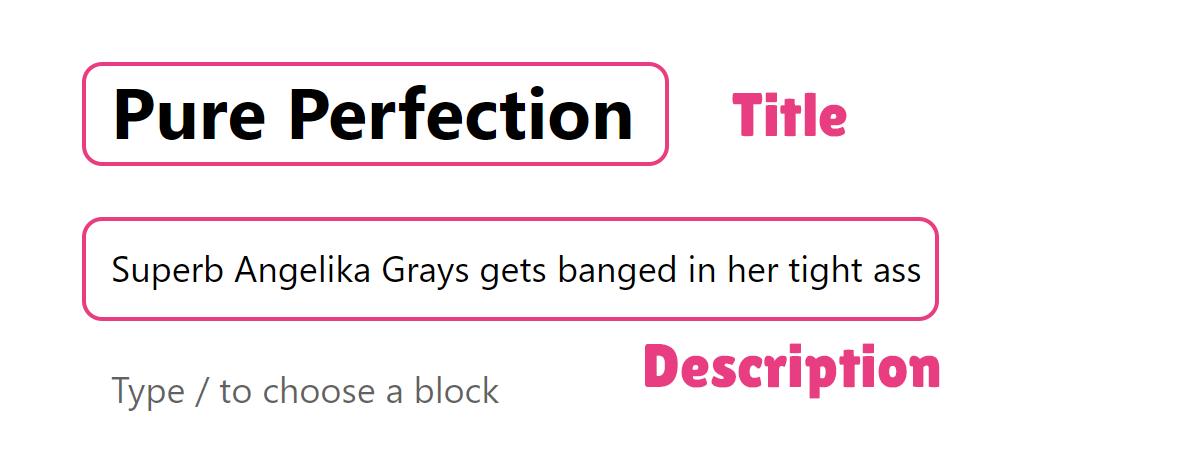
Video title and description are the first fields shown when the page loads. They will contain the video’s existing title and description. You can change them by directly editing and writing over these texts.
Premium
Next is the Premium option, located in the Video information section, which lets you choose whether the video will be available for premium members or for free. Selecting No will let anyone watch the video, including logged-out viewers. Choosing Yes will allow only your premium members to access it.

Featured
The next option under Video information is called Featured. Setting it to Yes will display the video in the homepage’s carousel, within Featured widgets, and make it accessible under another filter — Featured.

High Definition Icon
Choosing Yes for the third option in the section — High-definition (HD) — will add an HD icon in the top right corner of your video’s thumbnail.

Video Production and Orientation
Continuing with the Video information options, the Production and Orientation fields will make your video easier to find.
Under Production, you can set whether your video’s production is Professional or Homemade (amateur).

For Orientation, you can set your video’s sexual orientation by choosing between the following values: straight, gay, bisexual, trans.

File Source
The final option under Video information, called File source, will allow you to set a different file to be played when viewing the video.
You can add a new video to the field by using one of the following methods: direct video link or direct upload.
Direct Video Link
Paste a direct link to the video into the File source field. The video can be hosted at any website as long as the URL is publicly accessible and ends with one of the supported video extensions (mp4, webm, m4v, or mov).

Direct Upload
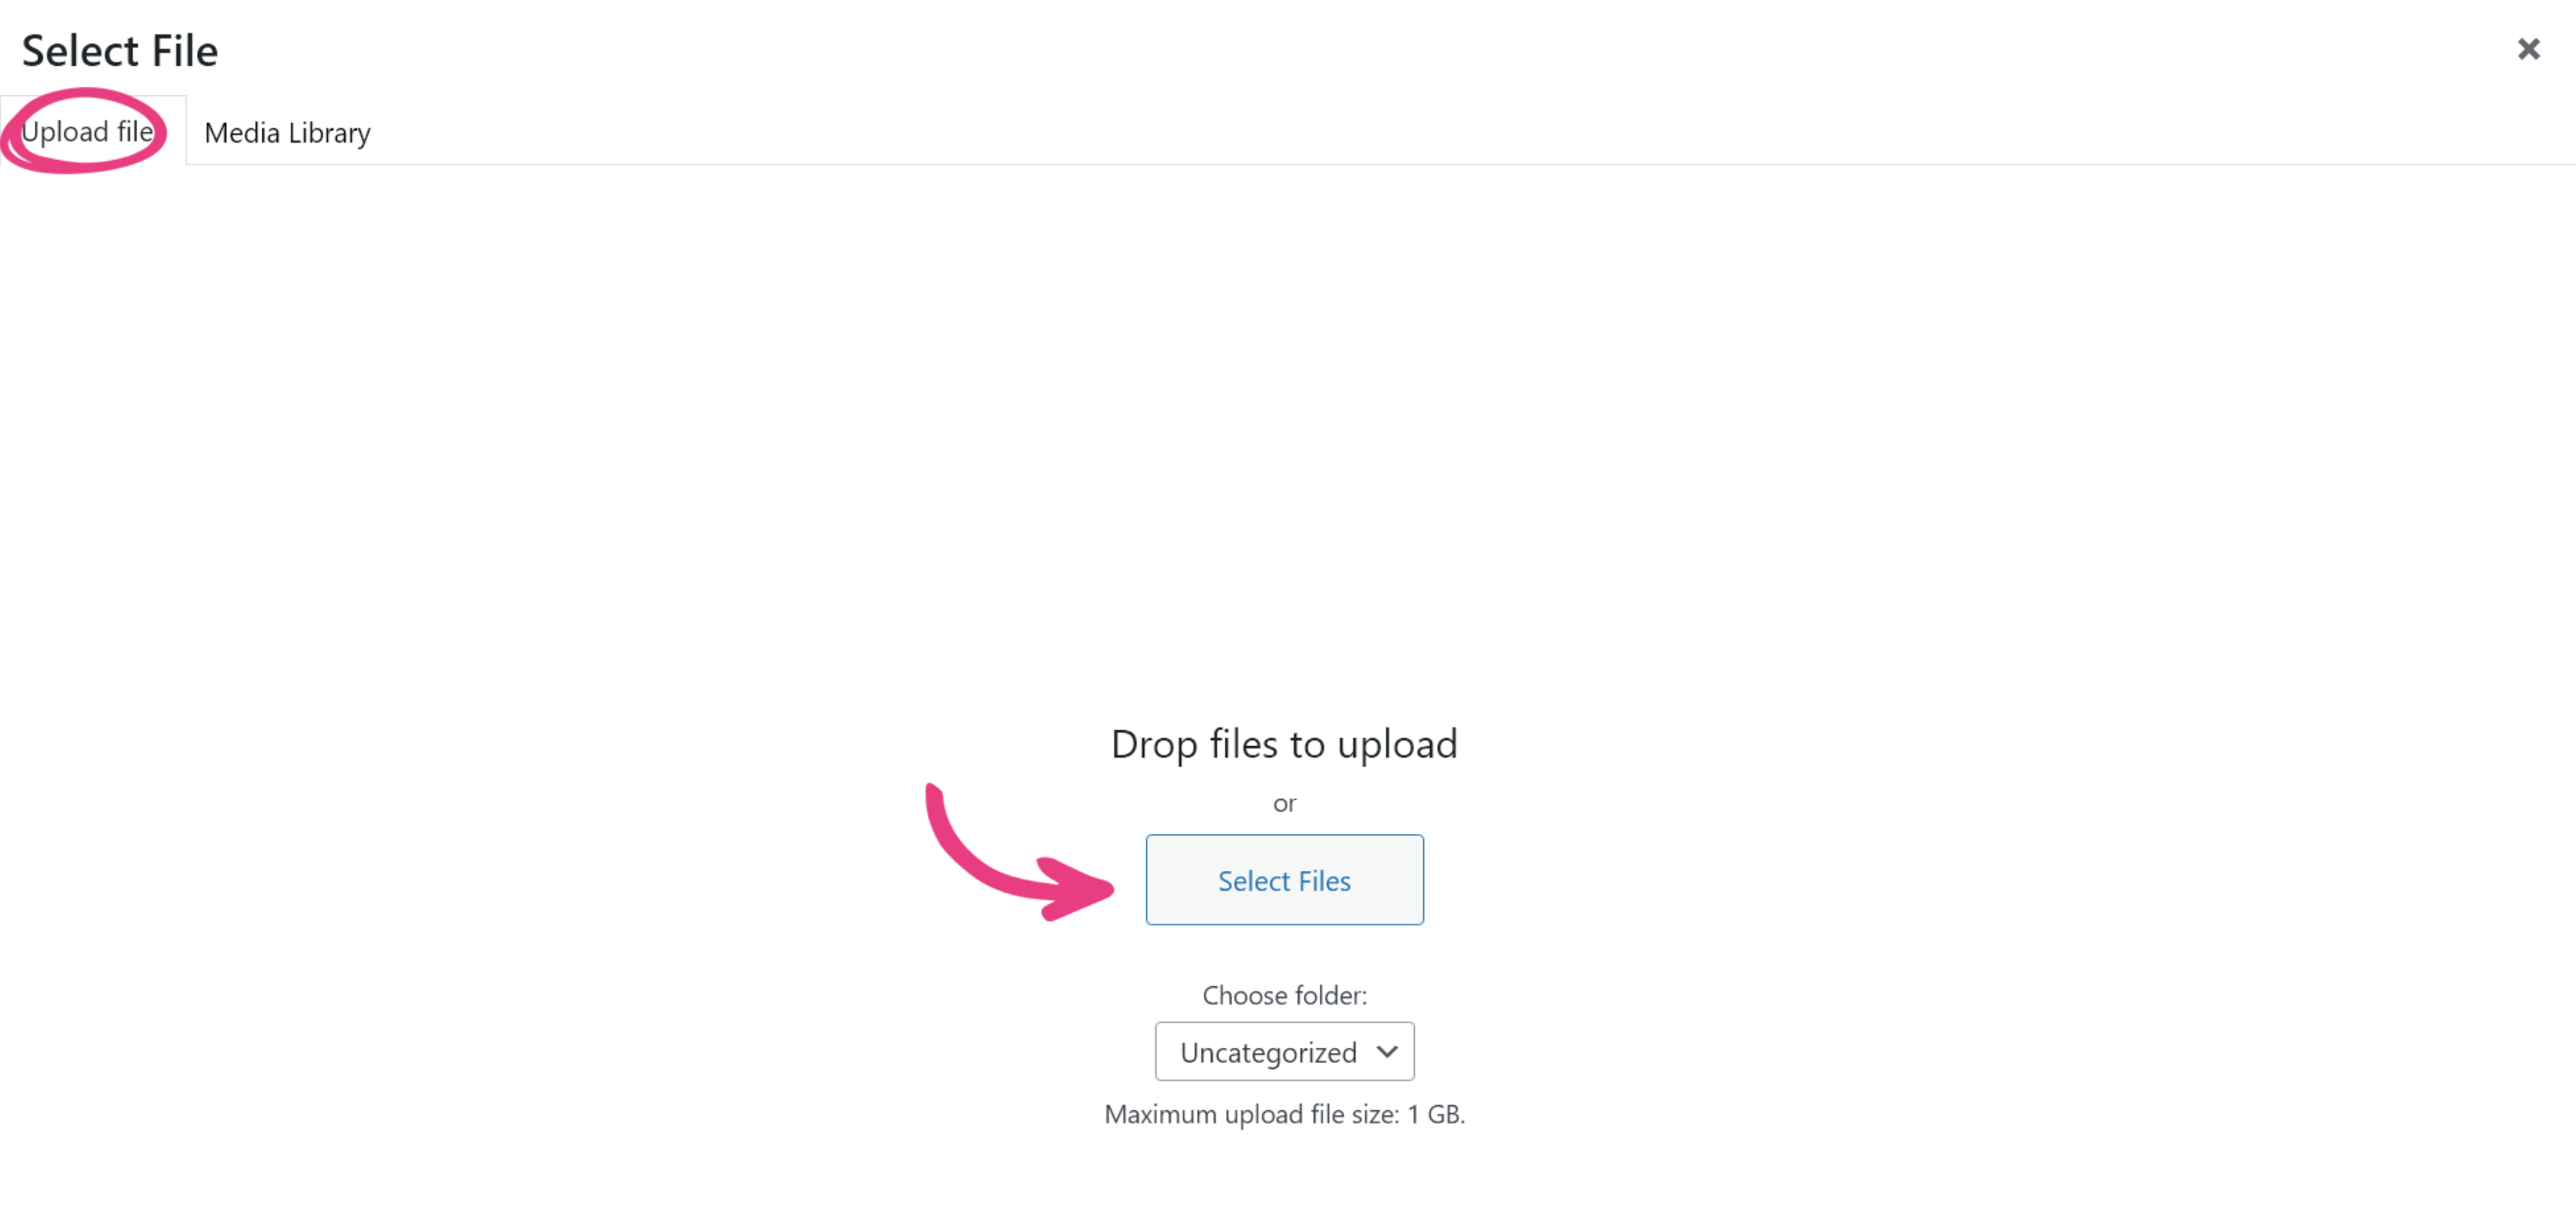
Click the Select button. Once the Select File popup opens, choose the Upload files tab.

Then, click the Select Files button to upload a video from your device.
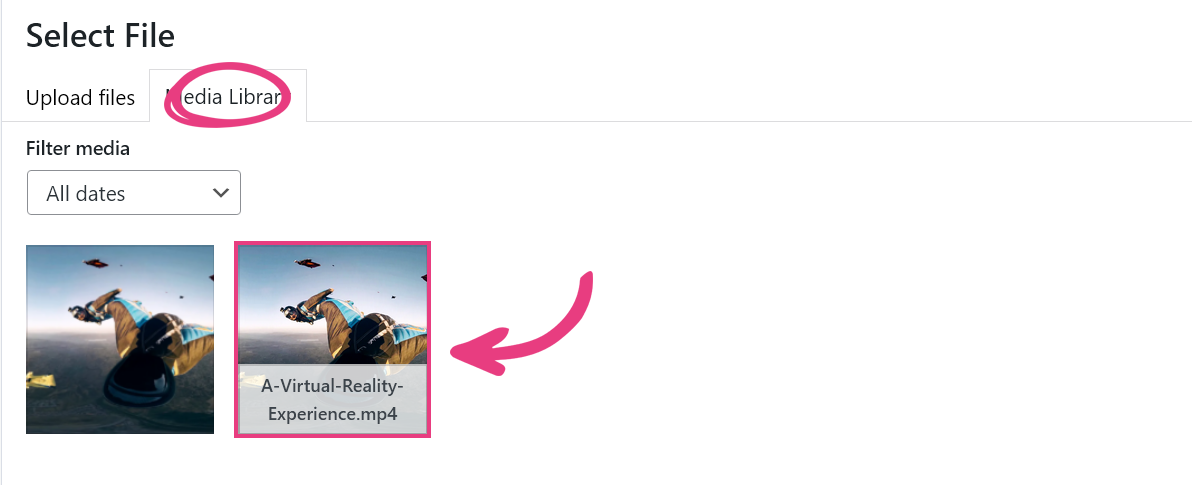
Finally, choose the video in the Media Library tab and click Select. Only the supported formats will be displayed.
Additional Resolutions
If you are using a video player other than the Vicetemple Video Player, this option will not be available. The ability to feature different resolutions works only with the said plugin.
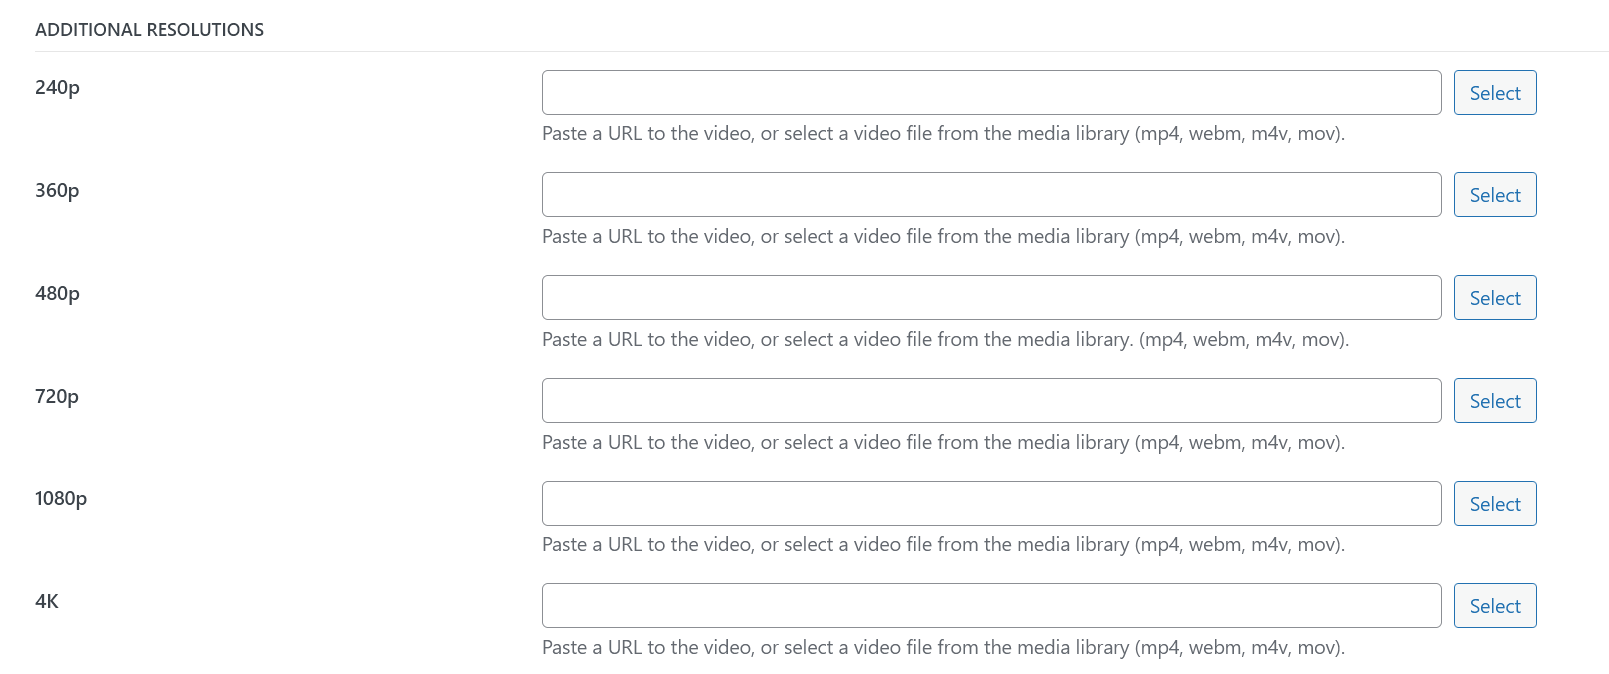
To make more resolutions available for the video, add the different versions of the same video under Additional Resolutions by using the same upload process described for the File source field above. Here, you can set six resolutions, ranging from 240p to 4K.
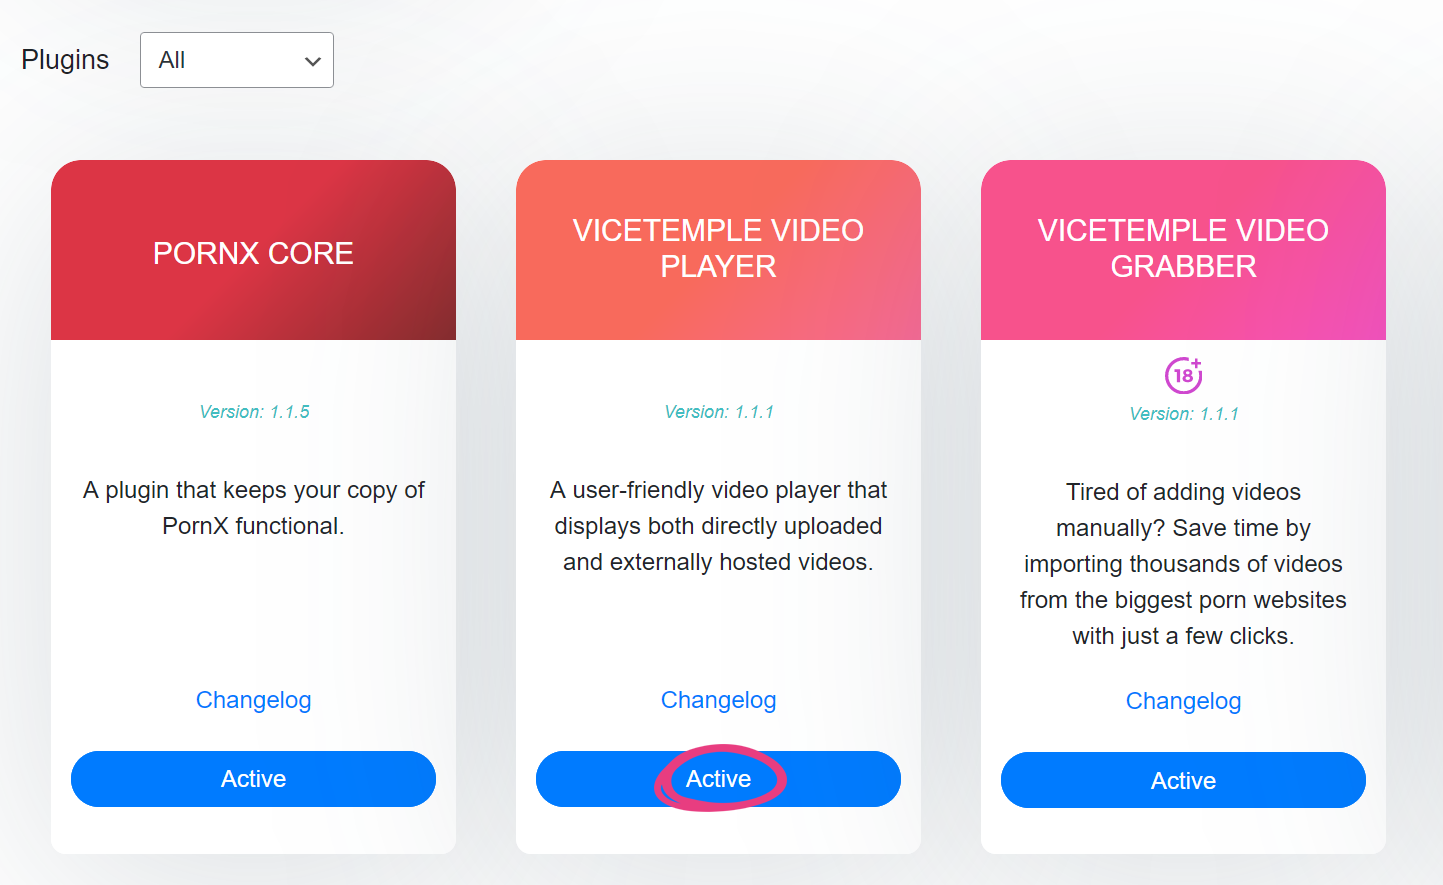
Note: The Vicetemple Video Player needs to be installed and activated for this feature to work in the user area. You can learn more about configuring the Vicetemple Video Player here.
Embedding
You can also replace the video source and player with those from other websites by using embed codes. However, before you embed another video, you’ll need to clear the File source field by deleting the link or clicking Remove.

Next, you need to locate the video you want to embed and copy its code.
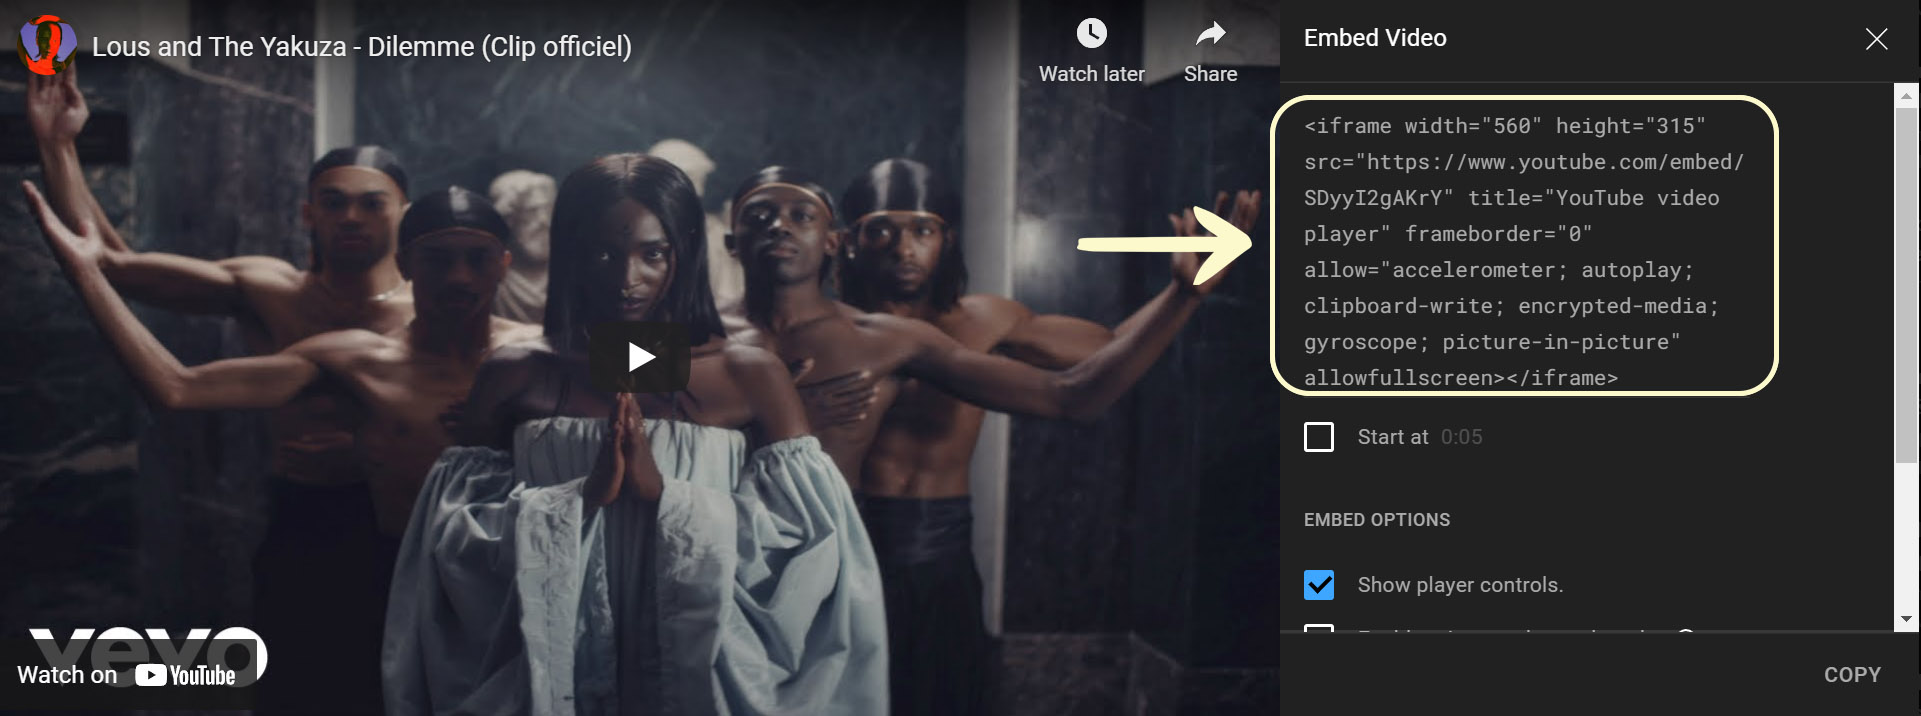
Then, navigate back to your website and paste it into the Embed code field.

If you wish to learn more about embedding, head over to our guide on embedding videos. If you want to make the process much easier, consider our embedder plugins, Single Embedder and Mass Embedder.
Use a Different Video Player
If you want to display the video using a new player plugin, you can type or paste the new player’s shortcode and the video’s filename into the Shortcode field.

Note: You will need to install and activate your preferred player and upload the video to the Media Library to be able to use this option. The majority of player plugins will come with instructions on integration and shortcodes.
Duration Timestamp
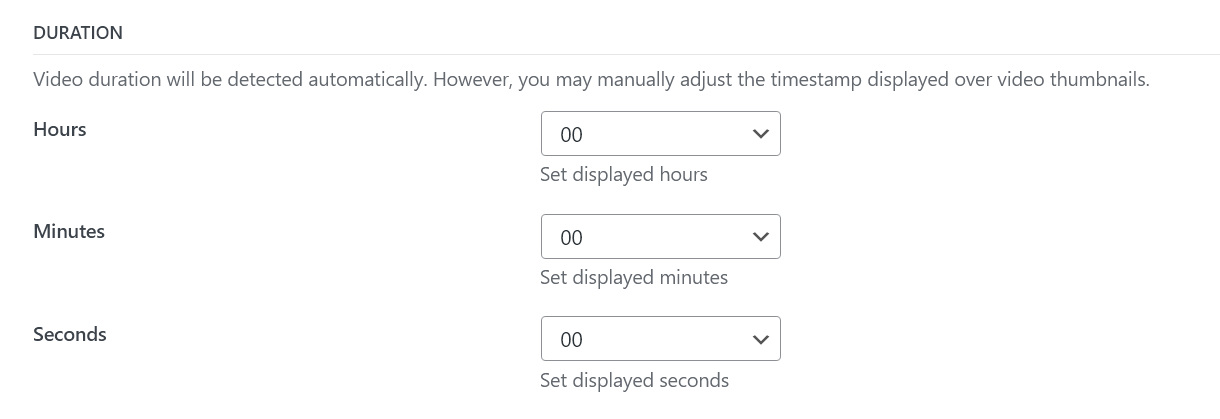
If you’d like to update what timestamp is displayed on your video’s thumbnail, you can manually set the value under Duration.
For example, if your video’s duration is 19:59 and you wish the thumbnail to show 20:00, you need to set the Minutes drop-down to “20” and the Seconds one to “00.”
Duration is automatically determined and displayed for all videos in their thumbnails; therefore, manually updating it is entirely optional.
Pornstar Information
In addition to the filters like Production and Orientation, you can set additional pornstar-specific filters under Pornstar information.
In this section, you can change whether the pornstars featured in the video have tattoos and piercings, select their ethnicity and hair color, and type in their bust size.
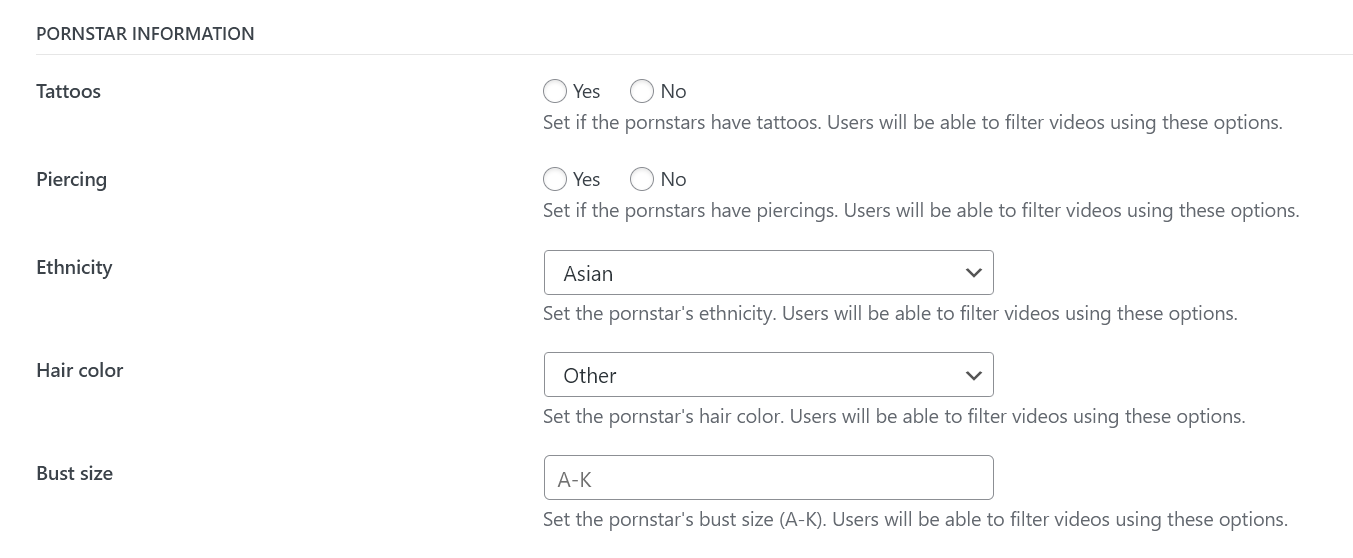
These properties work as filters on the Videos page, allowing your viewers to narrow down the content they want to watch.
Custom Analytics
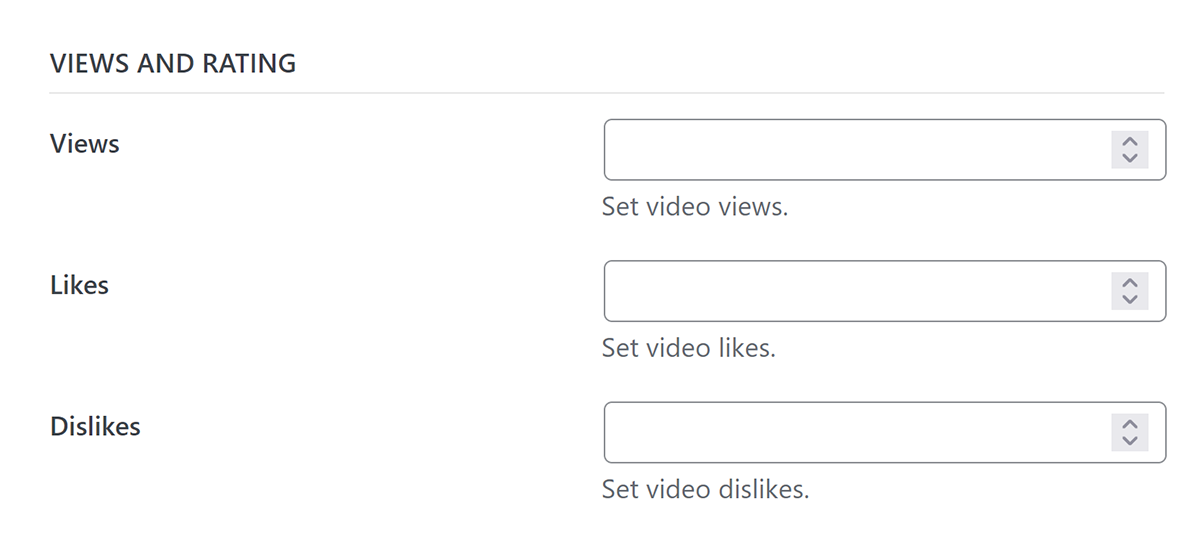
If you’d like to change the analytics shown to your viewers, such as views, likes, and dislikes, you can manually update them under Views and Rating.
Thumbnails and Trailer
Under Thumbnails and Trailer, you can add a trailer, a thumbnail, and a thumbnail rotation sequence for the video.

Trailer
A trailer is a snippet that will be played for a visitor when they hover over a video’s thumbnail.
If your video is missing a trailer or you would like to change it, you may add a snippet in one of two ways.
First, you can paste a direct link to the snippet into the Tracker URL field. Alternatively, you can click the Select button to the right of the field, which will open the Media Library, where you can upload a new file.

Thumbnail
A video’s main thumbnail is the image it displays on all of your website’s pages.
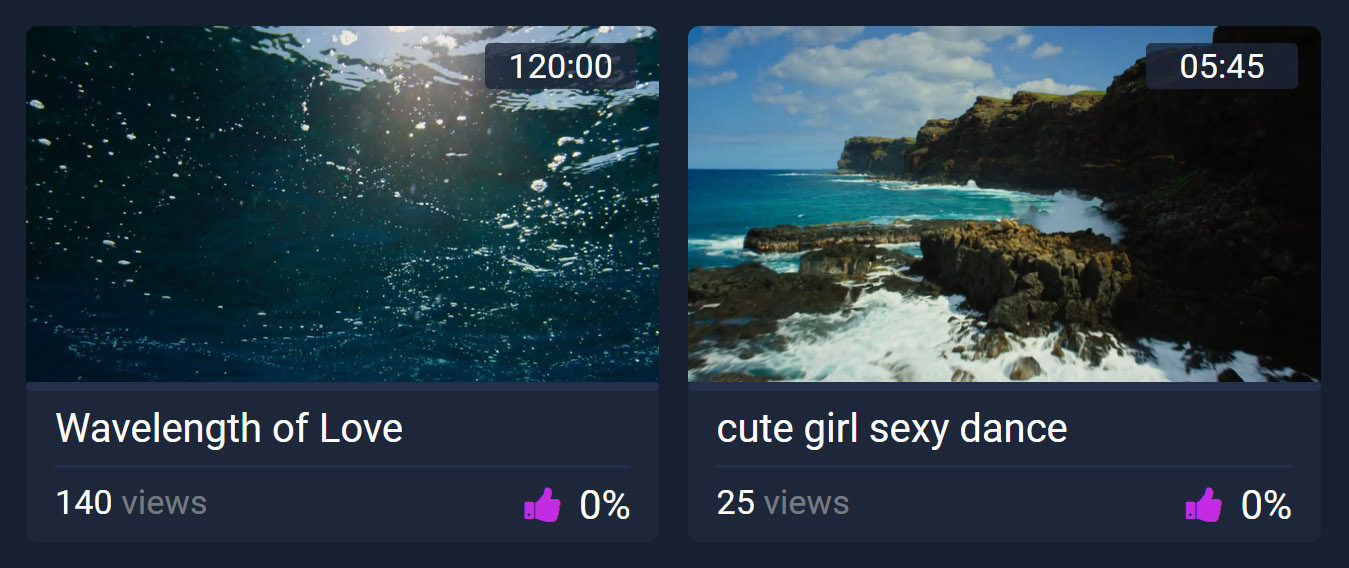
If your video is missing a thumbnail or you would like to change it, you can set a new thumbnail by using either the Main thumbnail field or the Select button to its right. This process is identical to the trailer process explained above.
Thumbnail Rotation
If you haven’t added a video trailer for the video, you can select up to ten images that will rotate while the video’s thumbnail is being hovered over.
To set these images for rotation, click the Add Media button next to Thumbnails and select up to ten files. Only the supported formats will be displayed (jpg/jpeg, png, gif).

Downloading
If downloading is enabled under Theme Options and you’re hosting the video on your website, the viewers will be able to download the video file that they’re watching. However, if you wish to have a different version of the video available for download or direct viewers to another website (e.g., source or an affiliate) while the option is enabled, you can set the link in the Tracking URL field.

Once this option is set, clicking the download button on the user area will direct your viewers to the tracking URL instead of downloading the displayed video.
![]()
Custom Advertisement
If you want the video to display a specific advertisement, you can set that ad under Advertising. For a more detailed guide on ad banners than what we provide below, head over here.
Static Banner
Paste the static banner image’s URL into the Advertisement under the video player field, and the link it should direct to on click into the Direct to field. You can only have one ad in this field at a time.

Dynamic Banner
Paste the advertisement’s <iframe> code into the Advertisement under the video player field. Again, you can only have one ad in this field at a time.

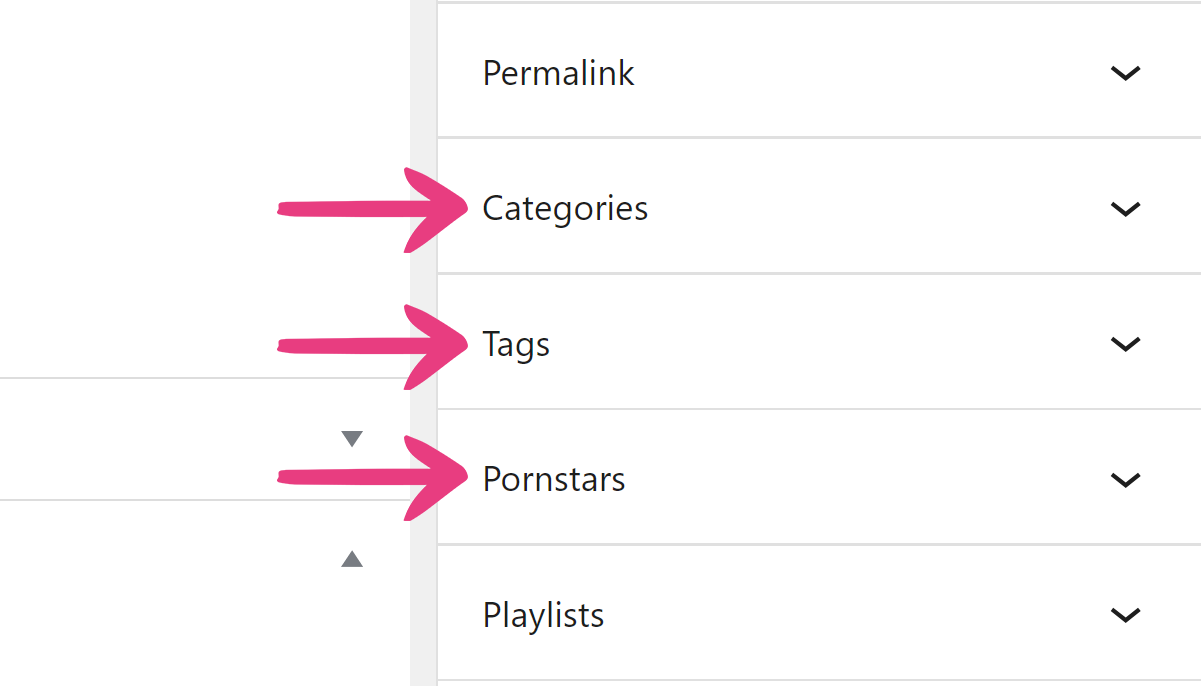
Pornstars, Tags, and Categories
You can change, remove, or add new tags, categories, and pornstars for your video in the sidebar on the right.
Finish
Once you’ve changed all the information for the video, click the Update button in the top right corner. If you wish to save your progress and publish the video later, you can click the Switch to draft option located left of the Update button.


