How To Set Up Cloudflare
Cloudflare is a content delivery network (CDN) that provides DNS, DDoS protection, and security services. The company is backed by some of the biggest names in the industry such as Google, Microsoft, and Qualcomm, and they have a network of more than 100 worldwide data centers.
If you are looking for a simple way to improve your porn website’s security and speed, Cloudflare is a great solution. Their free plan offers unlimited CDN bandwidth and ensures that your website remains lighting fast, regardless of where your clients are coming from.
Follow the steps below to set up Cloudflare for your adult website.
Step 1
Create your own Cloudflare account by visiting their Sign Up page.
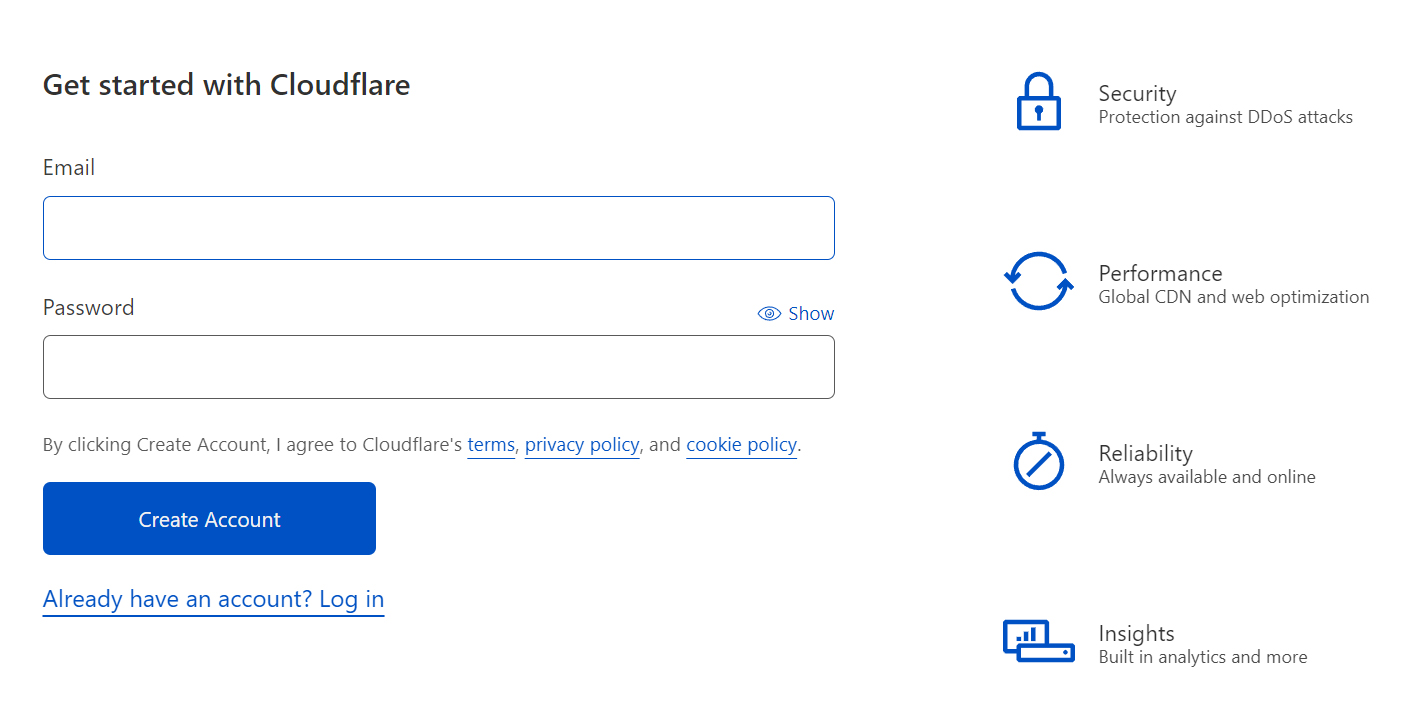
Note: Use an email address and password that only you can access. If someone hacks into your Cloudflare account, your website(s) may go offline.
Step 2
Afterward, click on Add Site.
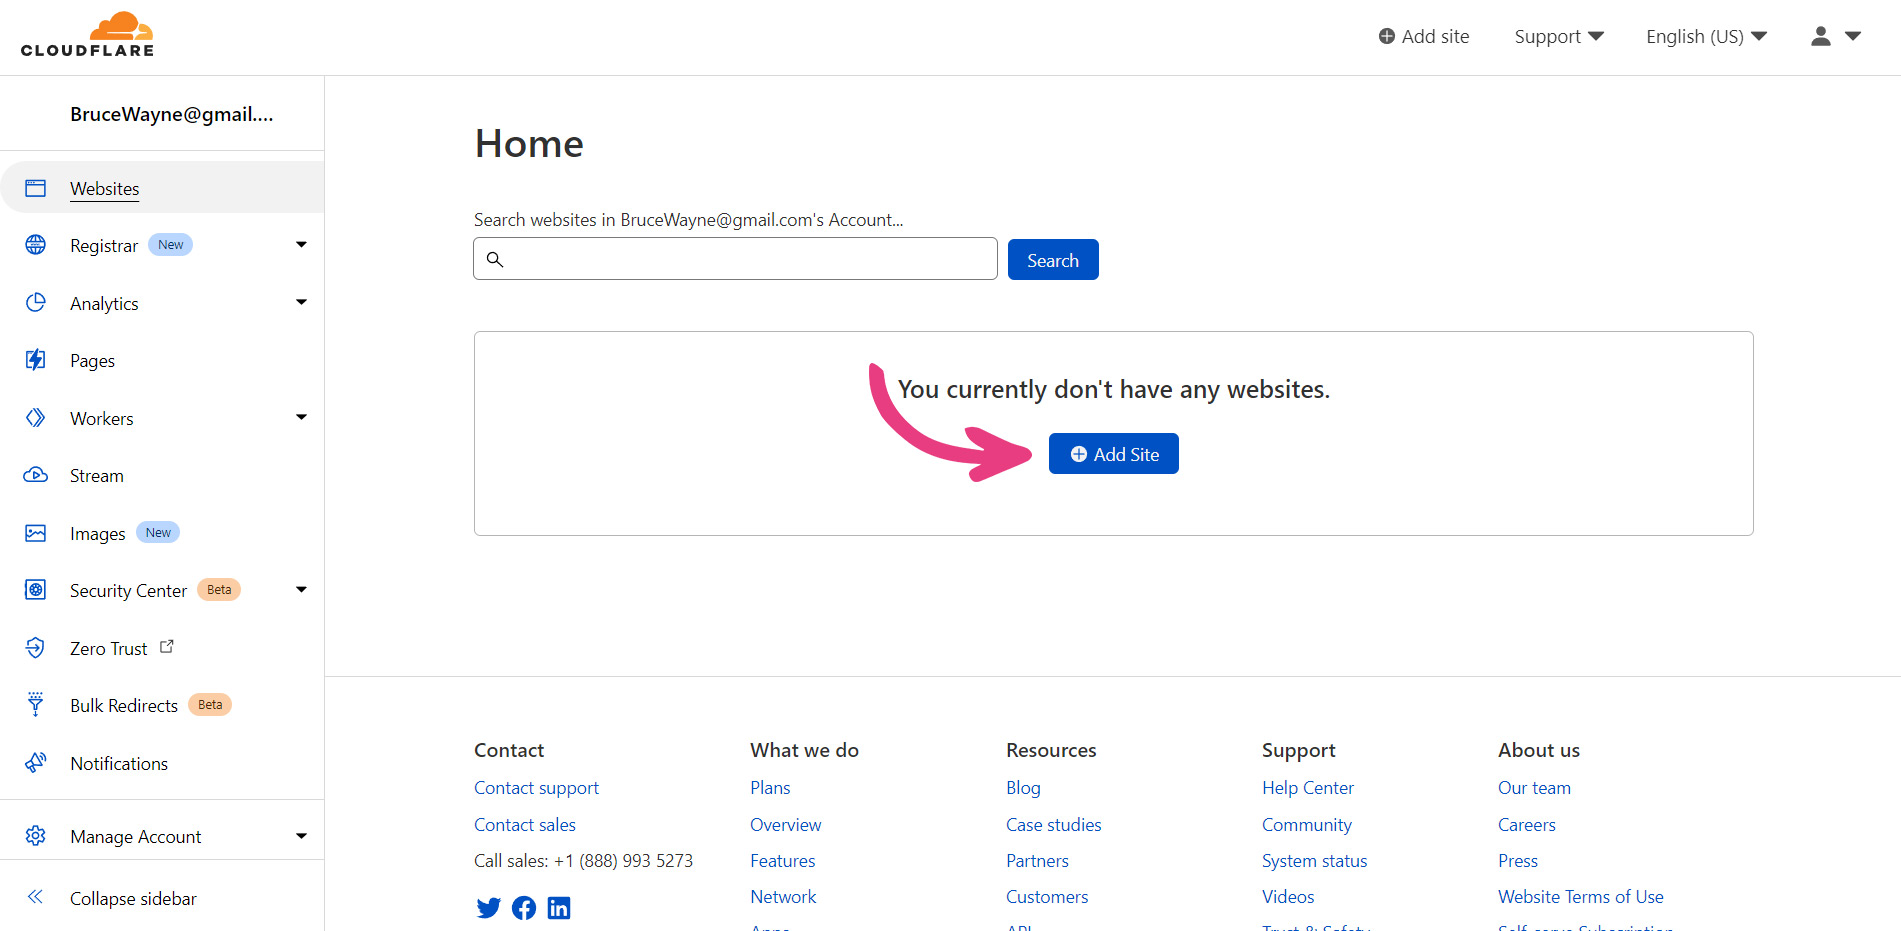
Note: The website page should be displayed first after registering or logging in by default. In case not, click Websites from the left menu.
Step 3
Log into your account and add your website by entering your domain name into the designated field and clicking Add site.

Step 4
Select the Free plan and click Continue to proceed.

Step 5
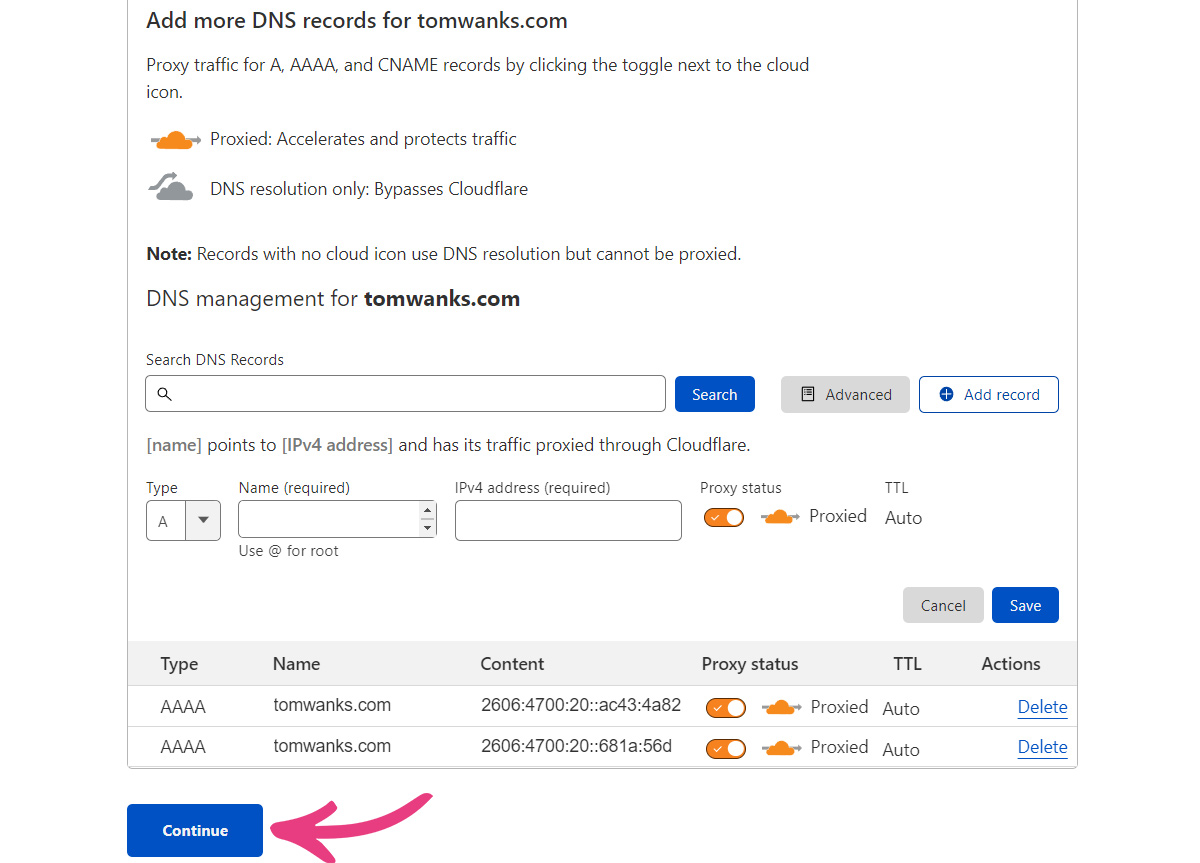
Next, Cloudflare will ask you to enter your DNS records. You will need to input at least two of those: the A record and the CNAME record. Fill the records with the following information:
A – Name: @ – IPv4 address: Your IP address, which you can find in your email with all your adult web hosting, VPS, or dedicated server login details. If you can’t find the necessary information, you can reach out to us for help over live chat or support tickets.
CNAME – Name: www – Domain name: Your chosen domain name.
Press Save.

Then, press Continue.
Step 6
Your new nameservers will be shown under point 4. To make use of them, you will need to press Click to copy and then update the domain settings on your Vicetemple account.
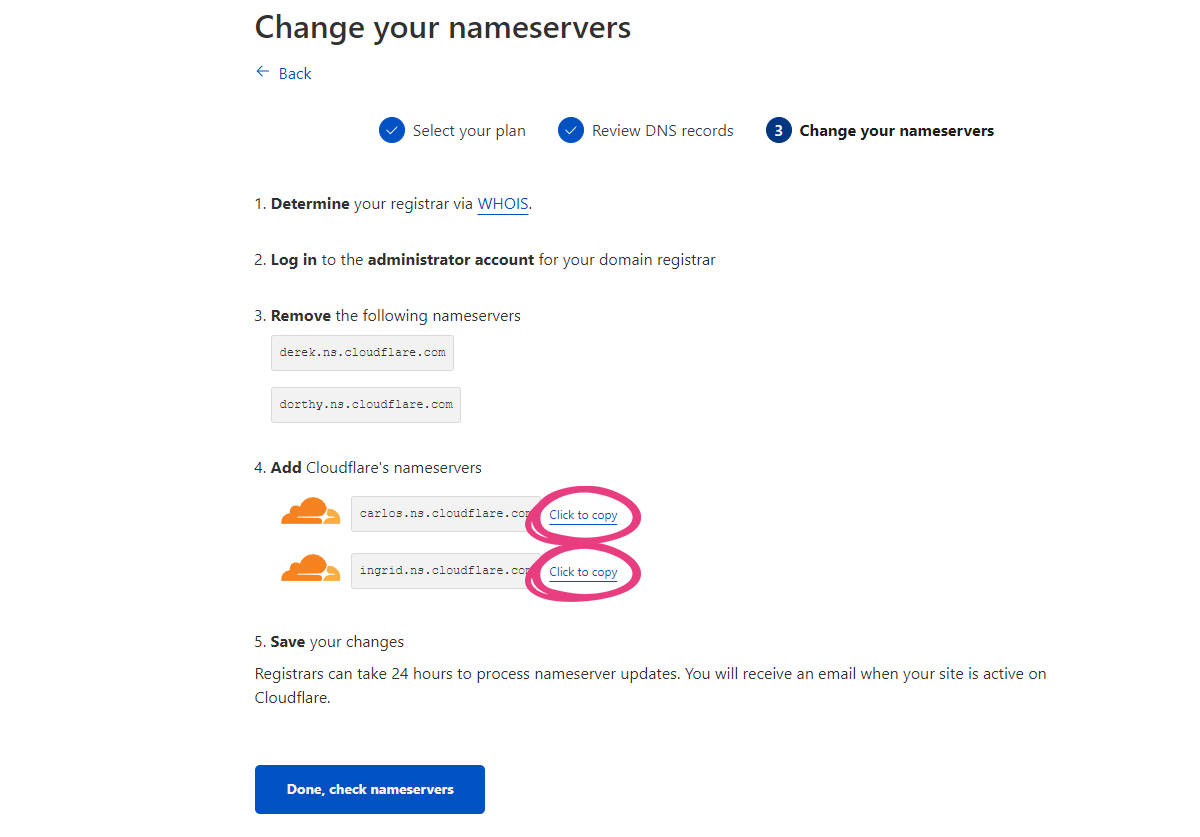
Note: If you purchased your domain name from a different registrar, you’ll need to update the domain nameservers with your domain registrar account. For more information on configuring nameservers with third-party registrars, please check this guide.
To update your nameservers on a Vicetemple domain, log into our client area. Enter your email and password, solve the I’m not a robot captcha, and press Login.

When you log in, click on Domains in the main menu and select the My Domains option from the drop-down list.

In the domains table, click on the arrow icon next to the domain whose nameservers you’d like to update.

The arrow will open a drop-down list, where you should choose Manage Nameservers.

Next, select the Use custom nameservers (enter below) option.
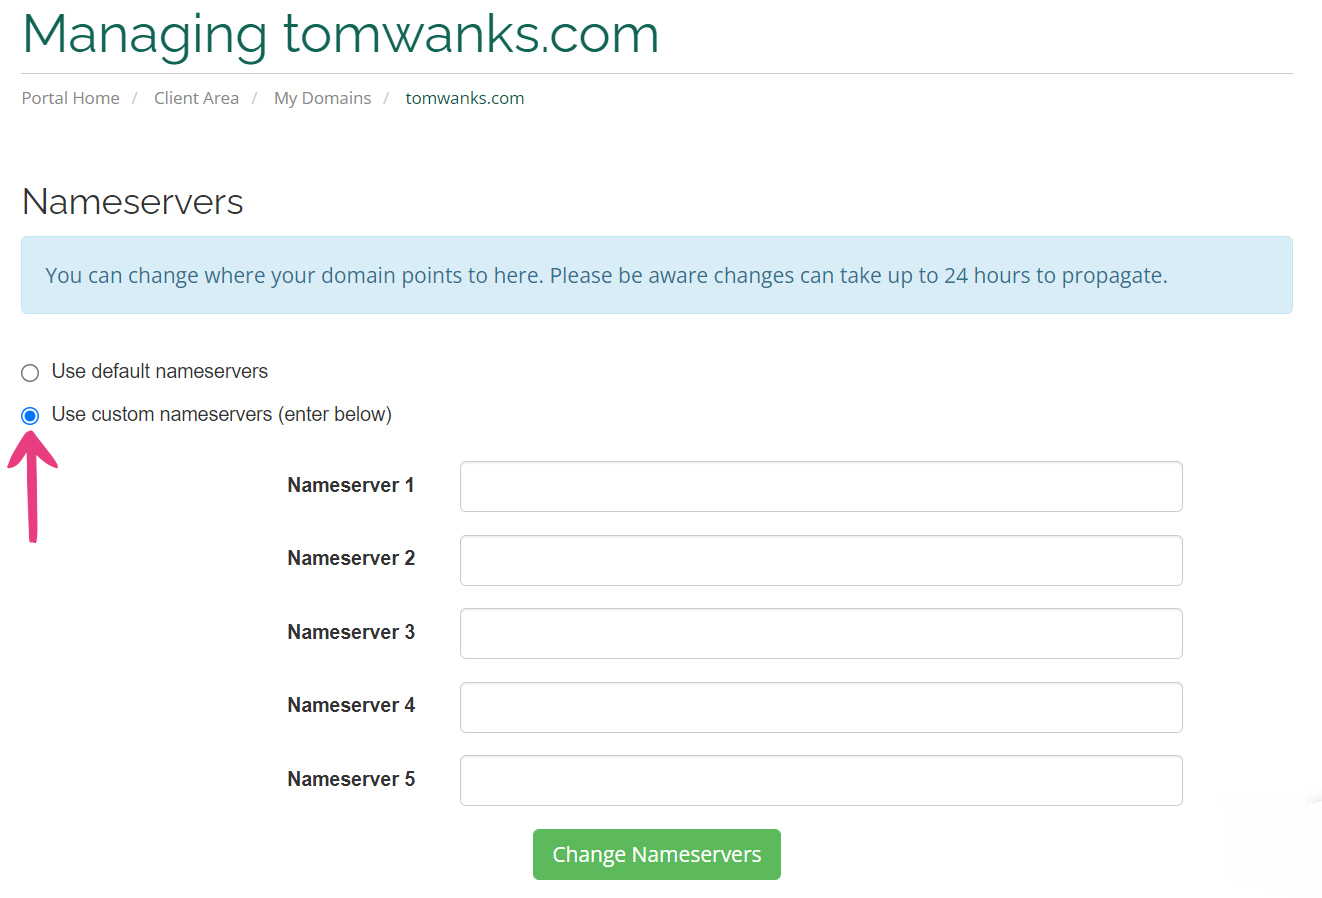
Paste your new nameservers from Cloudflare into the custom nameserver fields, as shown below.
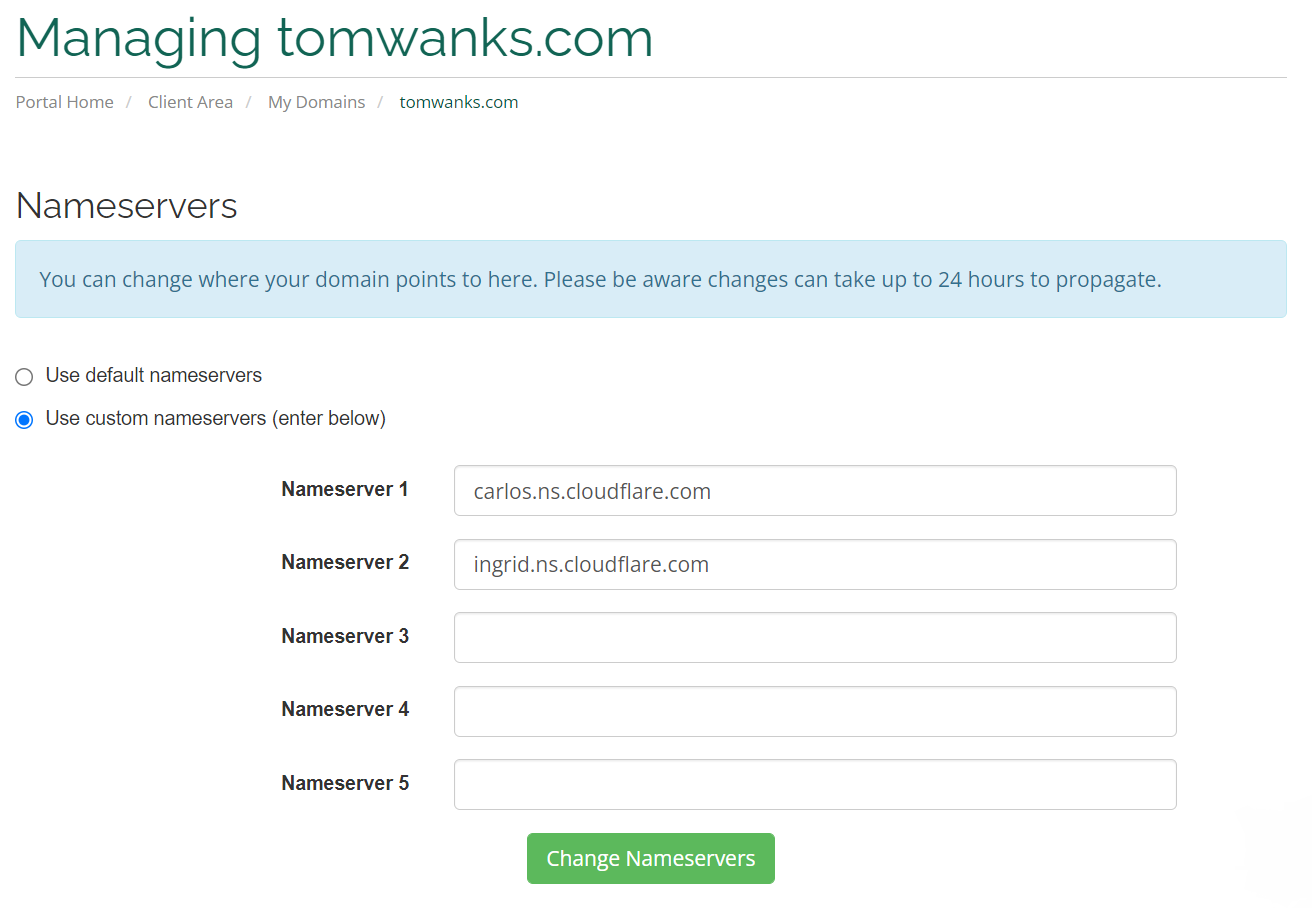
Then, click the Change Nameservers button to start using your new nameservers.
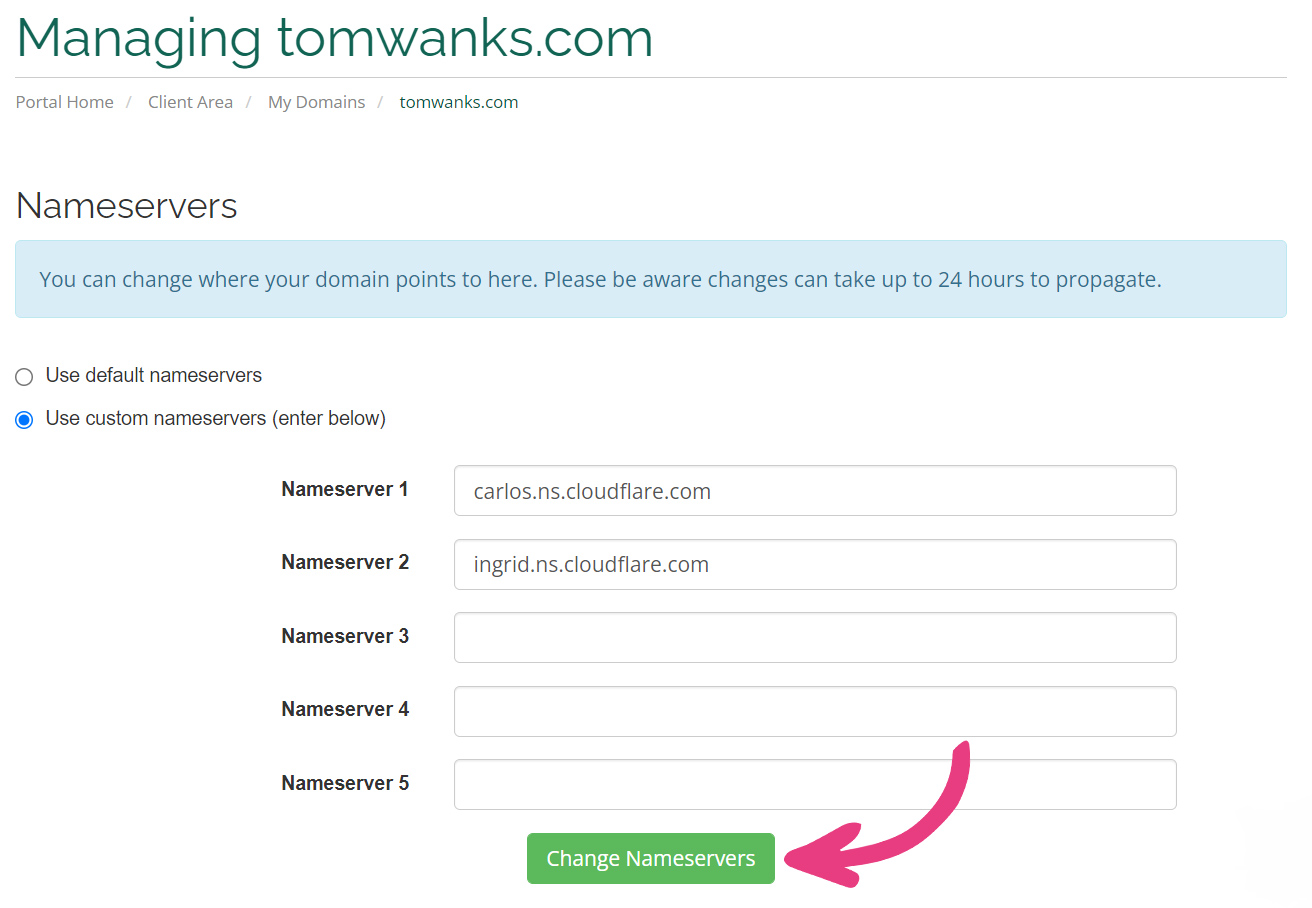
After updating the nameservers, you may need to wait up to 24 hours for the changes to go live. In the meantime, you can check whether or not your nameservers were updated by using Who.is, as explained below.
Step 6
If you want, you can check your nameservers by using Who.is, a free domain lookup tool.
Simply visit their website at https://who.is/, type out your domain name into the search bar, and click the magnifying glass icon or press Enter.
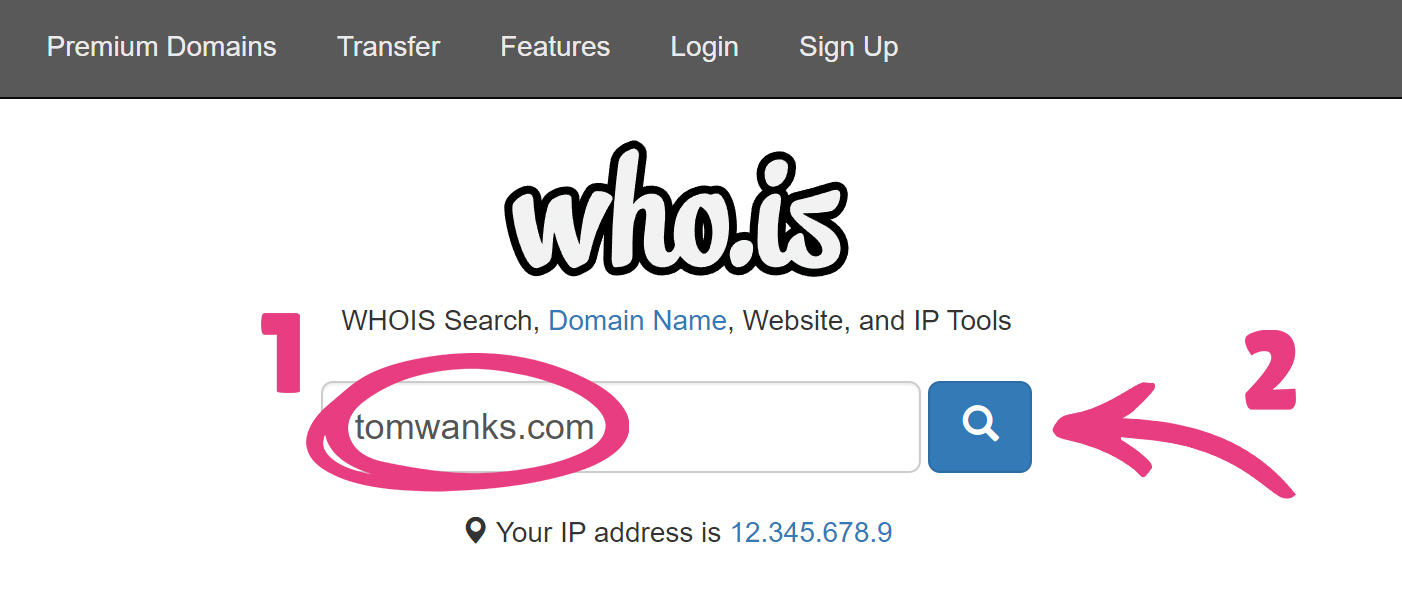
On the results page, scroll down to the Name Servers section and check which nameservers are shown for your website. If the listed nameservers end with cloudflare.com, you’ve updated them successfully.
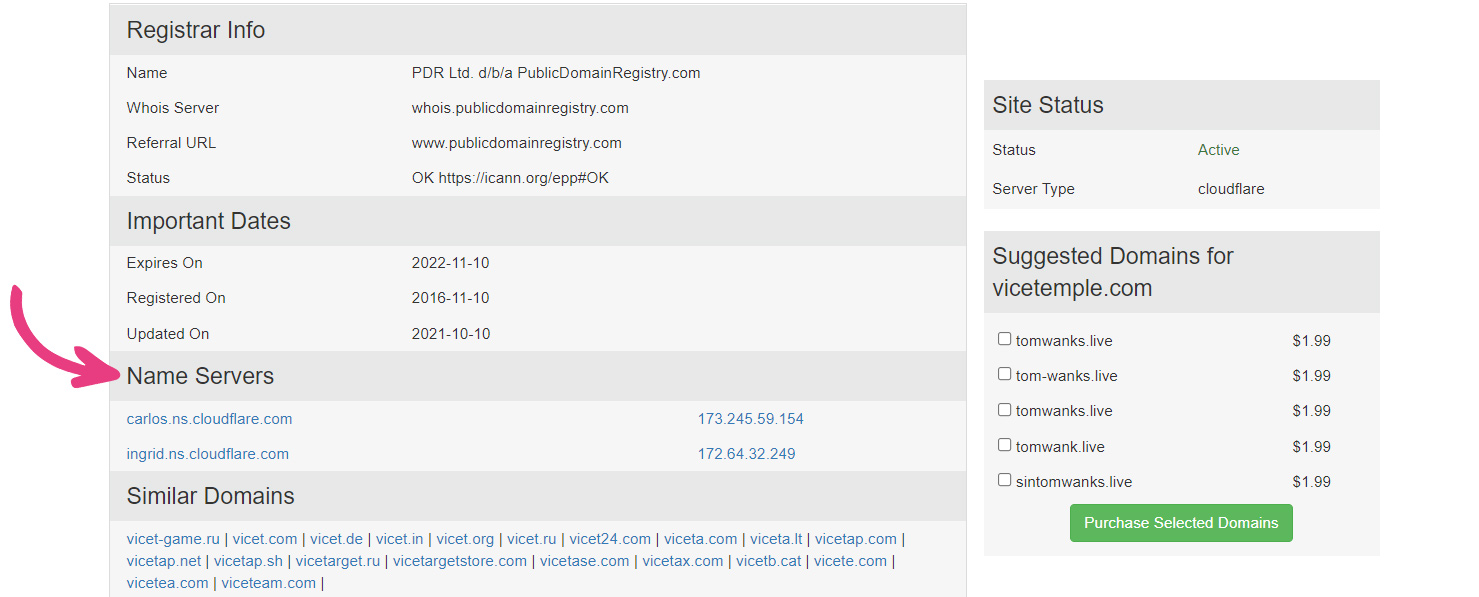
The Who.is directory will update immediately, whether your changes are visible elsewhere or not.


