Broken Video Finder: How To Find And Remove Broken Videos
Broken Video Finder is a premium plugin that PornX users get for free. The plugin scans embedded videos to identify which ones became unavailable or deleted and helps you remove them from your website in no time. It can scan the entire website or only the specific categories of your choosing.
The steps below will show you how to activate the plugin and clear your website of broken videos.
Step 1
Navigate to your website and log in with your admin account. The Login option is located in the top right corner of your website.
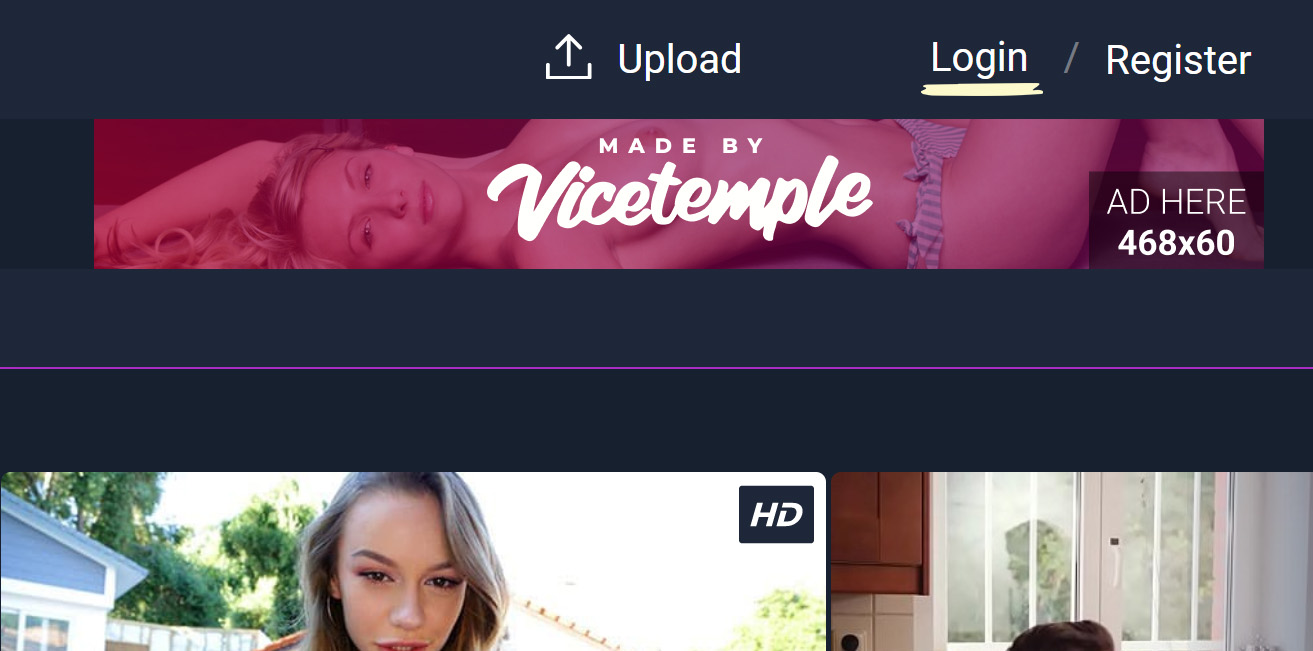
Note: You can find your admin login details in one of the support tickets in the Vicetemple client area. If you’re not sure where to find them, feel free to send us a message over live chat.
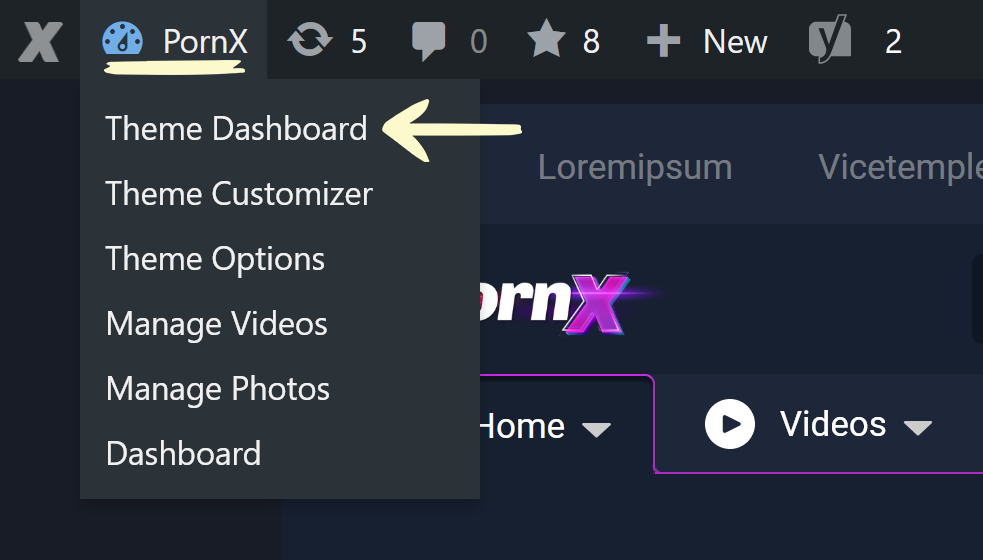
Once you log in, hover over your website’s name in the top left corner of the admin toolbar, and click Theme Dashboard when the menu appears.
Step 2
Locate the Vicetemple Broken Video Finder card further down the page, and click Install.
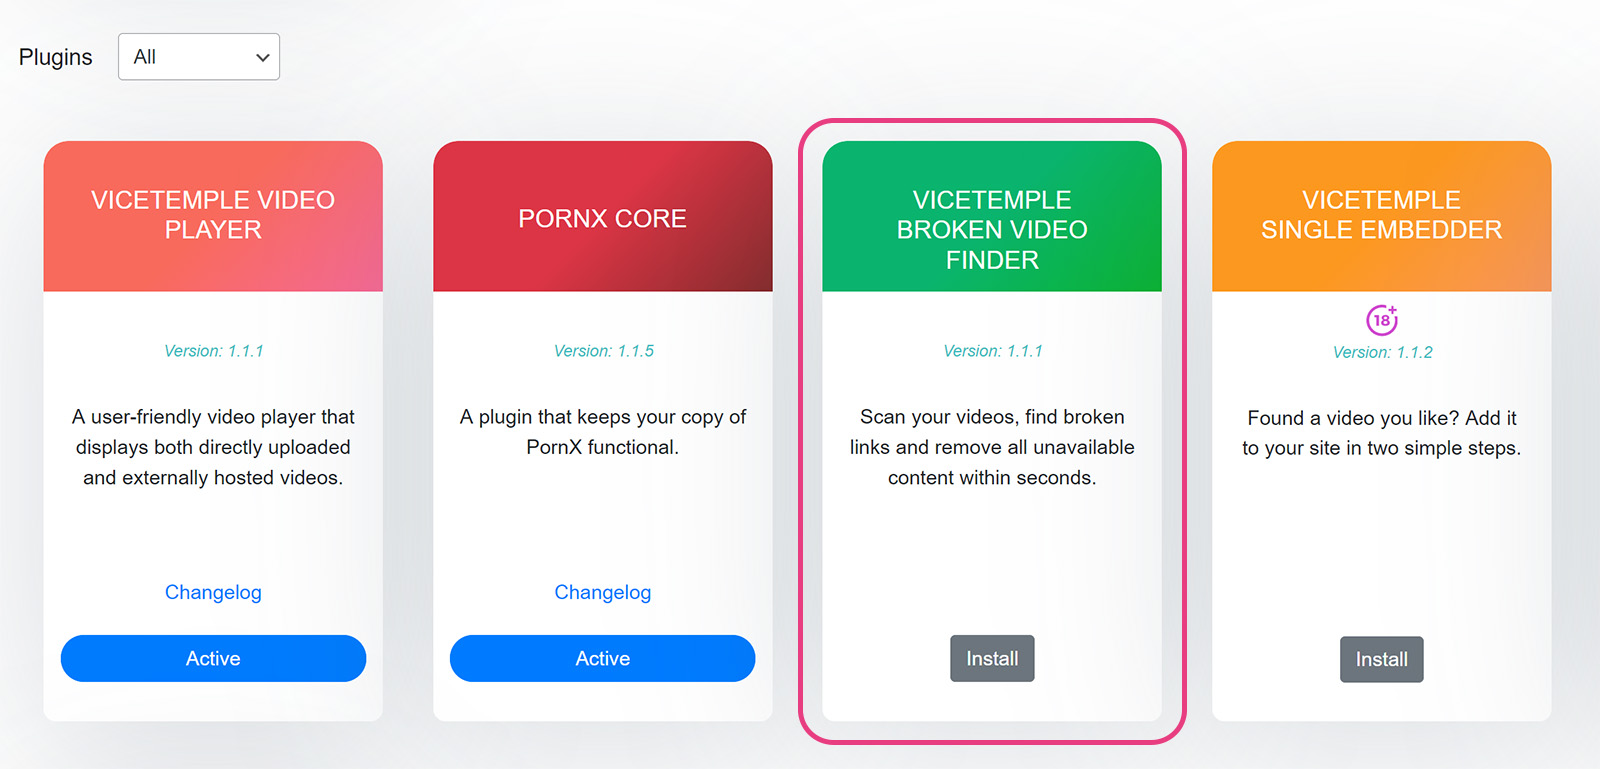
Wait for the installation to complete. Once the plugin is installed, navigate to the card again and click the Activate button, which will direct you to the Plugins page.
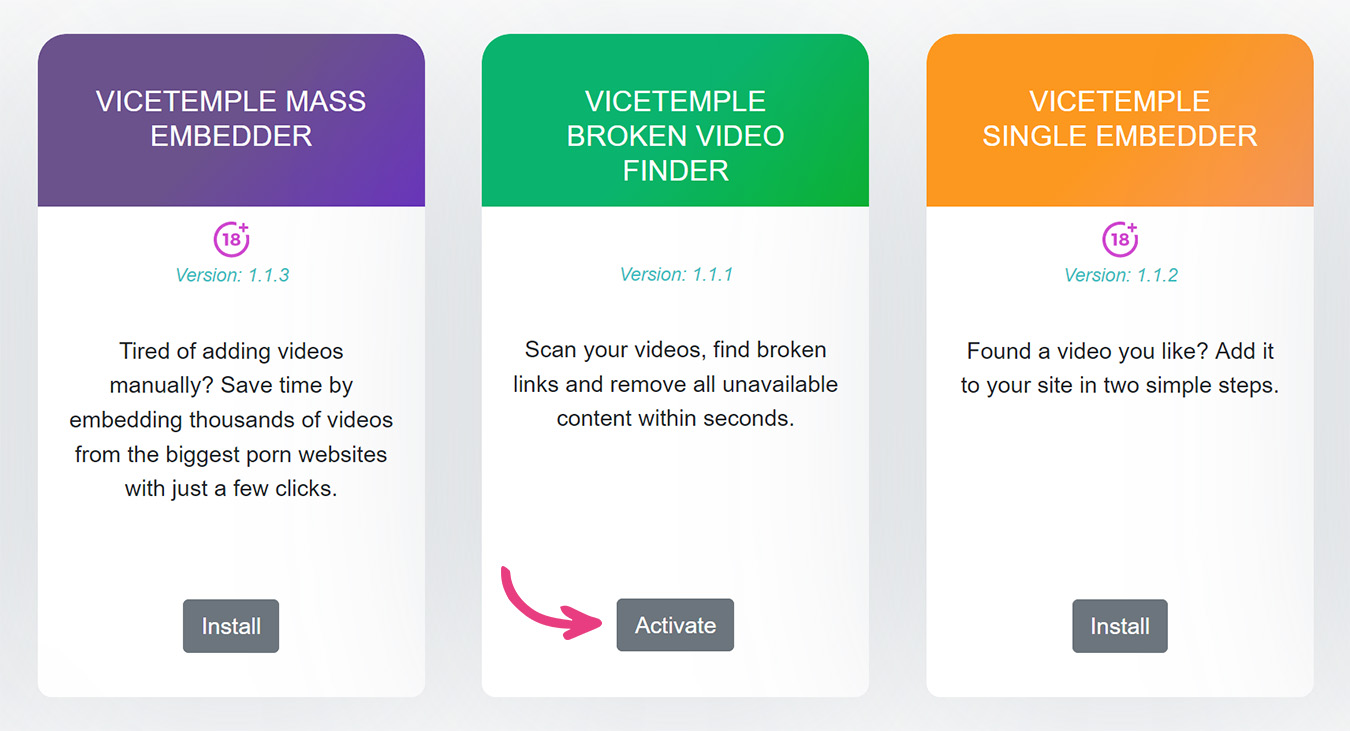 When the page loads, locate the Vicetemple Broken Video Finder row and click Activate.

The plugin is now accessible as Find Broken Videos under Theme Dashboard.
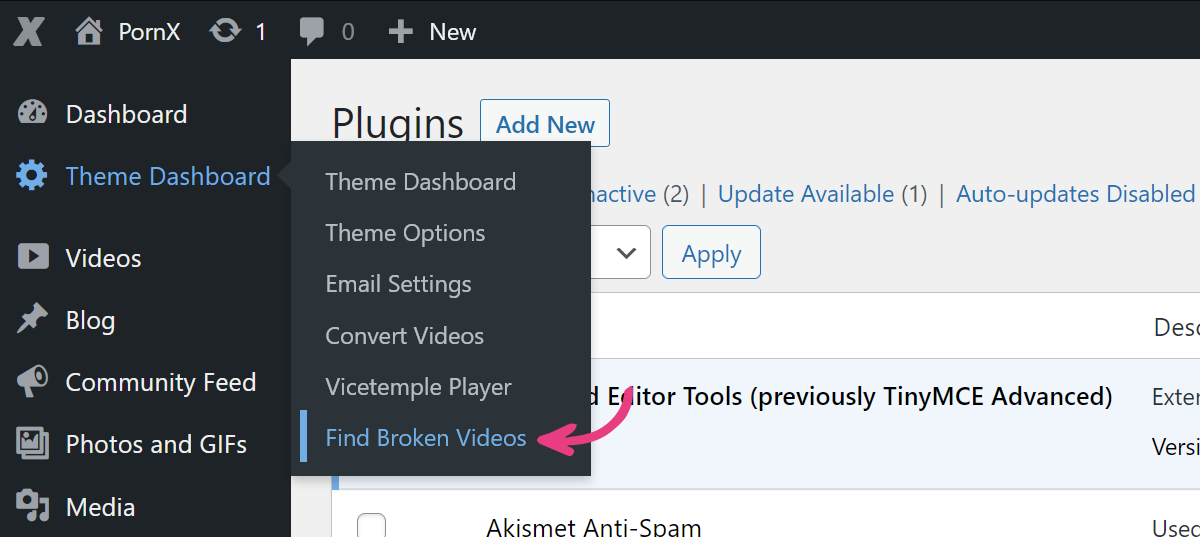
Step 3
If you wish to scan all videos on your website, enable the All videos toggle. If you only wish to scan specific categories, enable their toggles, instead.

Once you’re pleased with your selection, click the Scan now button in the section below.
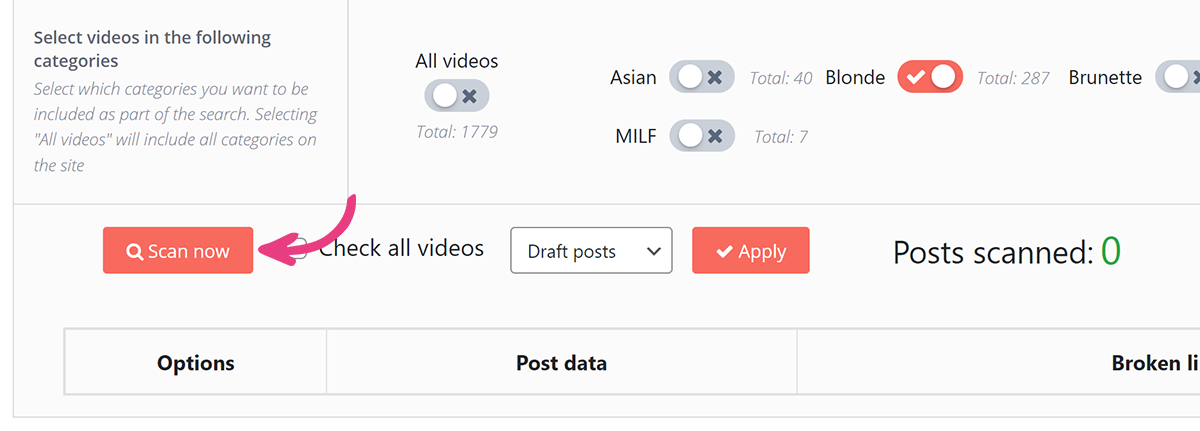
The button will display a loading circle, and the text on it will read Scanning. Closing or refreshing the page while the button is loading will interrupt the scan.
Step 4
During the scan, the page will continuously update the following three values:
- Posts scanned — the number of video posts scanned by the plugin.
- Posts with broken links — the number of video posts with broken links.
- Broken links — the total number of broken links. Some videos may have multiple links, such as those with different resolution options.

The scan will be complete once the button’s loader disappears and the text changes back to Scan now. Following that, you may review the broken videos.
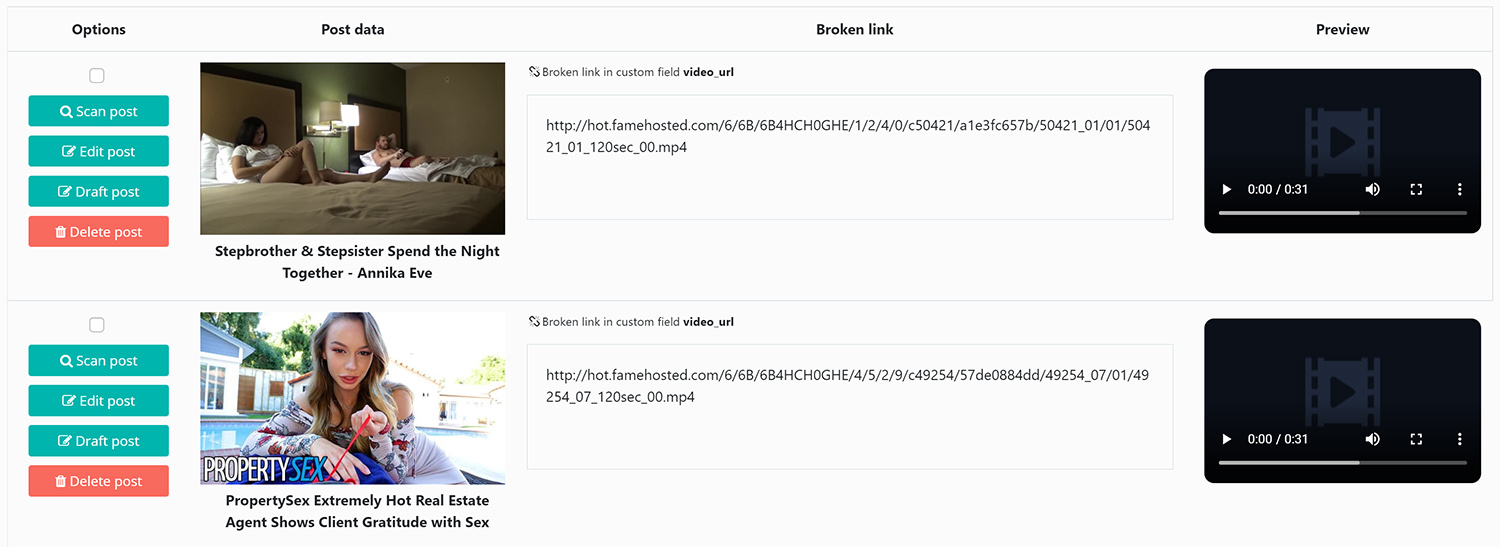
The results will contain four columns. These are:
- Options — four of them.
- Data, such as the thumbnail and title.
- The broken link(s) in question.
- A preview of the video, if available.
Step 5
With the scan concluded, it’s time to address the issue(s). You can do that by using the four buttons in the Options column, which include:
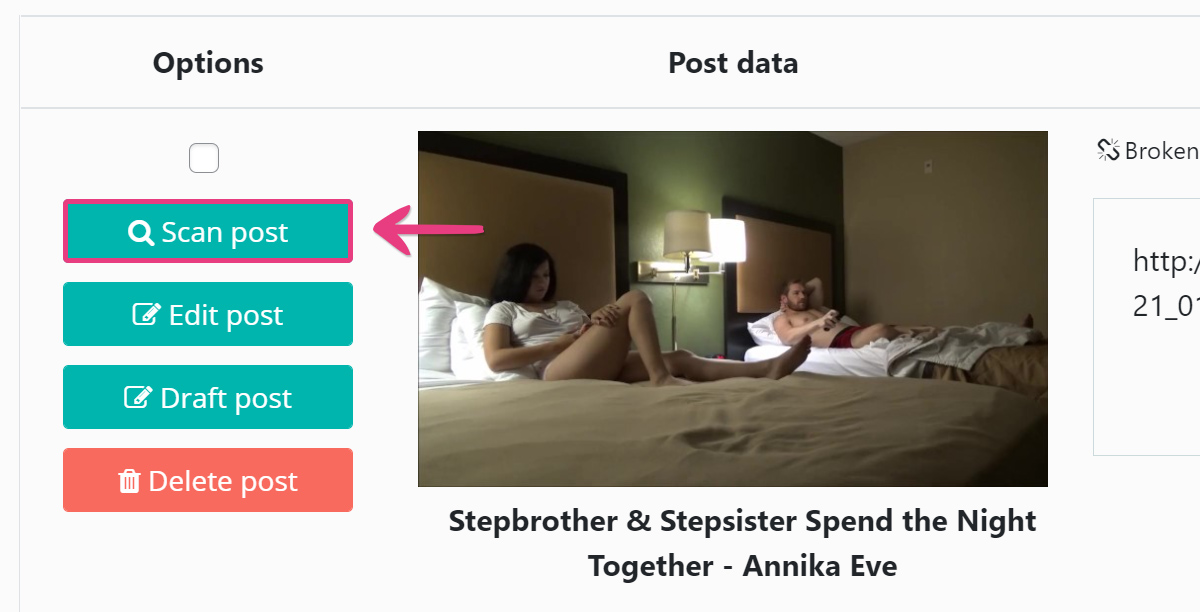
Rescan
Rescan the video post by clicking the Scan post button.
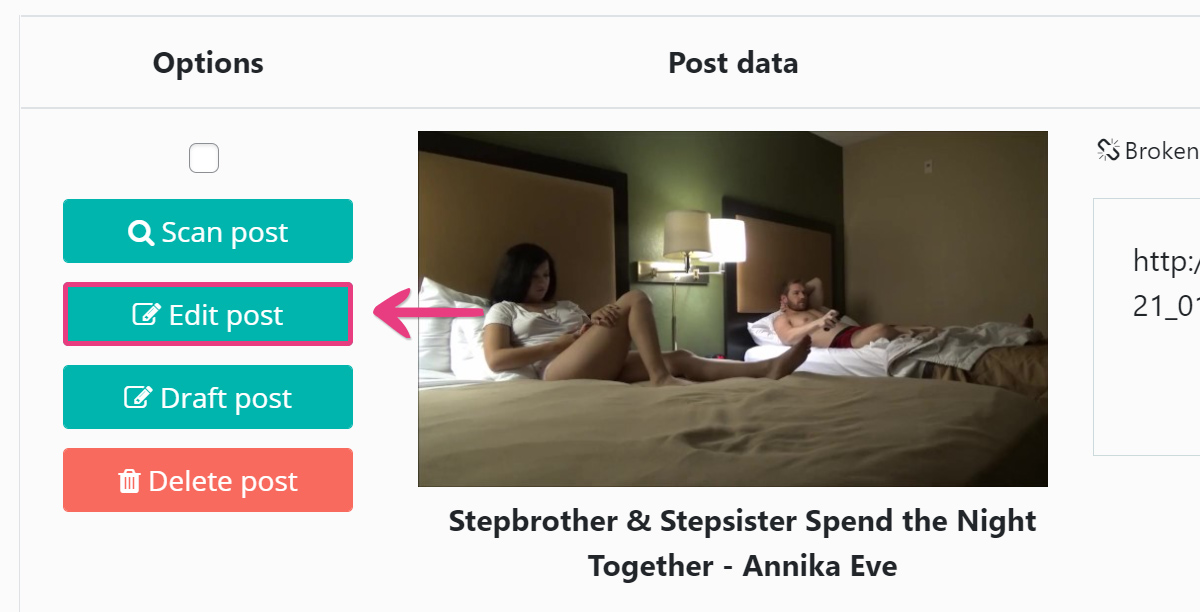
Edit
Edit the video post to replace the broken link, or any other relevant information, by clicking the Edit post button.
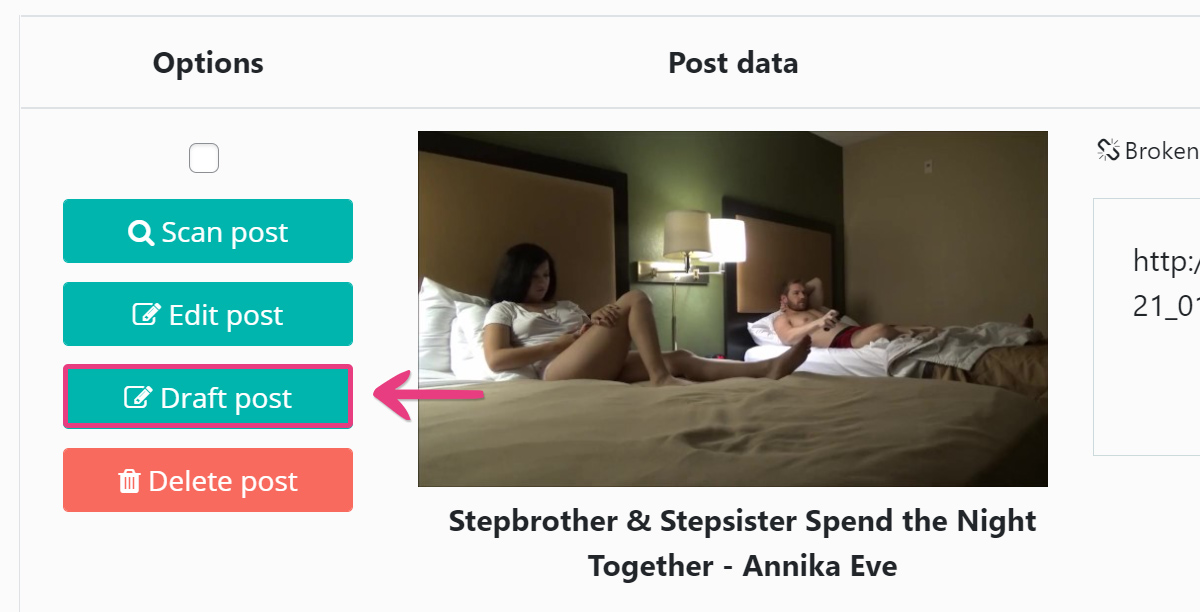
Change Status
Change the video post’s status to Draft, so that it is no longer displayed in the user area, by clicking the Draft post button.
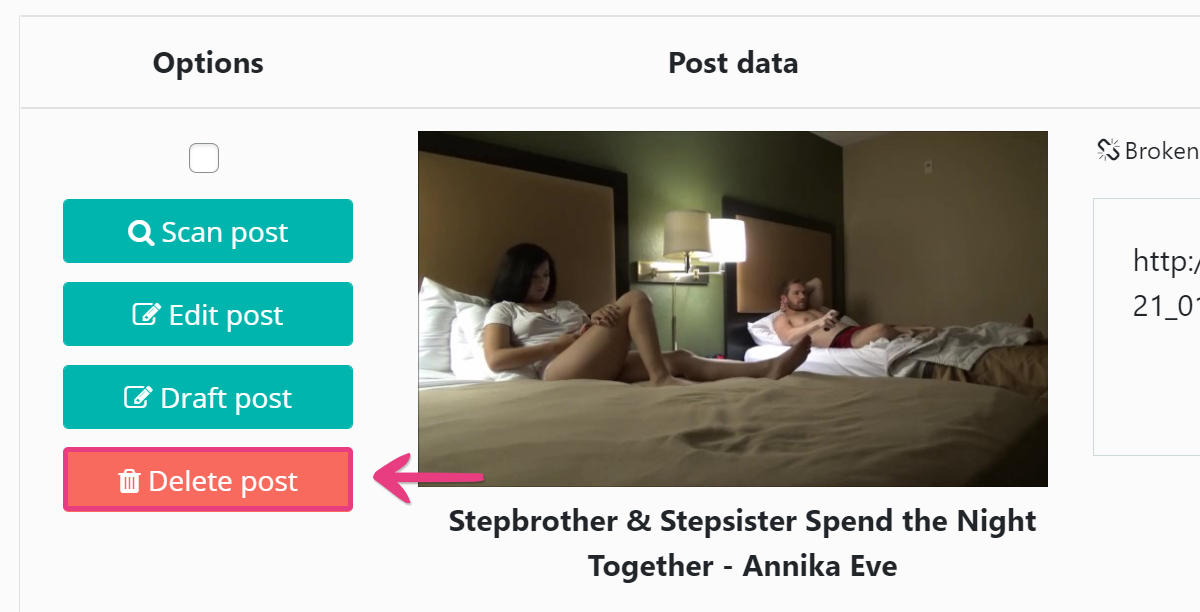
Delete
Permanently delete the video post and all of its data from your website by clicking the Delete post button.
You may proceed with these actions for each individual video on the list. Alternatively, you can perform the same action for several videos at once, by ticking the checkbox above the Options section for each video.
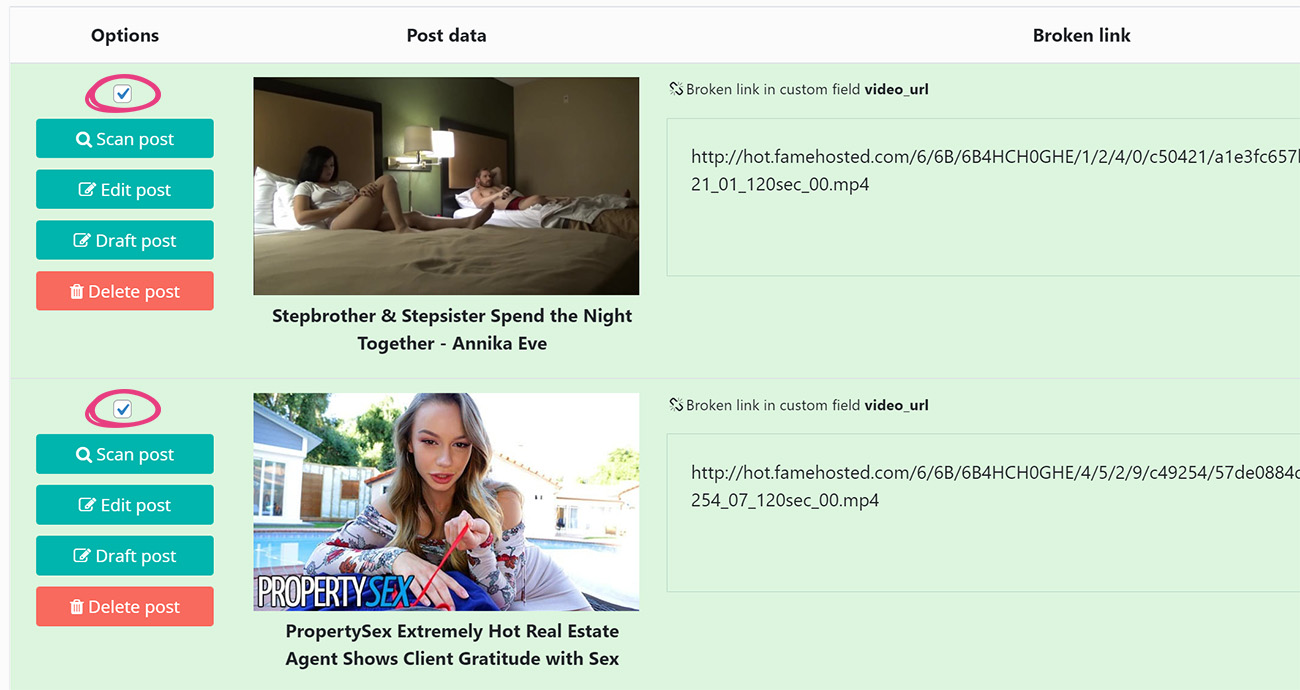
Once you are happy with your selection, pick the desired action from the drop-down at the top of the results, and click Apply.

The plugin can identify broken videos imported with the Single Embedder plugin, Mass Embedder plugin, Mass Grabber plugin, and the Auto Import feature. However, it cannot scan direct uploads.
Now that you know how to scan your website for all broken embedded and externally hosted videos, you can eliminate them in a handful of clicks, no matter their number.


